
What the Durban team needed from the line
The client was a stainless fabricator in Durban making parts for kitchens, canteens and food preparation areas, including panels, brackets, splashbacks and formed components. Their laser-cut blanks were accurate enough, but the cut edge still needed too much manual cleanup before bending, welding and final fitment. That extra hand work slowed the flow and made the finish vary from job to job.
The brief was straightforward. Reduce burrs, improve edge consistency and keep the parts moving to the next process with less stopping and checking. They also wanted a machine that could handle daily production in humid coastal conditions, with enough control to suit thin sheet and heavier stainless sections without marking the surface.
- Material: laser-cut stainless sheet metal
- Typical thickness range: 0.8 mm to 3.0 mm
- Output target: steady batch work for kitchen parts and assemblies
- Finish requirement: clean edges with less manual deburring
Site constraints and production pressure
Like many Durban workshops, they were working around tight floor space, mixed material flow and the usual load-shedding interruptions. The machine had to fit into an existing line without blocking movement between cutting, folding and welding. They also needed practical access for cleaning because stainless fines can build up quickly, and a wet coastal environment is never kind to exposed metal parts if housekeeping slips.
Another constraint was operator skill. The line had to be simple enough for a small team to run consistently, with clear settings for different part types. The client did not want a system that needed constant guesswork or lengthy adjustments every time a new tray, bracket or cover plate came through. In a busy shop, if a machine is fussy it will get bypassed, plain and simple.
- Limited workshop footprint
- Variable daily power availability due to load-shedding
- Need for repeatable results across mixed part sizes
- Low maintenance focus for a busy production team
What we supplied and set up
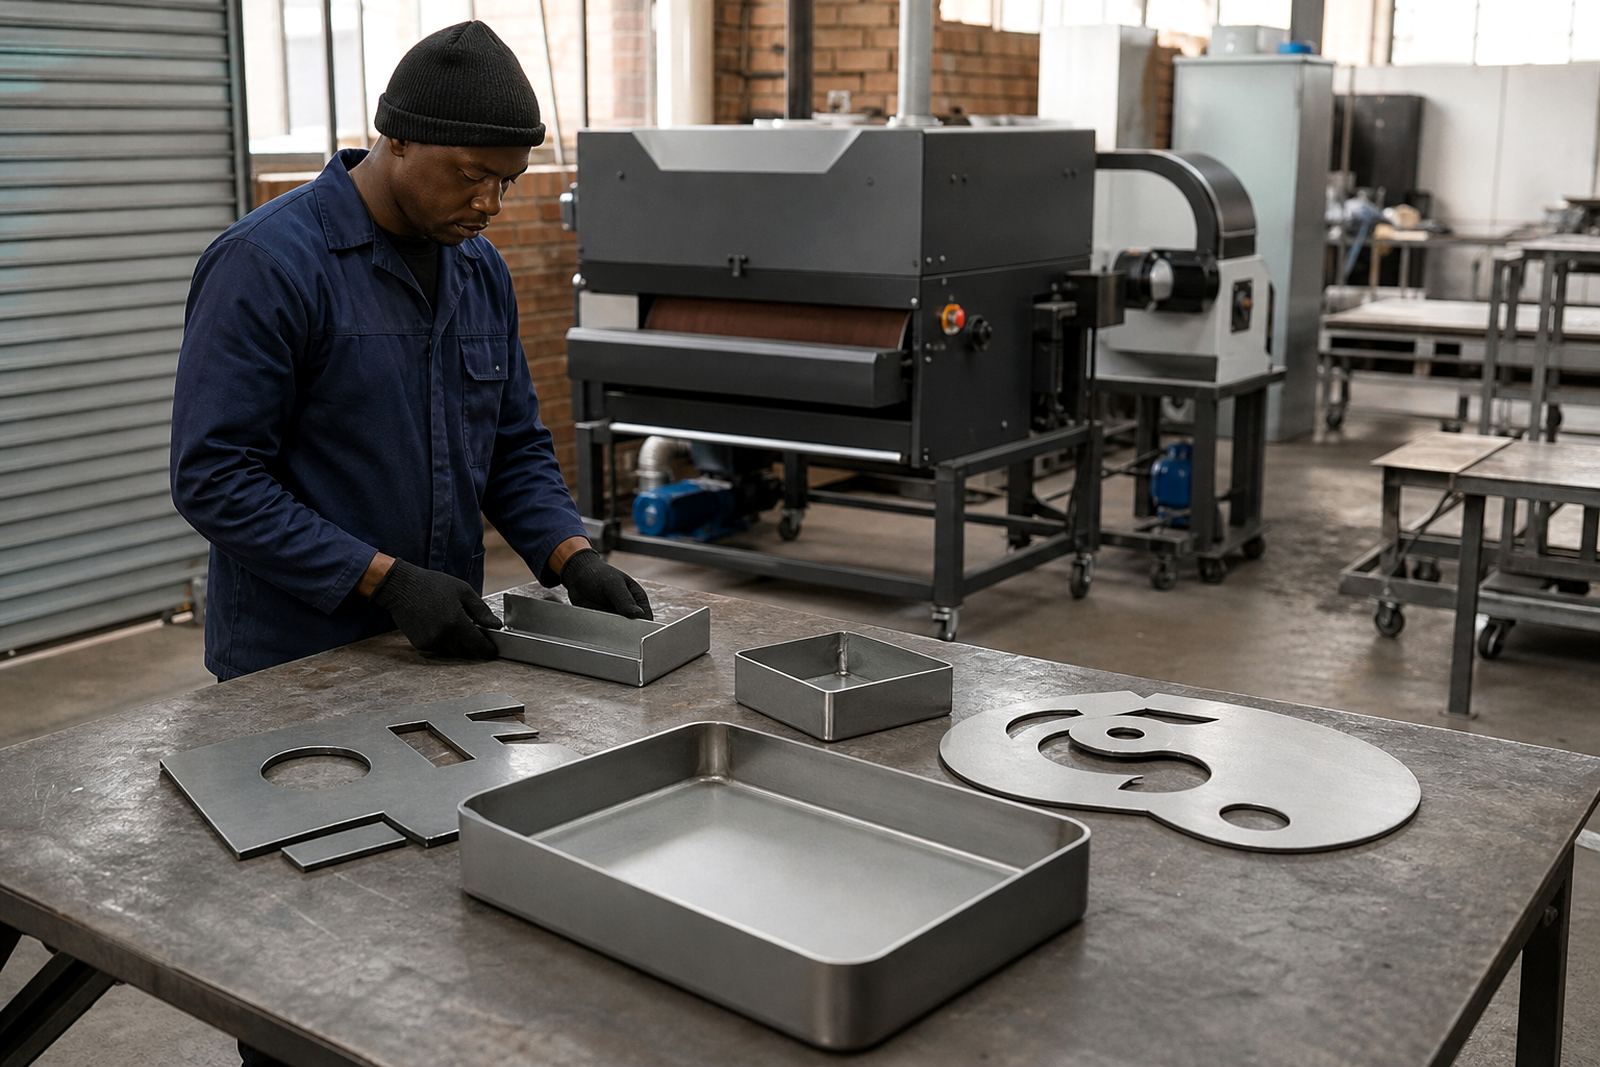
We supplied a deburring and edge-finishing machine suited to laser-cut sheet metal, then worked through the practical setup with the production team. The machine was configured for stainless parts typically used in kitchen fabrication, with attention to edge quality, surface protection and controllable stock removal. We also checked the infeed and outfeed flow so parts could move through without handling damage.
Our team completed installation, set the operating parameters for common sheet thicknesses and walked the operators through safe loading, tool wear checks and day-to-day cleaning. Where needed, we adjusted abrasive settings for lighter or heavier cut edges. That made the machine useful for mixed batches rather than only one narrow product type.
- Installation and alignment on site
- Operator training for settings, loading and cleaning
- Abrasive setup for stainless edge finishing
- Basic process guidance for batch consistency
The workshop manager also wanted the team to understand how to spot tool wear early, because worn abrasives can leave the edge looking uneven and waste time later. We kept the training practical and local to their own parts, not generic classroom talk. That made a difference from week one.
Timeline from delivery to first production run
The project ran over three weeks. In week one we confirmed the part mix, sheet sizes and floor position, then finalised the machine setup. Week two covered delivery, installation and testing with sample parts from the client’s own laser output. Week three was used for operator familiarisation, setting repeatable parameters and fine tuning the process on actual production jobs.
By the end of the third week the team was running normal kitchen fabrication work through the line with less interruption. They were no longer splitting the same job between multiple hand-finishing stations just to get acceptable edges. That cut a surprising amount of wasted movement, which helped the flow more than they expected.
- Week 1: assessment and final spec confirmation
- Week 2: installation and sample part testing
- Week 3: training, handover and production tuning
Results on kitchen parts and daily workflow
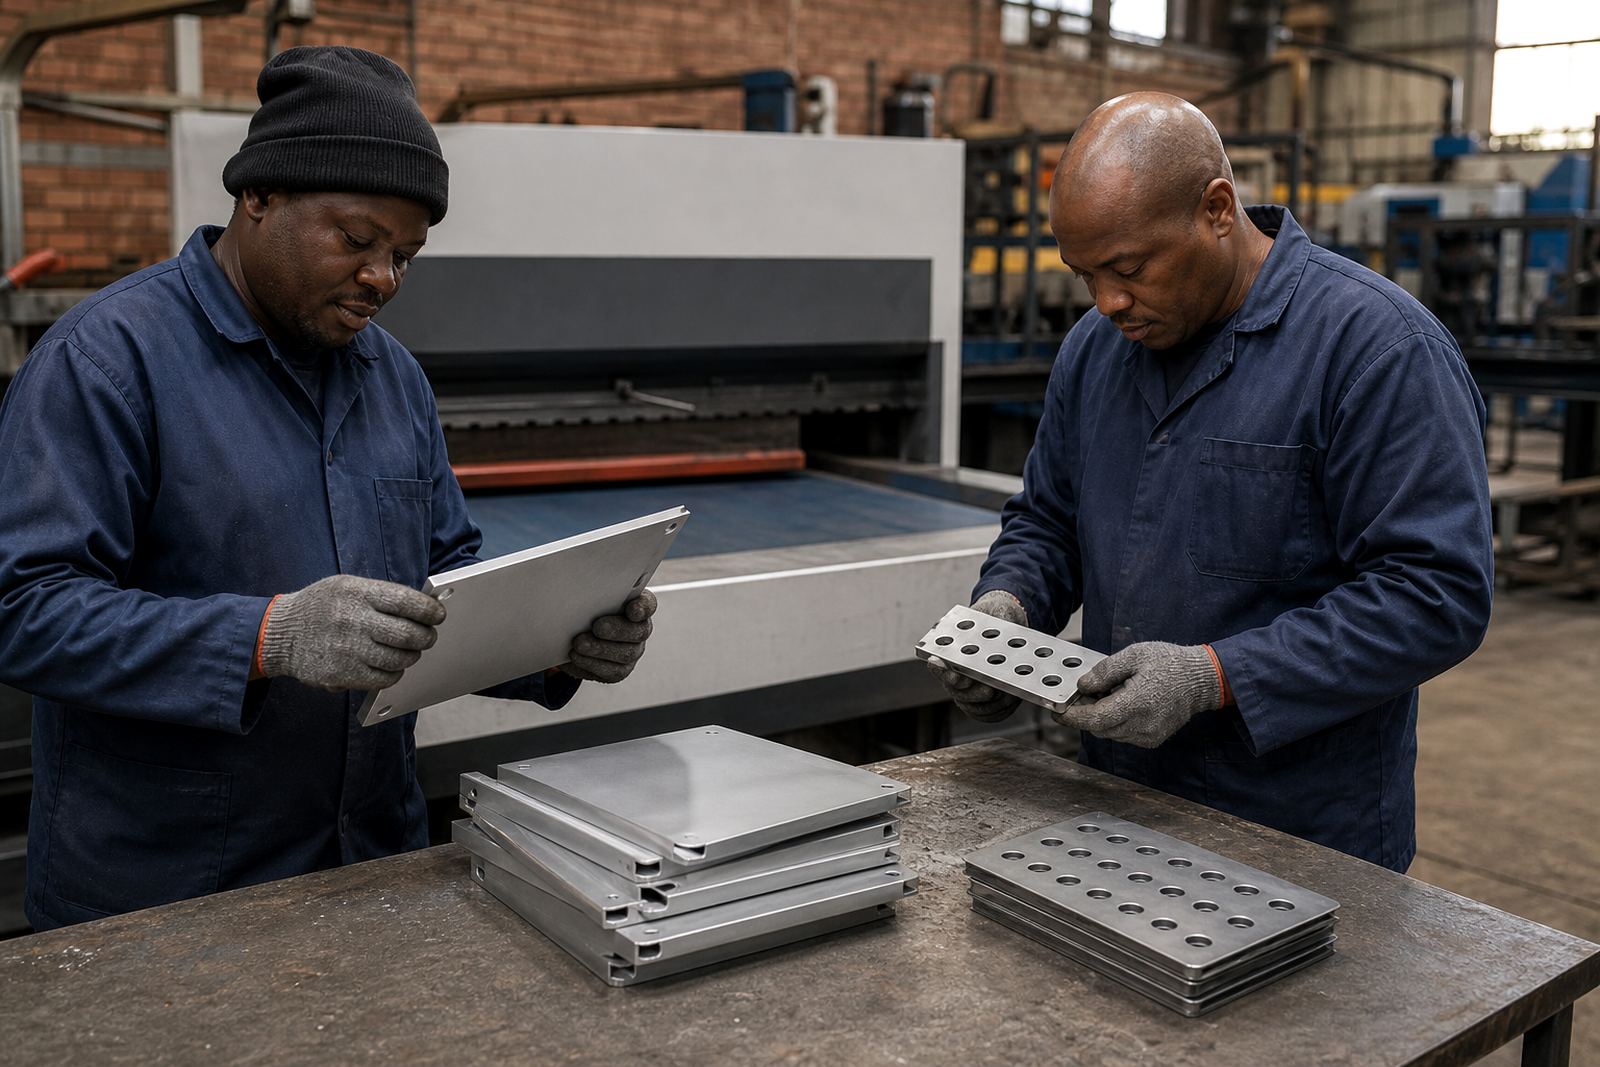
The main result was cleaner edge quality coming off the laser-cut blanks, with far less manual cleanup before the next operation. The client reported more consistent edges on visible parts, plus less operator time spent on small burrs and sharp corners. That matters in stainless kitchen work, where fit-up and finish both need to be right or the part gets sent back for rework.
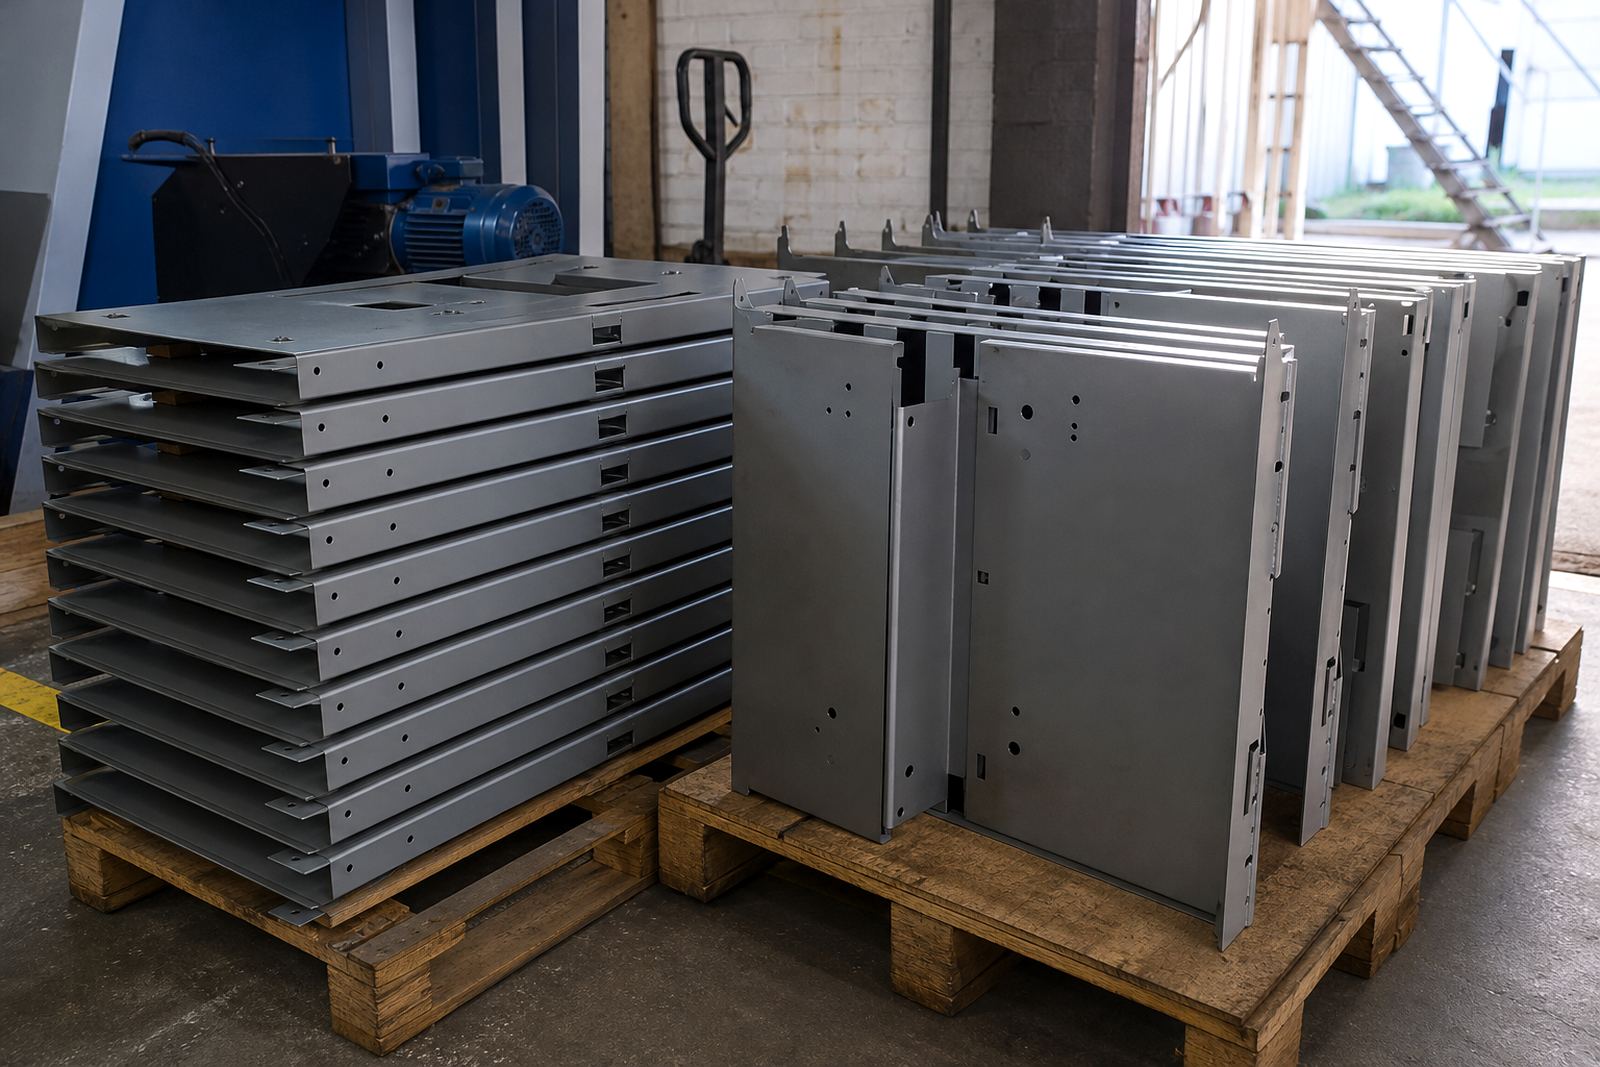
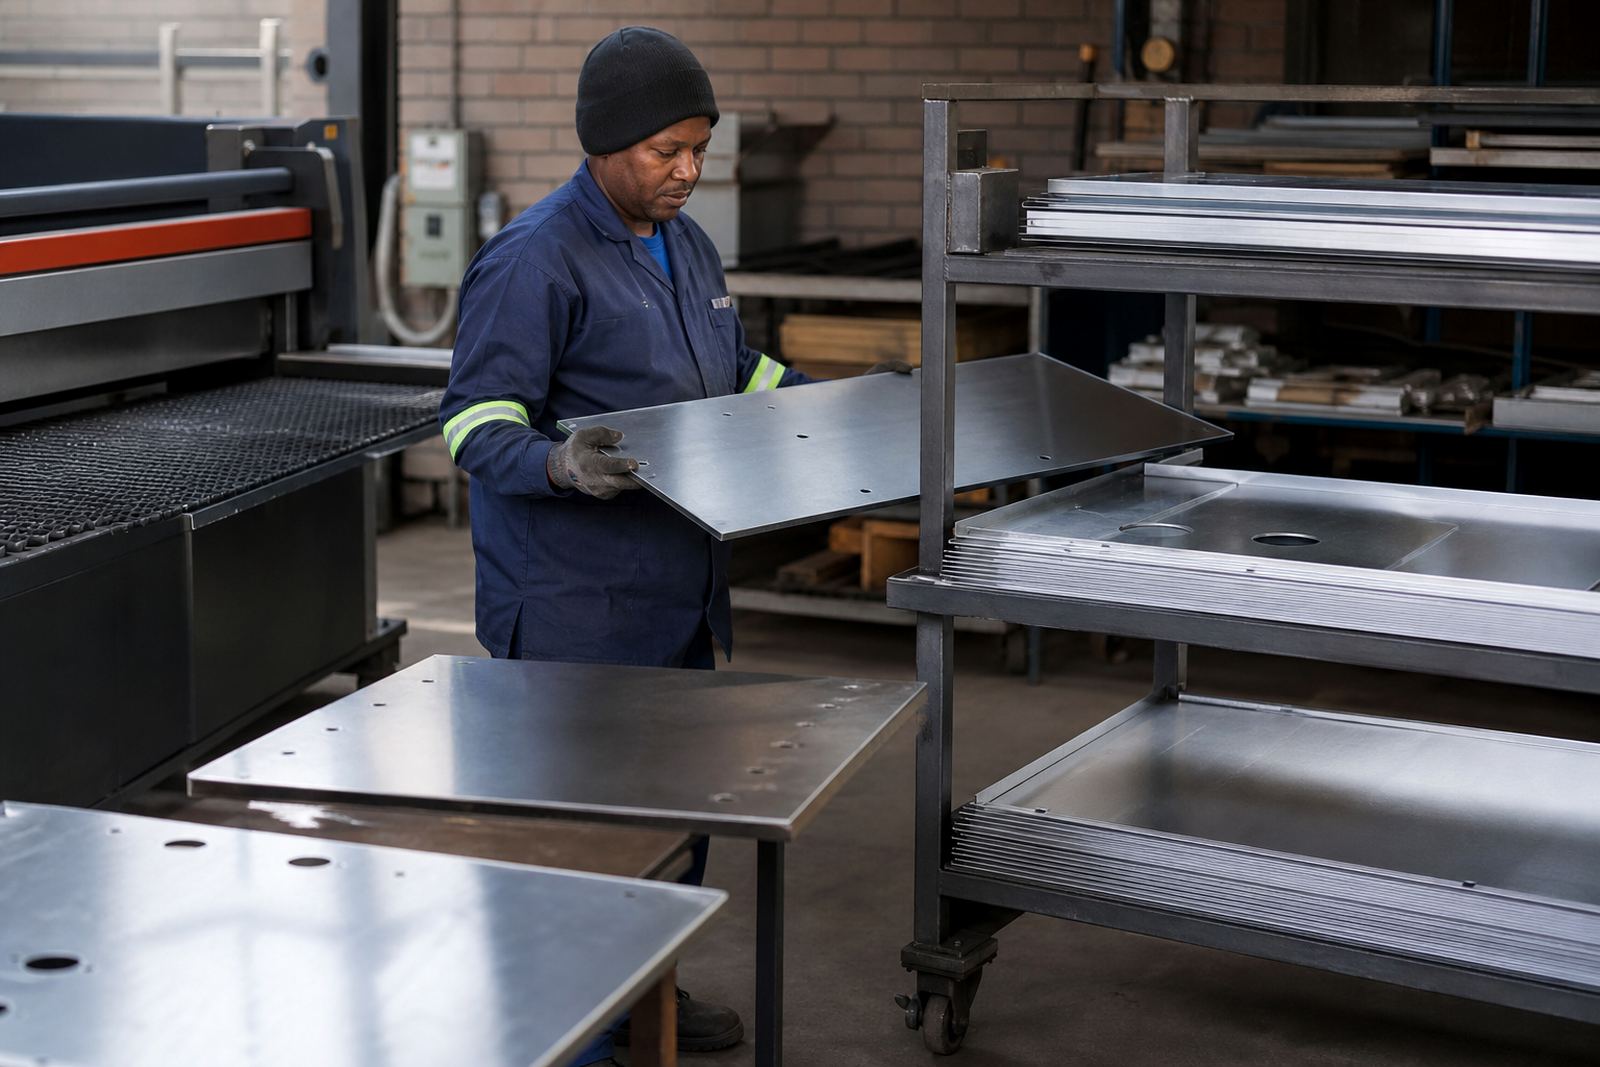
They also saw a steadier handover between cutting and fabrication. Parts could move to folding and welding sooner, and the team had fewer interruptions to sort out problem edges. In practical terms, that meant the workshop could handle more work without adding another full-time finishing station. Not every shop needs more people, sometimes it just needs the right machine in the right place.
- Less manual cleanup after laser cutting
- More consistent edge finish across batches
- Better flow into folding and welding
- Reduced rework on visible stainless parts
For the client, the biggest value was not a fancy change, but a reliable one. The line now does the same job the same way each day, even when production is under pressure.
What we would do again for a Durban fabrication shop
If we were setting up this type of Durban kitchen finishing line again, we would keep the same approach: test with the client’s own cut parts, set the machine around their common thickness range, and train the operators on the exact jobs they run every week. That keeps the handover practical and cuts down on surprises after installation.
We would also continue planning for local workshop realities. In Durban, moisture, salt in the air and occasional power interruptions are part of the day. A deburring setup has to be easy to clean, easy to run and simple to get back into service after any stop. If a machine is awkward, it will slow the whole team down. If it is straightforward, the job moves on.
- Use the client’s own sample parts during setup
- Match settings to real production thicknesses
- Keep training short, direct and workshop-based
- Plan for cleaning and maintenance from day one
That is the same approach we bring to fabricators across South Africa, from Durban and Johannesburg to Pretoria, Cape Town and Rustenburg. The goal is always the same: better edges, less manual work, and a smoother production day.
Key facts
| Client type | Stainless steel fabricator producing food-service parts |
|---|---|
| Town | Durban |
| Project duration | 3 weeks |
| Material range | Laser-cut stainless sheet from 0.8 mm to 3.0 mm |
| Main outcome | Less manual cleanup and more consistent edge quality |
| Services used | Installation, training, sample testing and process tuning |