
Start With the Material Before You Set the Machine
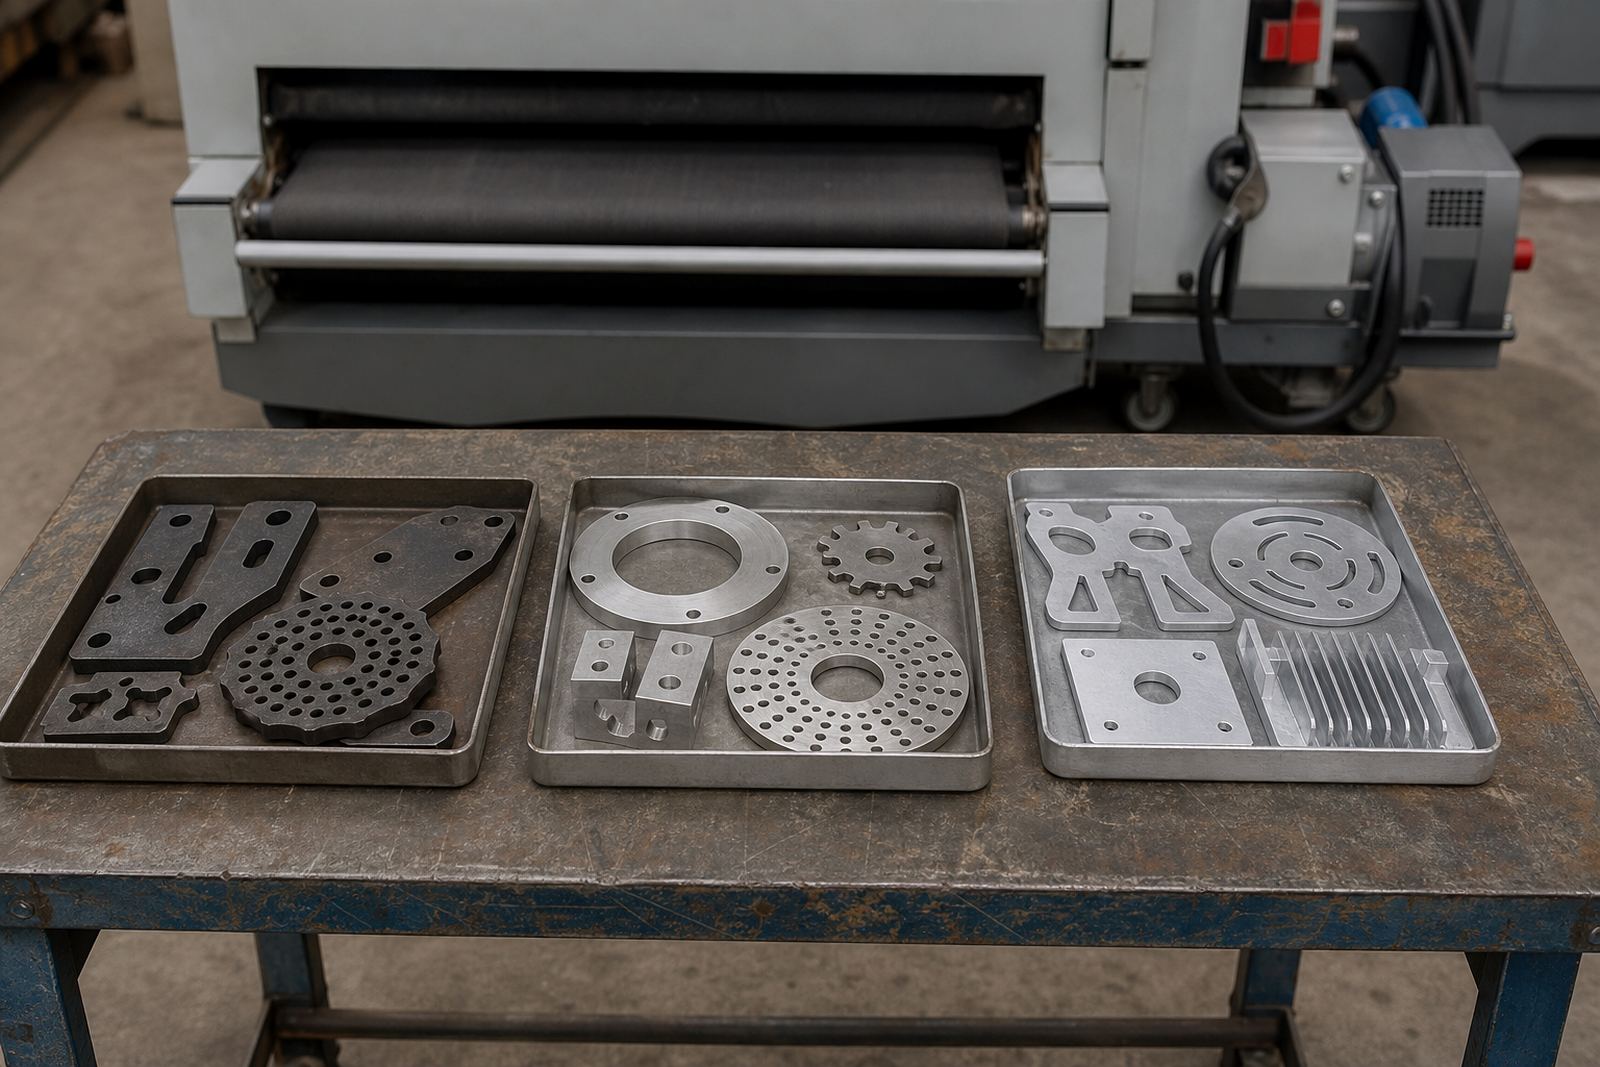
Laser-cut parts can look similar on the table, but mild steel, stainless steel and aluminium behave very differently once the cut edge is exposed. The right setting depends on burr height, edge hardness, part thickness, oxide level and whether the parts will be coated, welded or assembled later. A setting that works on 1.6 mm mild steel may leave marks on 3 mm stainless or round over an aluminium edge more than you want.
Before running a batch, confirm the alloy, thickness and finish requirement from the drawing or job card. If the material came from a different supplier, check whether the surface has a heavy oxide, protective film or oil residue. In South Africa, sheet can sit through a hot day in Gauteng or pick up coastal humidity in Durban, so surface condition changes faster than many shops expect.
- Confirm material grade and thickness.
- Check whether the parts are for powder coating, painting, welding or direct assembly.
- Inspect the cut edge for heavy dross, burrs and heat tint.
- Separate thin sheet from heavier plate so the finishing setup stays consistent.
Mild Steel: Prioritise Burr Removal and Consistent Edge Break
Mild steel is usually the most forgiving material to process, but it still needs the right balance between cut-edge clean-up and material removal. For most laser-cut parts, the aim is to remove slag and burrs, then leave a consistent edge break that does not interfere with handling or assembly. If the edge is too sharp, workers will feel it during bending, welding and packing. If you remove too much, small features and holes can lose accuracy.
Use a setup that clears loose burrs first, then checks the edge all round. On parts that will be painted or powder coated, the edge should be clean enough for coating to bond properly, with no loose particles left behind. If the sheet has local heat distortion from the laser, a steady feed and correct abrasive choice can help keep the part flat enough for the next operation.
- For thin mild steel, use lighter pressure and shorter contact times.
- For heavier sections, increase contact enough to remove dross without marking the face.
- Watch small holes, slots and internal corners, these are often the first places where burrs remain.
- After finishing, wipe the parts and check that no grit is trapped in folded sections or cutouts.
Stainless Steel: Control Heat, Marks and Surface Finish
Stainless steel needs more care because the visible finish matters and the material can show scratching, smearing or heat discolouration very quickly. A machine setup that is too aggressive can leave swirl marks or over-round the edge, while a setup that is too light may leave a knife edge that is unsafe for handling. The best result is usually a clean, uniform edge with minimal surface disturbance and no discolouration left behind from cutting.
When finishing stainless, check whether the job is for food equipment, architectural parts or general fabrication. Those applications often need a cleaner cosmetic result than standard structural work. If parts are destined for coastal sites such as Durban or Cape Town, it is worth paying extra attention to any contamination from carbon steel particles, because that can lead to staining later. Keep brushes, belts and handling tools dedicated where possible.
- Use a controlled, even feed to avoid hot spots and streaking.
- Keep stainless parts separate from mild steel to prevent cross contamination.
- Inspect for heat tint near the laser edge and remove it before final assembly.
- If the part has a brushed or visible finish, confirm the direction and texture before running the full batch.
Aluminium: Keep the Edge Clean Without Loading the Media
Aluminium is soft, which means it can finish nicely, but it also loads abrasives quickly and can pick up marks if the setup is not right. The main risk is not just burrs, it is dragging, smearing and a dull edge that looks uneven under light. For parts that will be anodised, coated or left natural, a clean and even edge finish is important, because defects show up fast once the part is installed.
Choose settings that reduce loading and keep the contact surface clear. In many workshops, aluminium parts are the ones most likely to be packed too soon, then mark against each other during transport to Johannesburg, Pretoria or further afield. Good finishing is only part of the job, proper handling matters too. Stack parts with separators and avoid sharp edges rubbing together during loading and delivery.
- Check the abrasive or finishing media often, because aluminium clogs it faster than steel.
- Use lighter pressure than you would on mild steel.
- Keep an eye on small cutouts, thin webs and edges that can deform.
- Handle finished parts with gloves or clean hands so the surface stays presentable.
A Simple Setup Checklist for Mixed Material Jobs
Many South African fabrication shops run mixed work in one shift, especially when laser cutting feeds the same downstream finishing line. That is where mistakes start, because the machine may still be set for the last job. A short checklist at the start of each batch saves time and prevents rework. It also helps when operators change between shifts, or when load-shedding affects the flow of work and parts are restarted later in the day.
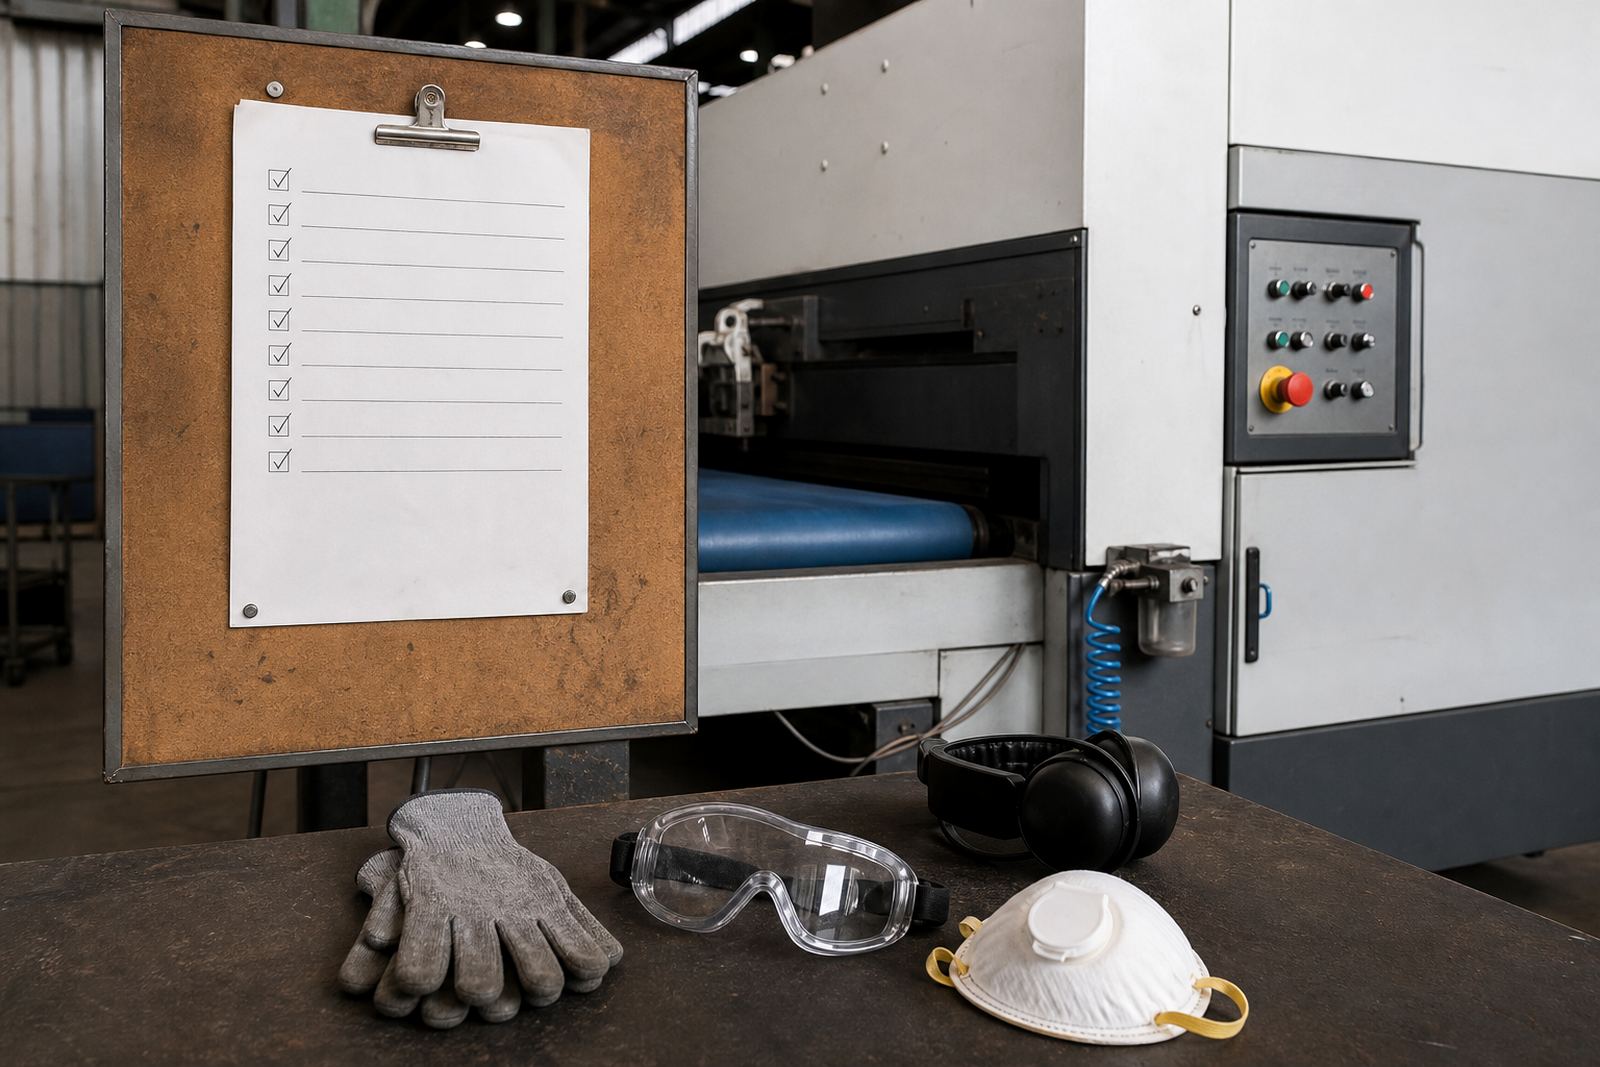
Use the checklist below before every changeover. It should be quick enough for daily production, but detailed enough to catch the common errors that cost time and scrap.
- Confirm the material type, thickness and batch quantity.
- Check whether the goal is deburring only, or deburring plus edge finishing.
- Set the machine for the most sensitive feature on the part.
- Run one sample piece and inspect all sides, not just the outside edge.
- Record the setting if the job repeats regularly.
When to Test a Sample Part Before Full Production
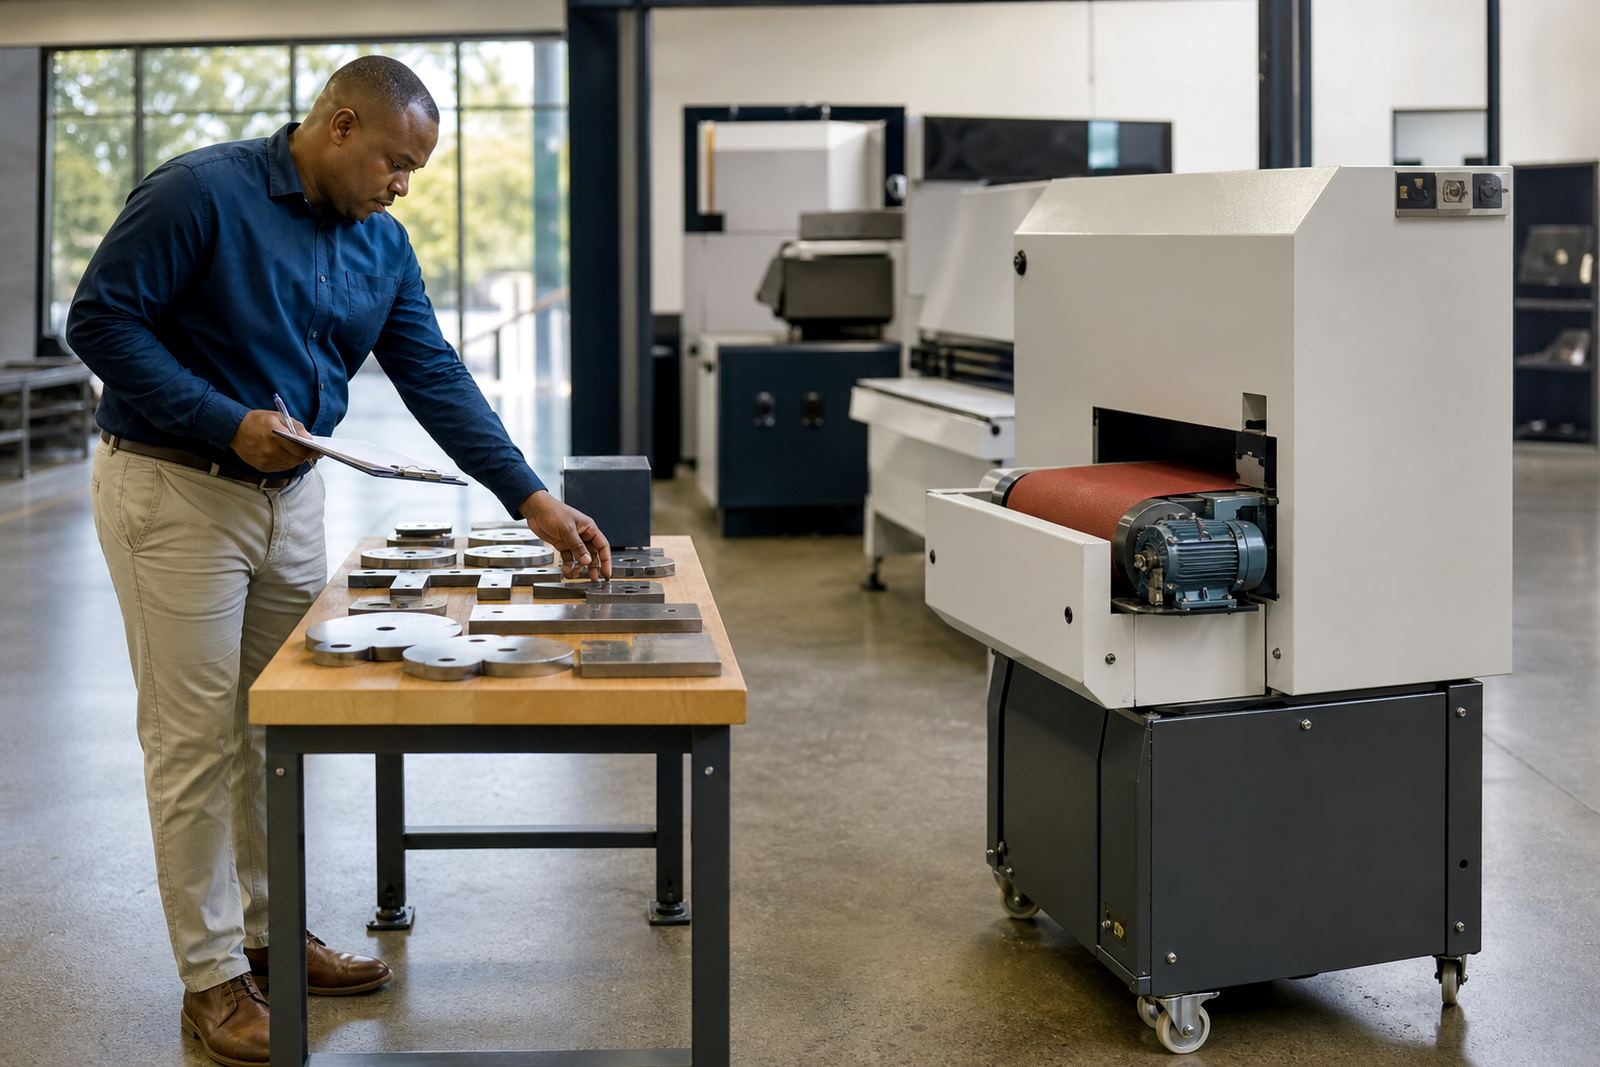
Sample part testing is worth doing whenever the job is new, the material supplier changes, or the finish spec is tighter than normal. It is also useful when parts have a mix of holes, slots and external contours, because one setup may not suit every feature. A short test batch can show whether burrs remain in hidden areas, whether the edge has been over-finished, and whether the surface still looks acceptable after handling.
For fabricators in Wadeville, Germiston and the wider East Rand, testing before a full run can save a lot of downtime. It is easier to adjust one sample than to stop a full order halfway through. If the parts will later be welded, bent or assembled into larger frames, make sure the test pieces go through the same next step as the real batch. That is where edge quality often gets judged.
Good sample testing should answer three questions, is the edge clean, is the surface acceptable and is the process repeatable. If the answer is yes to all three, move ahead with confidence. If not, adjust the setup and test again before you commit the whole job.
Keep the Line Moving With Maintenance and Operator Discipline
A finishing machine only performs as well as the condition it is kept in. Worn media, dirty extraction, loose rollers and poor cleaning routines all affect the final result, especially on stainless steel and aluminium. Preventive maintenance also matters in South Africa, where power interruptions and production pressure can lead to rushed restarts. If the machine is not checked properly after a shutdown, the first few parts of the next batch often carry the mistakes.
Train operators to inspect the incoming parts, confirm the material and clean the machine between material changes. That habit helps protect finish quality and keeps abrasive replacement under control. If your output is growing, an annual service contract and regular machine audits can help spot wear before it becomes a stoppage. For plants supplying Johannesburg, Pretoria, Durban, Cape Town or Rustenburg, steady uptime is often the difference between meeting a deadline and missing it.
- Clean down the machine at the end of each shift.
- Replace worn consumables before they start affecting edge quality.
- Keep stainless, mild steel and aluminium jobs separated where practical.
- Log faults, adjustments and repeat jobs so settings are easier to reproduce.