
Start With a Clear Reference Part
Before you judge the finished edge, keep one untreated sample from the same nest and thickness. That gives your team a direct comparison for burr height, sharpness and any heavy dross left from the laser cut. In Wadeville and across Gauteng, many fabricators keep a simple reference rack by material type, because mild steel, stainless and aluminium do not finish the same way.
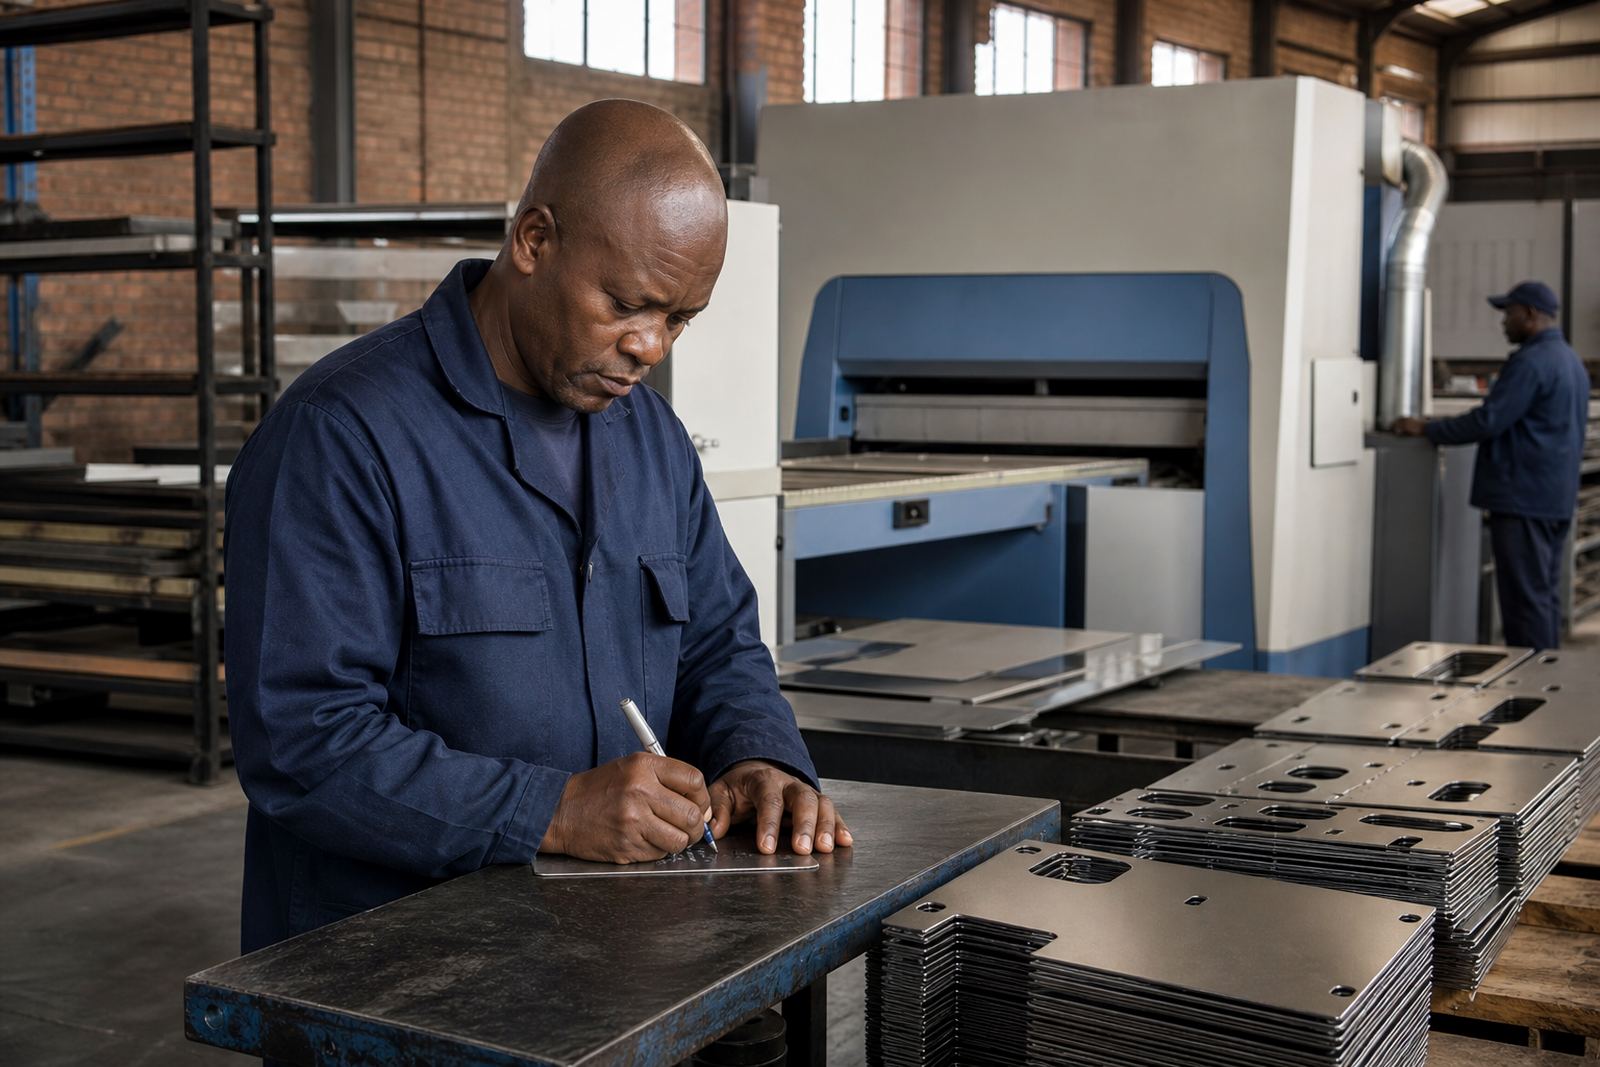
Set the sample out on a flat bench and inspect it in bright white light. Look at the cut side, the top edge and the underside. If the job is small enough, hold the part with gloved hands and run a finger lightly across the edge. You are not trying to feel for polish, only whether the sharp knife edge has been broken properly. A good first check saves time later and cuts down on rework.
For repeat jobs, note the part number, material grade, thickness and laser settings, then compare those notes against the finished edge. That simple record helps when a customer in Johannesburg wants the same result next week and the coil stock has changed slightly.
Measure Burr Height and Edge Break Consistently
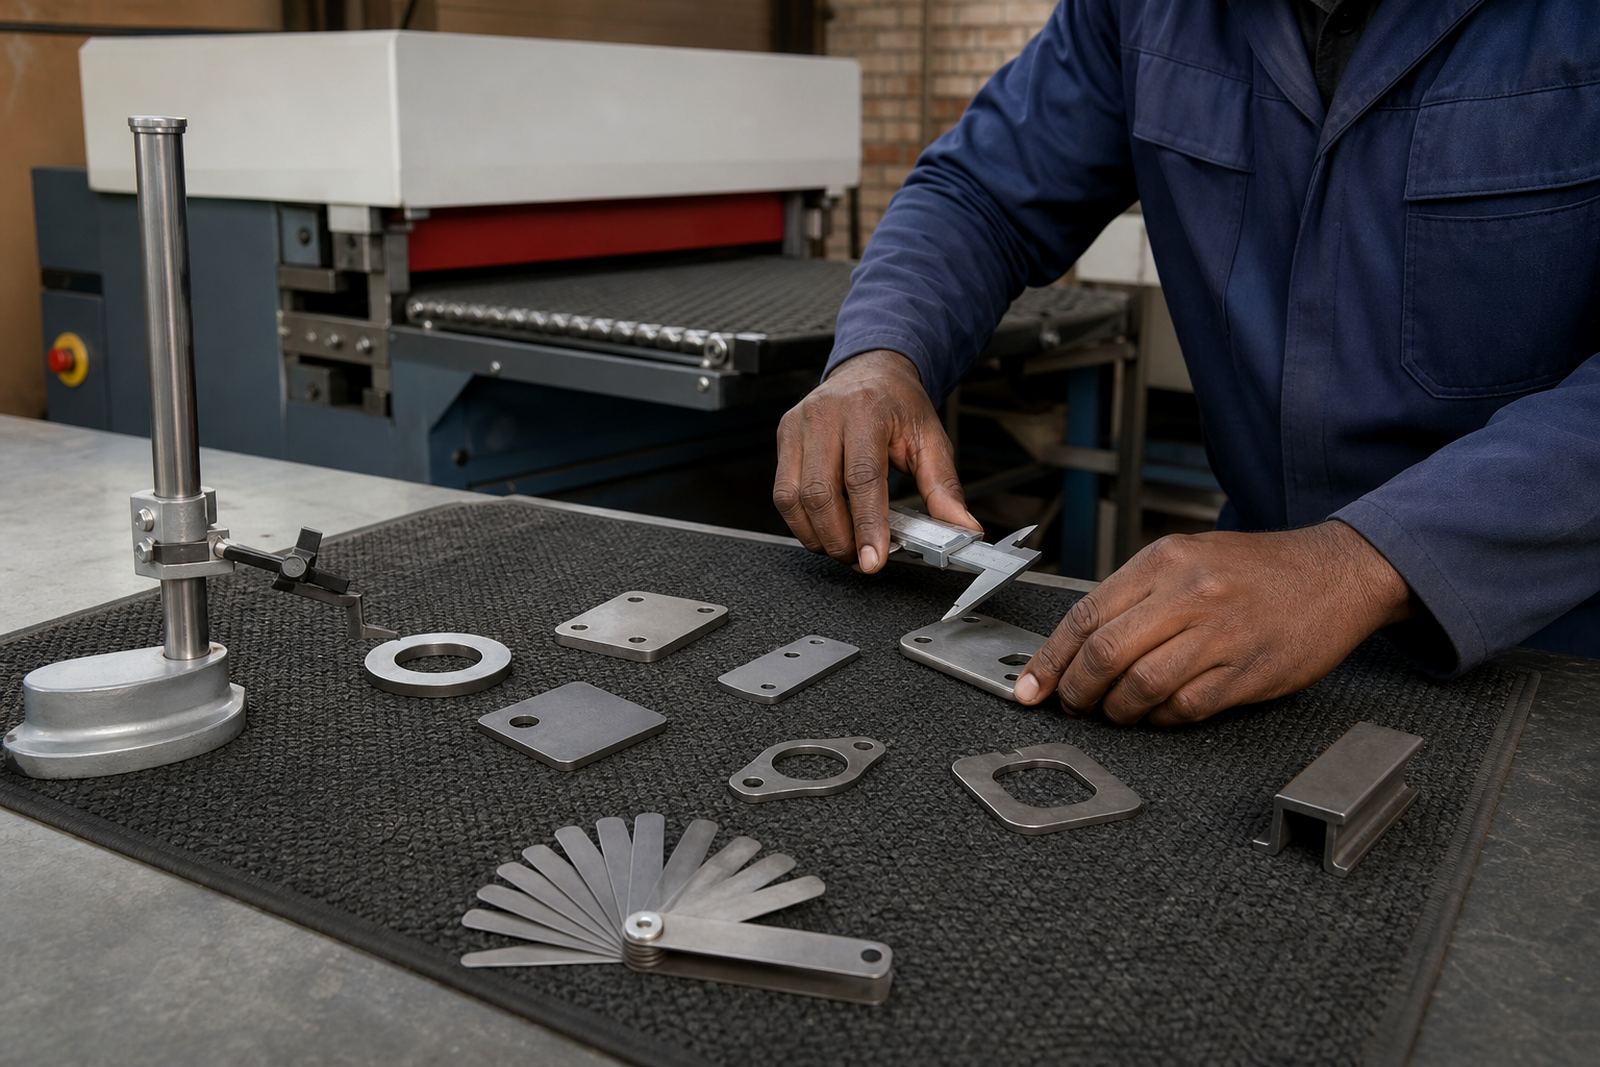
The two most useful checks are burr height and edge break. Burr height tells you how much material is still standing proud after cutting, while edge break shows whether the corner has been softened enough for safe handling and proper fit-up. Use the same measuring method on every batch so the result is not left to guesswork.
A practical method is to check several points on each part, especially long edges and corners. On thin sheet, burrs often show up near lead-in points or at the end of a cut path. On heavier plate, you may find a more stubborn lip on the underside. If one end of the part is cleaner than the other, that points to a process issue rather than a machine fault, so inspect the full route through the finishing machine.
- Check at least 3 points on short parts and 5 points on longer parts.
- Compare corners, straight runs and any notched areas separately.
- Use the same gauge, magnifier or profile tool every time.
- Record any burr that can still snag a glove or cloth.
Where parts are handled by hand after cutting, the edge should feel smooth enough to move on without snagging, but not rounded so much that dimensions are affected. That balance matters on brackets, panels and frames made for factories in Pretoria, Durban and Cape Town.
Check Finish Uniformity Across the Full Batch
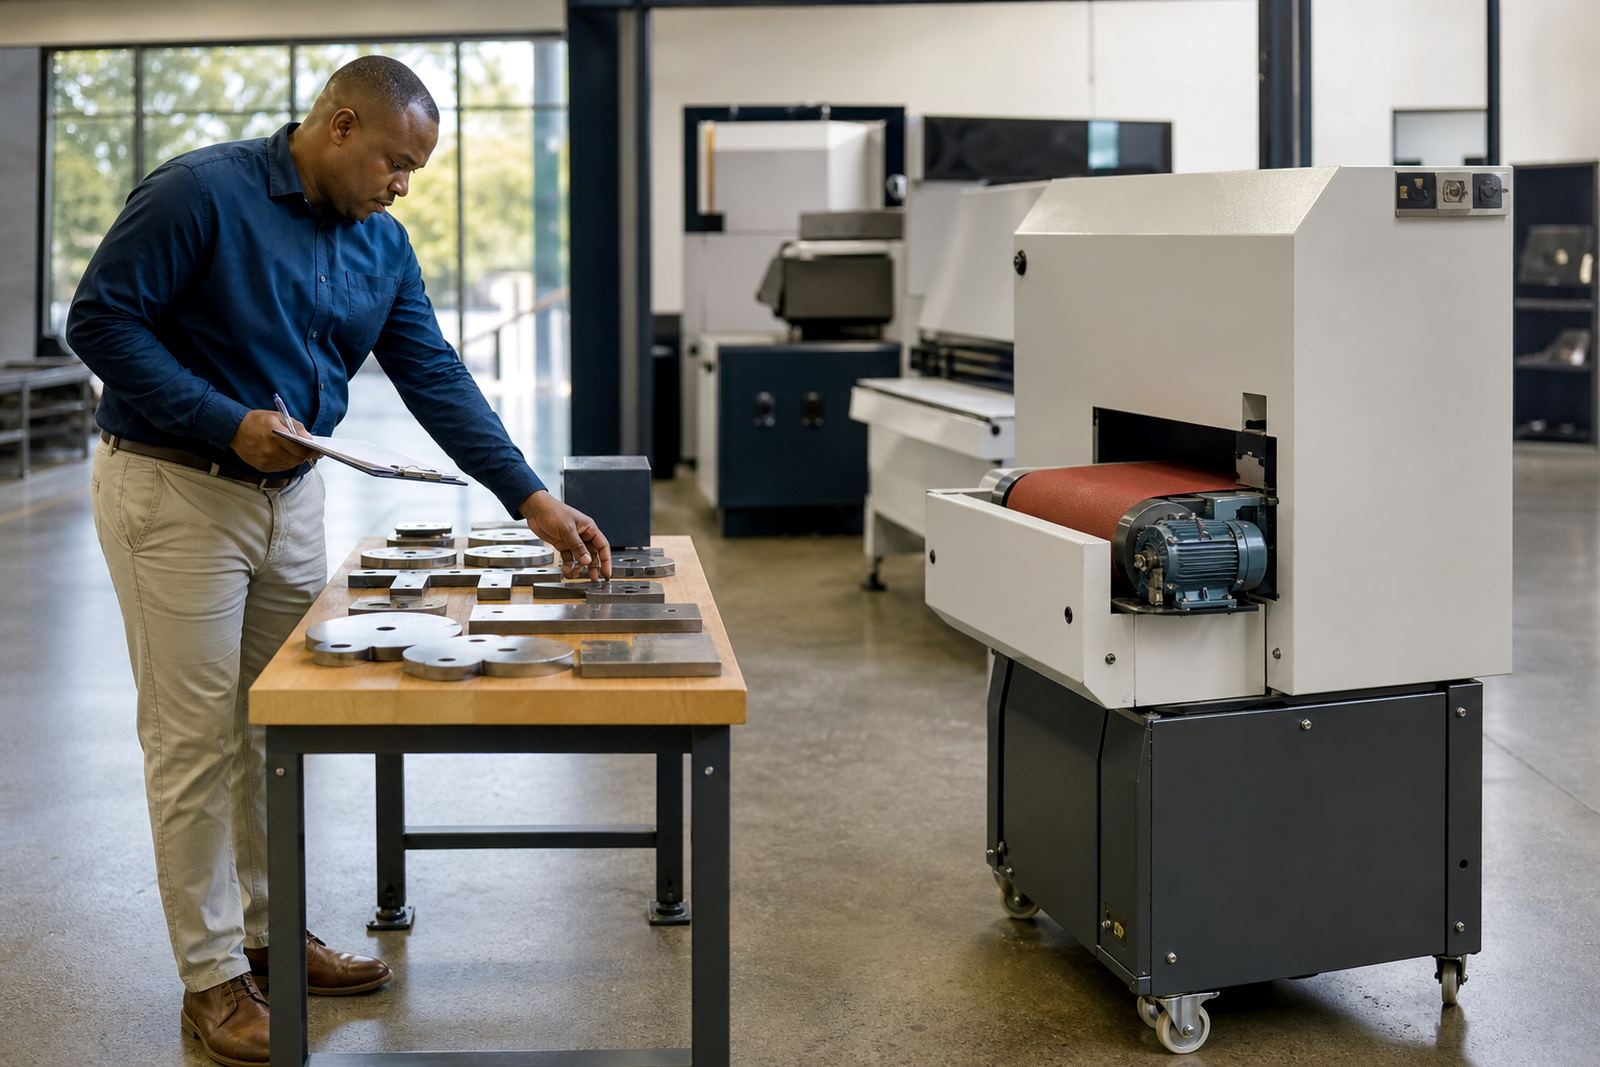
Uniformity is where many finishing lines win or lose time. A single part can look fine on the bench while the batch shows slight variation from front to back. Lay out 10 parts from the start, middle and end of the run and compare them side by side. If the finish changes over the batch, the cause may be belt wear, feed speed, dust loading or material variation.
Look for these signs of inconsistent finishing: one side cleaner than the other, shiny spots next to rough patches, heat tint remaining on some pieces, or a light burr still visible on only certain corners. In coastal areas such as Durban and Cape Town, humidity can also influence how dust and residue build up on consumables, so cleaning intervals matter more than many shops expect.
A short batch check list keeps the line honest:
- Match the first part to the last part in the stack.
- Check whether the underside finish is as even as the top.
- Confirm that all cutouts and internal edges have been treated.
- Watch for any change after a changeover or lunch break.
If the finish drifts, stop and correct the cause before the next batch goes through. That is cheaper than sorting parts later.
Inspect Edges for Safe Handling and Downstream Fit
Finish quality is not only about touch, it must also suit assembly, welding and coating. A part that feels smooth but still carries a slight lip can cause problems in powder coating, bending or press fitting. Check every sample against the next process in the shop. If the part will be welded, the edge should be free of loose burrs and heavy oxide. If it will be assembled with fasteners, the edge should not interfere with hole alignment.
Many shops in Rustenburg and the East Rand work with mixed batches, so the finishing check should include all part types in the order. Thin cover panels need a different edge condition from structural brackets. For a fast visual audit, look for clean corners, even edge break, no sharp points on tabs and no loose debris trapped in slots.
When a customer brings back a rejected part, measure both the finished edge and the surrounding surface. Sometimes the issue is not the deburring itself, but residue left behind from cutting or from a worn abrasive stage. A clean finish should leave the part ready for the next operation with no extra hand work needed.
Track Wear, Dust and Consumables Before Results Drift
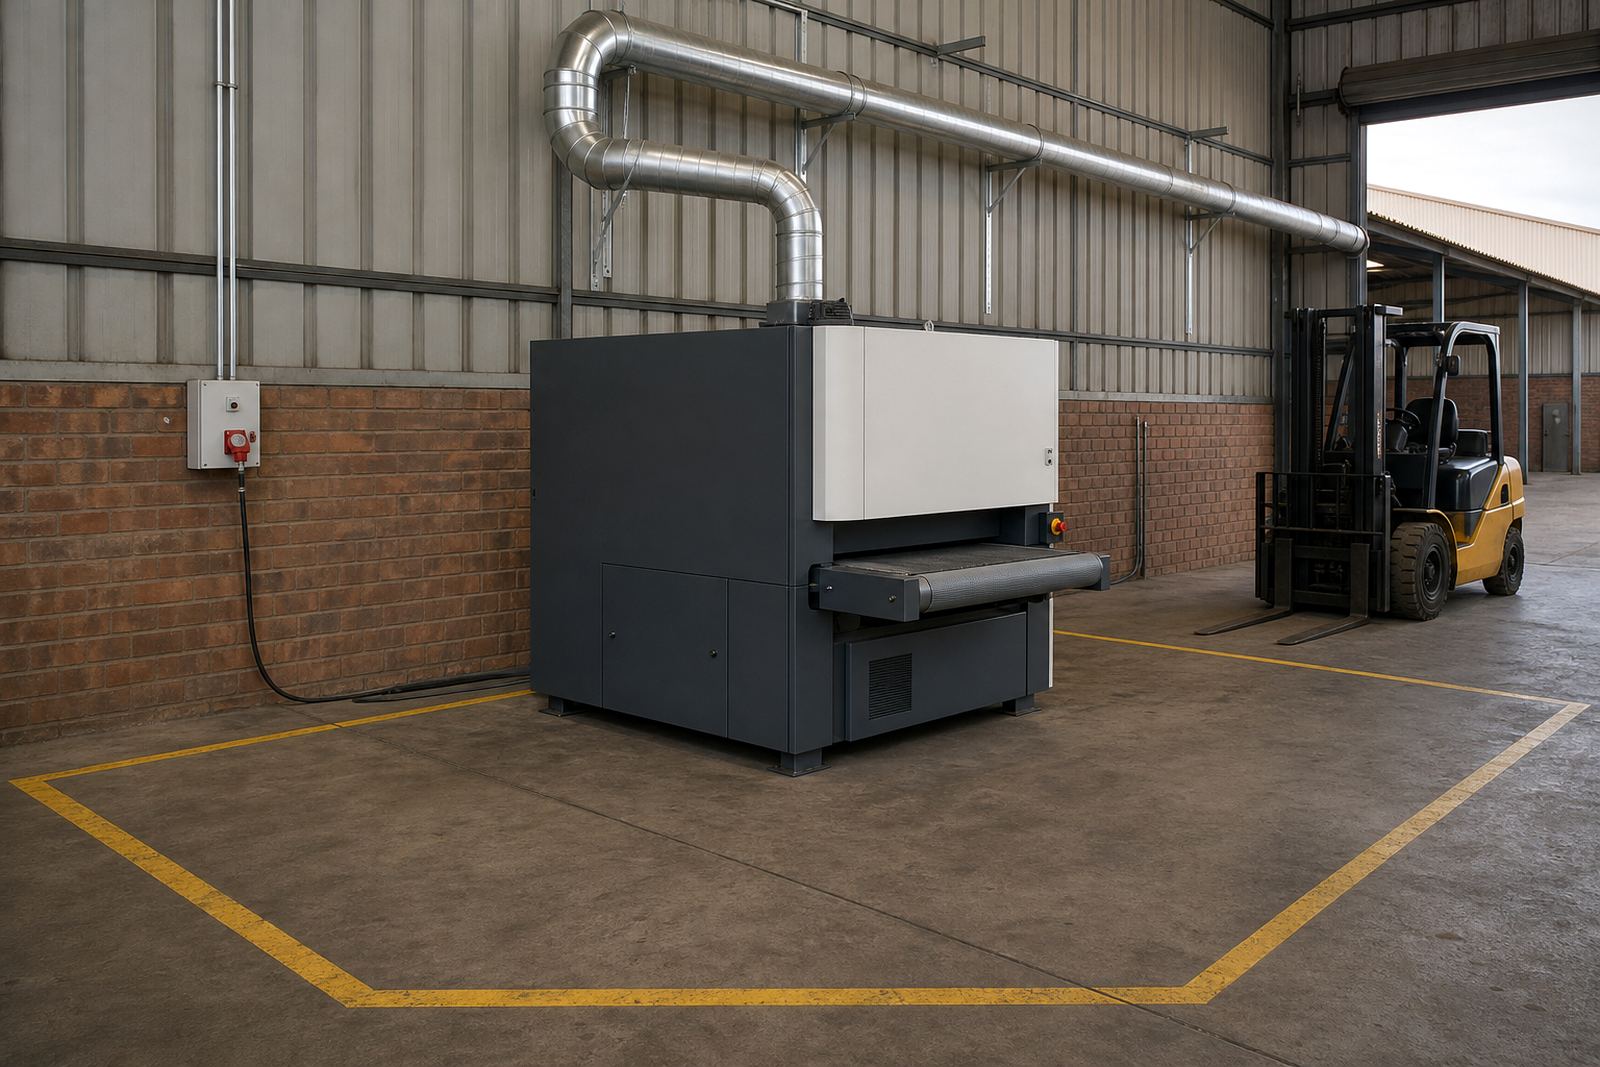
Deburring results move over time, especially on busy lines running every day through load-shedding interruptions or back-to-back shifts. If a machine is left idle and then restarted, check the first few parts again. Consumables, brushes and abrasive elements wear unevenly and can change the finish long before the operator notices a visual difference.
Build a simple daily routine around these checks:
- Inspect the working surface and remove built-up dust and swarf.
- Check abrasive condition and replace worn sections before they mark the part.
- Confirm the infeed and outfeed are level so parts do not tip.
- Listen for unusual vibration or chatter during the pass.
Keep a log of when consumables are changed, how many parts were run, and which material was processed. That log helps your team link finish quality to wear patterns. It also supports preventive maintenance, which is useful when you are trying to keep throughput steady and avoid stop-start production.
Use a Simple Audit Sheet for Every Job
A short audit sheet makes finish checking easier for supervisors, operators and quality staff. The sheet should show part name, material, thickness, machine settings, operator name and the measured finish result. Keep it simple enough that it gets filled in properly, not left on a clipboard. A good sheet turns a vague comment like “the edge looks rough” into something the team can act on.
Include these fields on your audit:
- Burr removal pass or fail.
- Edge break within target or outside target.
- Uniform across batch yes or no.
- Notes on dust, wear, noise or material variation.
Over time, the sheet becomes a useful record for production planning and machine audits. It shows which jobs need tighter settings, which operators need refresher training and when a service visit is due. For fabricators supplying jobbing work across South Africa, that kind of record keeps repeat orders more predictable and reduces wasted sheet.
When you need support with sample part testing, operator training or a machine audit, it helps to bring a few finished parts and the matching offcuts. That gives a clear picture of what the machine is doing and where the finish can be tightened up.