
Start With A Real Production Problem
Before you book a trial, write down the exact issue you want to solve. It could be sharp burrs on laser-cut mild steel, inconsistent edge quality on stainless, heavy slag on thicker plate, or too much manual grinding after cutting. The more specific the problem, the easier it is to test the right machine settings and compare the result against your current process.
Choose parts that are already causing delay or rework in your shop. That gives you a proper picture of cycle time, finish quality, and how much operator effort is needed before and after deburring. If your parts go to powder coating, welding, galvanising or assembly, include that in the brief because the edge finish must suit the next step too.
- List the material type and thickness.
- Note whether the parts are laser cut, plasma cut, or punched.
- Describe the current defect: burr, oxide, slag, sharp edge, or uneven finish.
- State the end use of the part and any coating or weld prep required.
Select Parts That Tell The Full Story
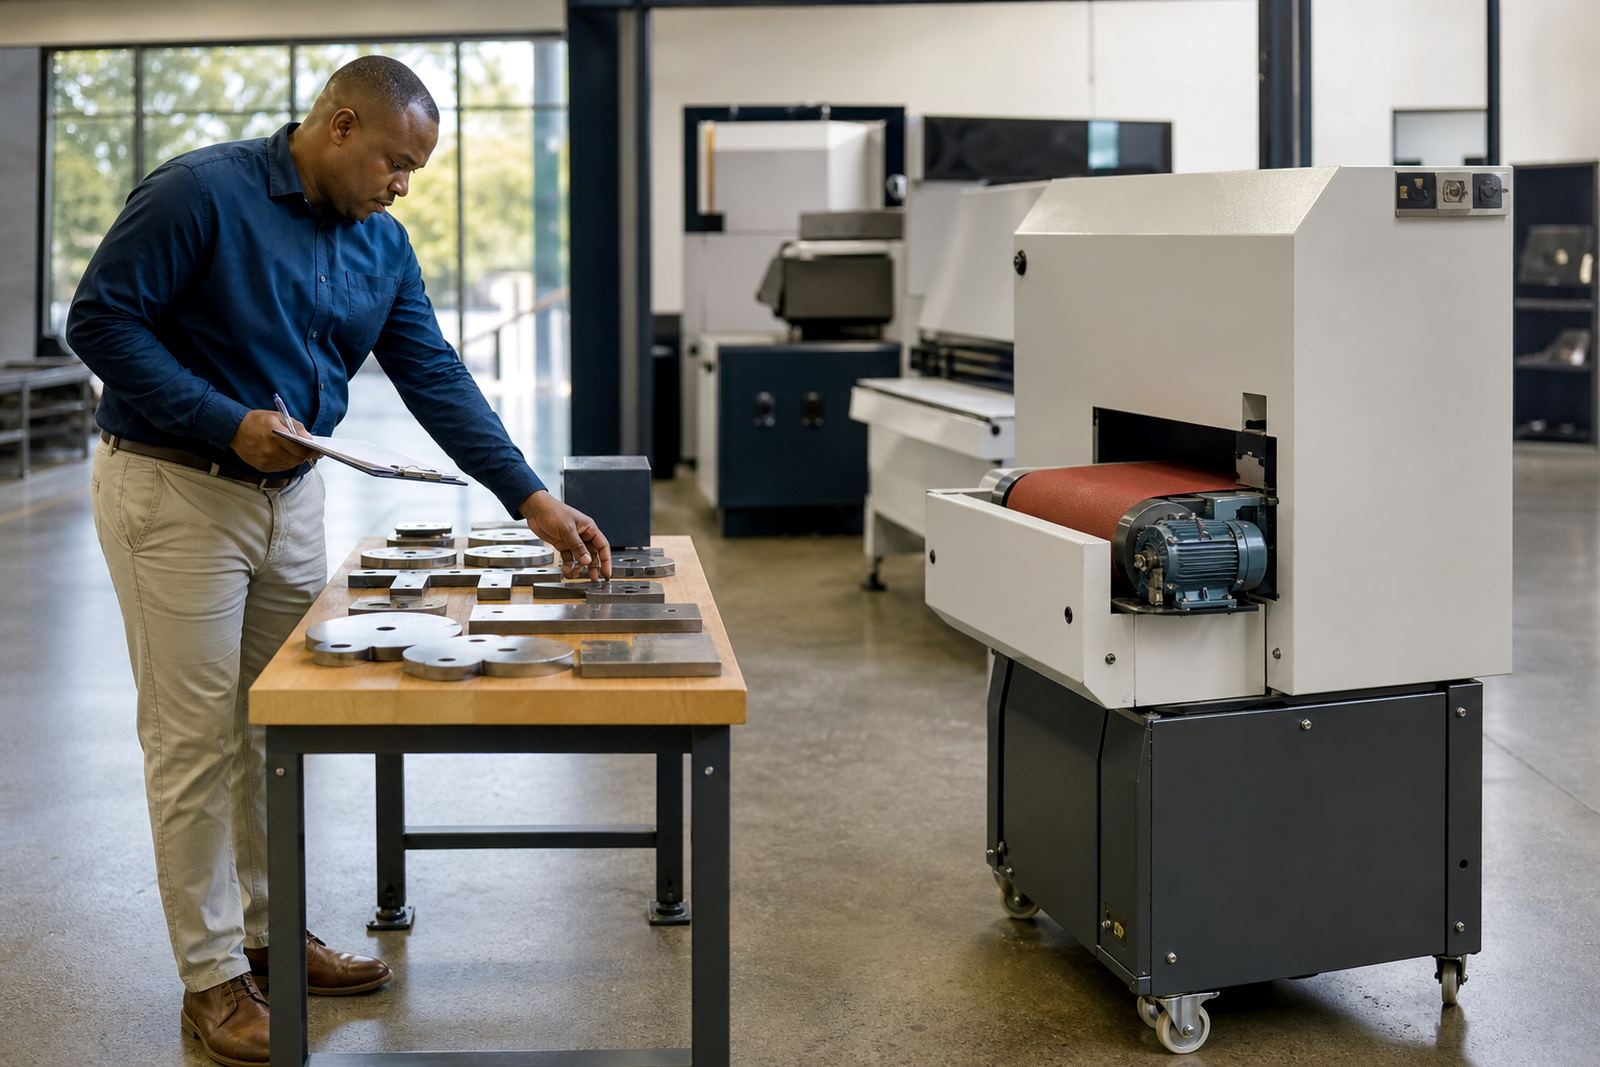
One part is not enough for a proper sample trial. Send a small mix that reflects your normal production run, including simple shapes and difficult ones. Small internal cut-outs, narrow webs, and corners often show where a machine performs well or needs adjustment. If your work includes batches for Johannesburg, Pretoria, Durban or Cape Town, try to include the part types that move most often through those jobs.
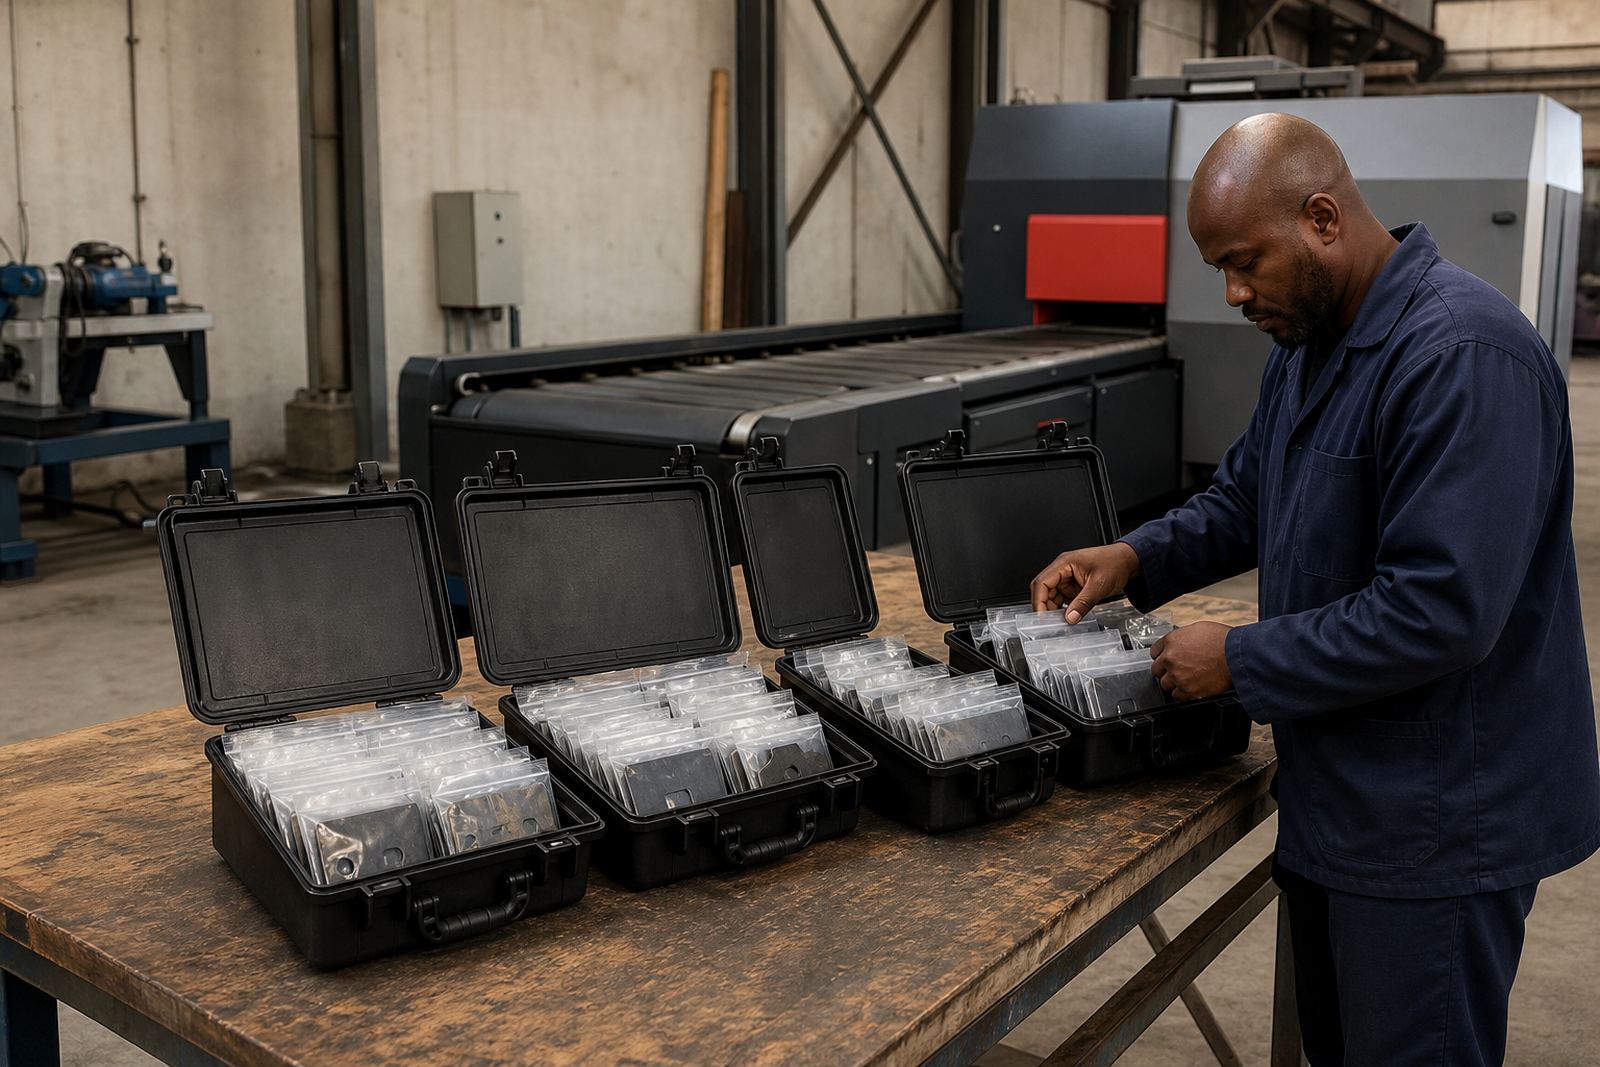
Pack parts from the same batch where possible, since cut quality can vary from one nest to the next. If you have repeat jobs, include a repeat part from a previous run so the finish can be compared against what operators know already. Keep the samples clearly marked if there are multiple material grades or thicknesses in the same box.
- Bring 3 to 10 parts per type, depending on size.
- Include at least one part with problem areas.
- Separate stainless, mild steel, and aluminium samples.
- Mark which side of the cut needs edge finishing.
Send The Right Trial Information Ahead Of Time
A sample trial runs better when the basics are clear before the parts arrive. Share drawings, material details, part thickness, average burr height if you know it, and the finish standard your customer expects. If the trial is for a production line in Wadeville, Germiston or Rustenburg, mention the daily volume and whether the machine must fit into an existing cutting and folding flow.
Also tell us about any site limits. Some workshops have single-phase supply only, some deal with load-shedding back-up plans, and others must manage dust extraction, noise, or floor space carefully. These details matter because they affect machine choice, installation planning, and the way the trial is set up. A good brief saves time and avoids guesswork.
- Send drawings in PDF or DXF where available.
- Confirm material type, thickness range, and batch size.
- Explain the target finish, including coating or weld prep.
- Note workshop limits such as space, power supply, or shift timing.
Judge The Trial On Numbers, Not Assumptions
When the parts are being tested, measure more than just the visual finish. A trial should show how much time the machine saves, how consistent the edge is, and whether the part stays within your handling and assembly needs. If your operators still need heavy hand finishing afterwards, the machine may not be solving the real bottleneck.
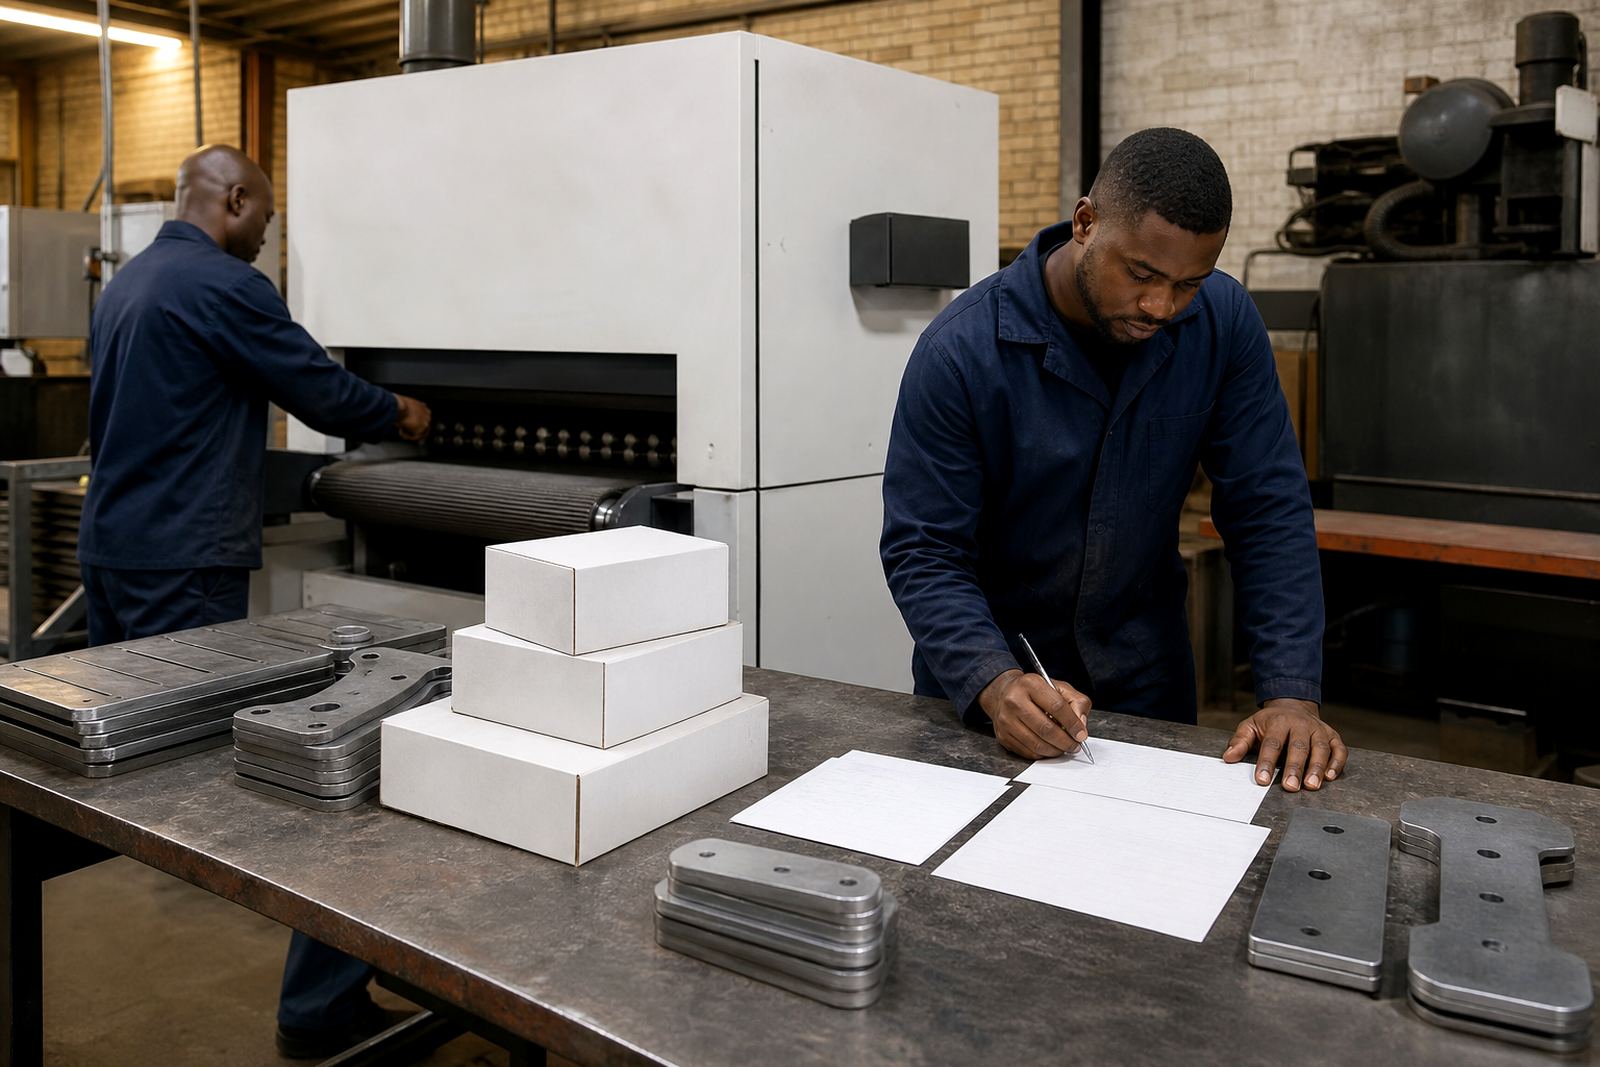
Use a simple comparison sheet for each part type. Record the feed speed, number of passes, abrasive wear, operator involvement, and final finish. If you are trying to reduce labour, compare the time spent on each part before and after the trial. This gives you a proper base for deciding whether the machine suits your production, not just the sample pieces.
- Cycle time per part.
- Amount of burr removed.
- Consistency across all samples.
- Wear on consumables or abrasive media.
- Any rework still required after processing.
Check What The Machine Needs To Run Properly
Some trial results look good on the day but are not practical in a real factory. Ask how the machine fits into your floor plan, what maintenance it needs, and how much operator training is needed to keep results consistent. If the workshop runs long shifts, or if it is close to the coast where humidity affects metal handling, it is worth checking how the equipment copes with daily use and storage conditions.
Also think about service access. A machine that performs well but is difficult to maintain can slow down production later. Our team in Wadeville, Germiston supports sample testing, operator guidance, preventive maintenance, and breakdown repairs, so the trial can be judged with the same practical standards you will use on the shop floor.
- Ask about cleaning, lubrication, and regular checks.
- Confirm spares and abrasive replacement intervals.
- Check space for loading, unloading, and stacking.
- Plan for training of the actual operators who will use it.
Use The Trial To Plan The Next Step
A useful trial should leave you with a clear next move. That may mean a single machine, a change in operating method, or a plan to match deburring capacity to laser cutting output. If your job flow includes transport between sites or contract work across South Africa, think about relocation support, service cover, and how quickly parts can be supplied when wear items need replacing.
Once the trial is complete, review the sample parts with the production team, not only management. The people who run the parts every day usually spot the small issues first. If the trial shows a fit, you can move into installation, training, process optimisation, and a service plan that keeps output steady through normal production pressure and municipal interruptions.
For a trial that reflects real work, bring real parts and give us the full picture from the start. That is how you get a result you can use with confidence.