
Start With The Parts You Handle Most Often
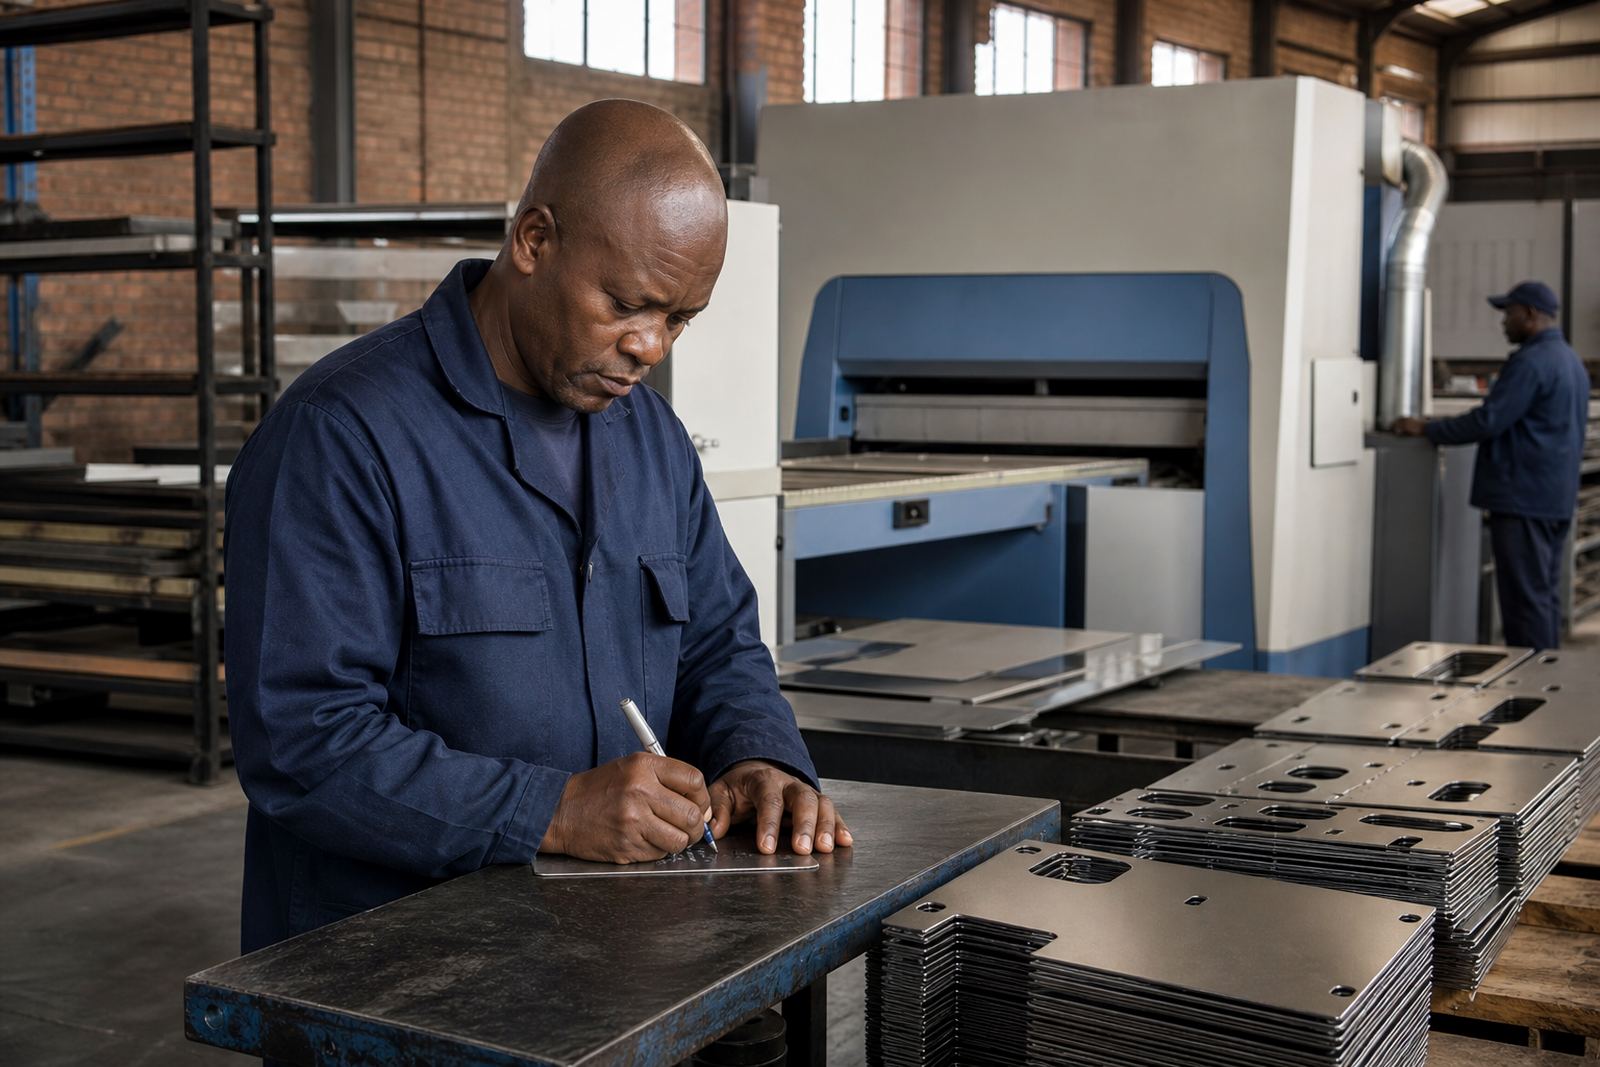
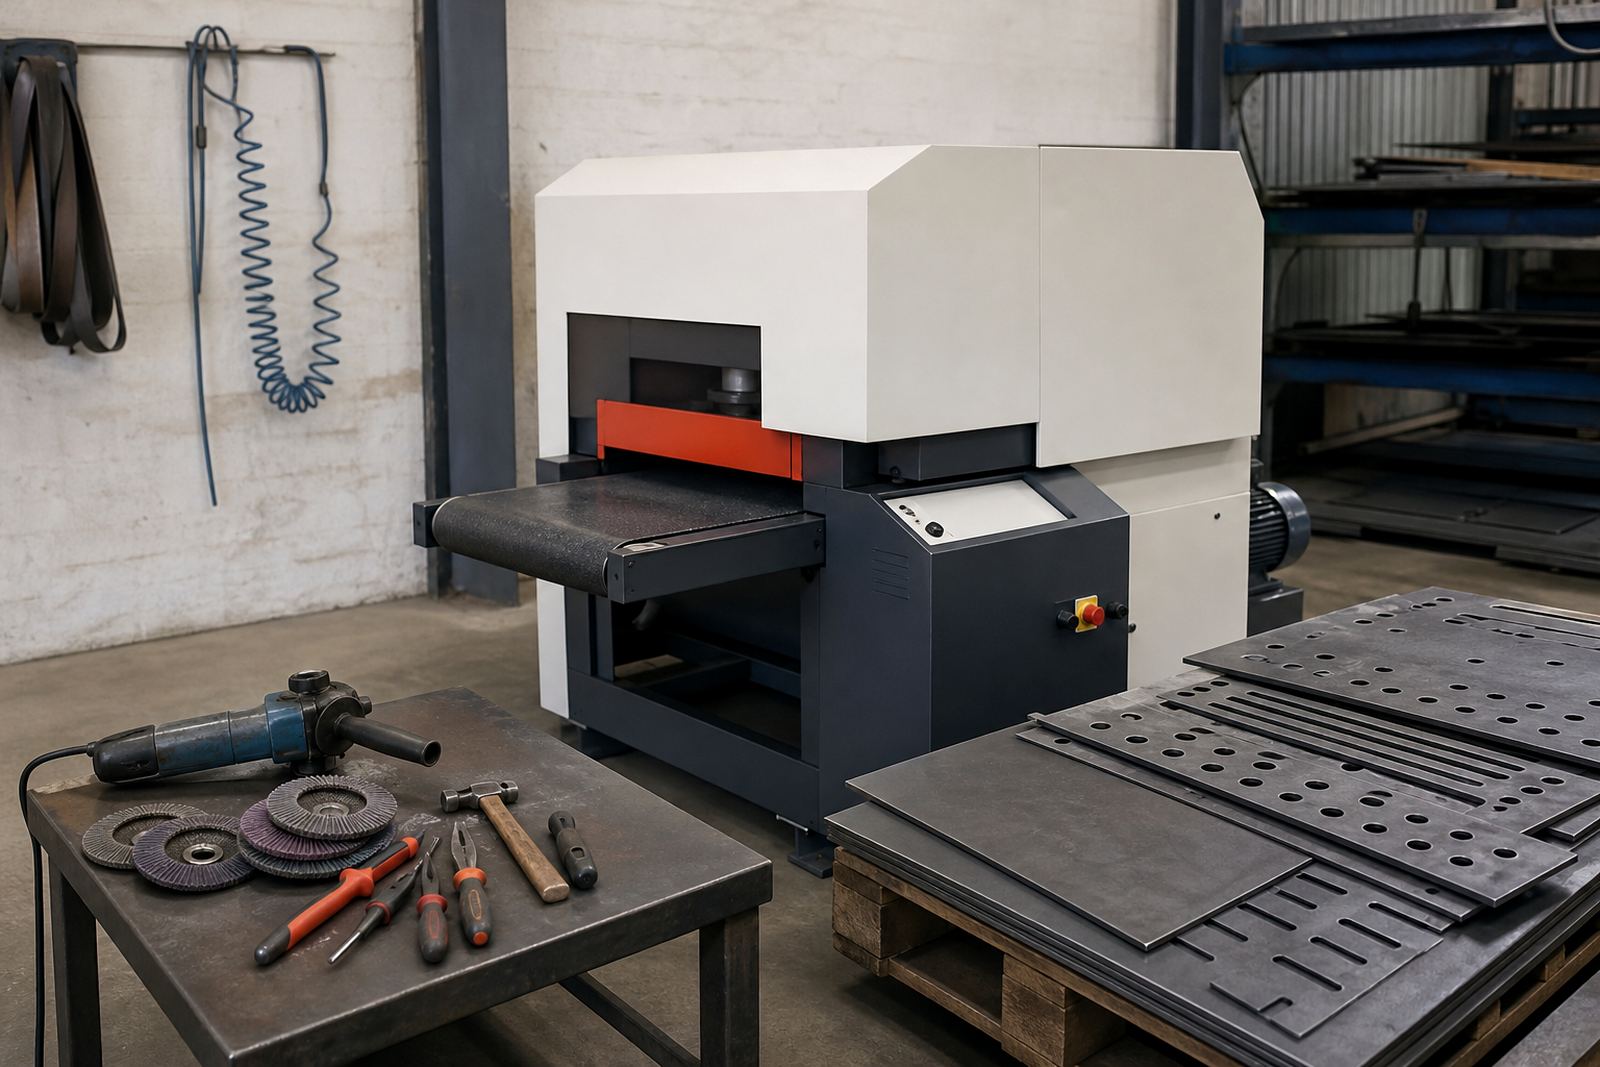
Before you look at machine size or speed, list the parts that cause the most rework. In many South African shops this is mild steel parts with sharp cut edges, small stainless brackets, or batches that need the same finish every time. If the parts are coming off the laser clean but still need edge break, oxide removal or burr control, that is where machine-led finishing starts paying back.
Walk the floor and count how many minutes are lost per sheet or per batch. Include hand tool wear, waiting time, and the stop-start pattern that comes with manual work. If one operator is doing the same edge on hundreds of parts, that is usually a better fit for a machine than for hand finishing. You do not need guesswork, just a clear picture of where the delays sit.
- List the top 10 part types by volume
- Note material type, thickness and cut quality
- Mark parts with sharp edges, burrs or heat tint
- Record current manual time per sheet or batch
- Separate repeat work from one-off jobs
Match The Machine To Your Daily Output
Once you know what you process, compare that list to your actual output. A shop in Wadeville doing steady batch work needs a different setup from a fabricator in Rustenburg handling mixed orders and quick turnarounds. Think about sheet size, part weight, extraction needs, and how often the machine will run during the day. If your team works around load-shedding, also consider what must stop and what can restart quickly after power returns.
Look closely at the finish your customer expects. Some jobs only need a light edge break, while others require a cleaner surface before bending, welding or coating. If you supply to Durban or Cape Town, humidity and coastal conditions can also affect storage and surface condition, so consistent finishing matters even more. A machine should fit the work flow not force the work flow to bend around it.
- Check maximum part width and minimum part size
- Confirm whether parts are flat, nested or mixed geometry
- Decide if you need one pass or multiple finishing stages
- Allow space for infeed, outfeed and safe operator movement
- Plan for dust extraction, compressed air and cleaning access
Prepare The Shop Before The First Delivery
A proper handover starts before installation day. Measure the floor, check access through doors and loading bays, and make sure the route from the truck to the machine is clear. In older industrial areas around Germiston, floor level changes and tight entrances can catch people out, so measure twice. If the machine will sit near other equipment, allow enough space for inspection, abrasive changes and routine cleaning.
Electrical supply should be checked early. You want the correct phase, isolation point and protection in place before the machine arrives. If your site has unstable supply, plan how you will handle restart after outages. Also think about municipal requirements for noise, dust and waste handling, especially where the workshop is close to other businesses or residential edges. Good preparation saves a lot of time and helps the machine start earning sooner.
- Confirm floor space and doorway clearances
- Check power supply, cable routes and isolation points
- Plan dust collection and waste removal
- Set a clean staging area for incoming laser-cut parts
- Assign one responsible operator and one backup operator
Train Operators On Real Jobs, Not Theory
Training works best when it uses your own parts. A small bracket, a heavy panel and a part with many cut-outs will teach more than a general demo. Your operators need to know how to feed parts safely, set the correct finish, inspect the result and stop the machine if something looks wrong. They should also understand when a part should stay in manual work because of shape, coating or handling risk.
Keep the first week simple. Start with repeatable jobs and track the finish, cycle time and any rework. Ask operators to record common issues like edge chatter, part movement or abrasive wear. The goal is not just to run the machine but to build confidence in the process. A clean handover reduces mistakes and helps the team trust the new method.
- Use sample parts from your own production
- Set one operator as the first point of control
- Record cycle time and finish quality for each job
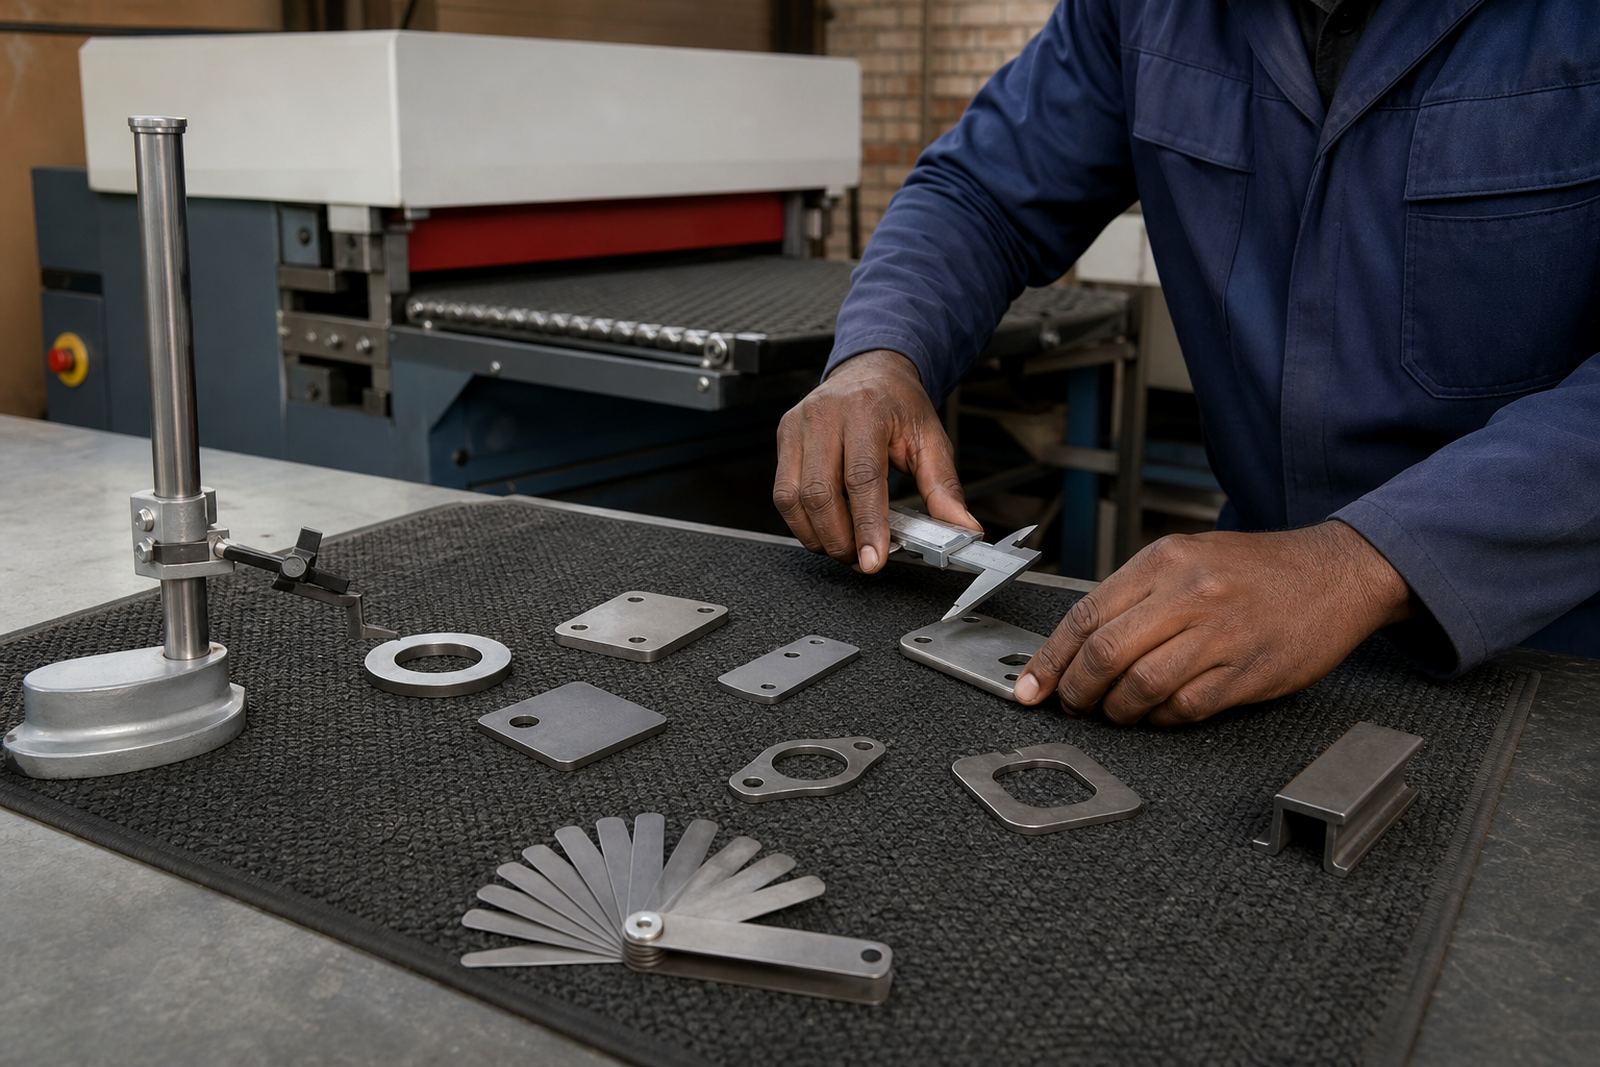
- Show how to inspect edges, corners and cut-outs
- Agree on shutdown and cleaning steps at shift end
Track The First 30 Days Like A Production Trial
The first month tells you whether the process is working properly. Compare the new method against the old one using time, consistency and scrap. If a part used to take 12 minutes by hand and now takes 3 or 4 minutes with steadier quality, that is useful proof. If rework drops and operators spend less time on repetitive filing, you can move more labour to higher value work like fit-up, assembly or final inspection.
Watch for small issues that can affect output. Are abrasive consumables lasting as expected? Is the extraction coping with the dust load? Are operators keeping to the same setting from job to job? A simple checklist and weekly review will show whether you need a minor adjustment or a bigger process change. It helps to keep notes on any breakdowns too, so you can spot patterns before they become costly.
- Compare manual time against machine time weekly
- Check edge quality against agreed sample parts
- Record consumable use and spare part needs
- Note any stoppages, repeat faults or operator confusion
- Review whether the machine is running to capacity
Build A Maintenance Routine That Protects Output
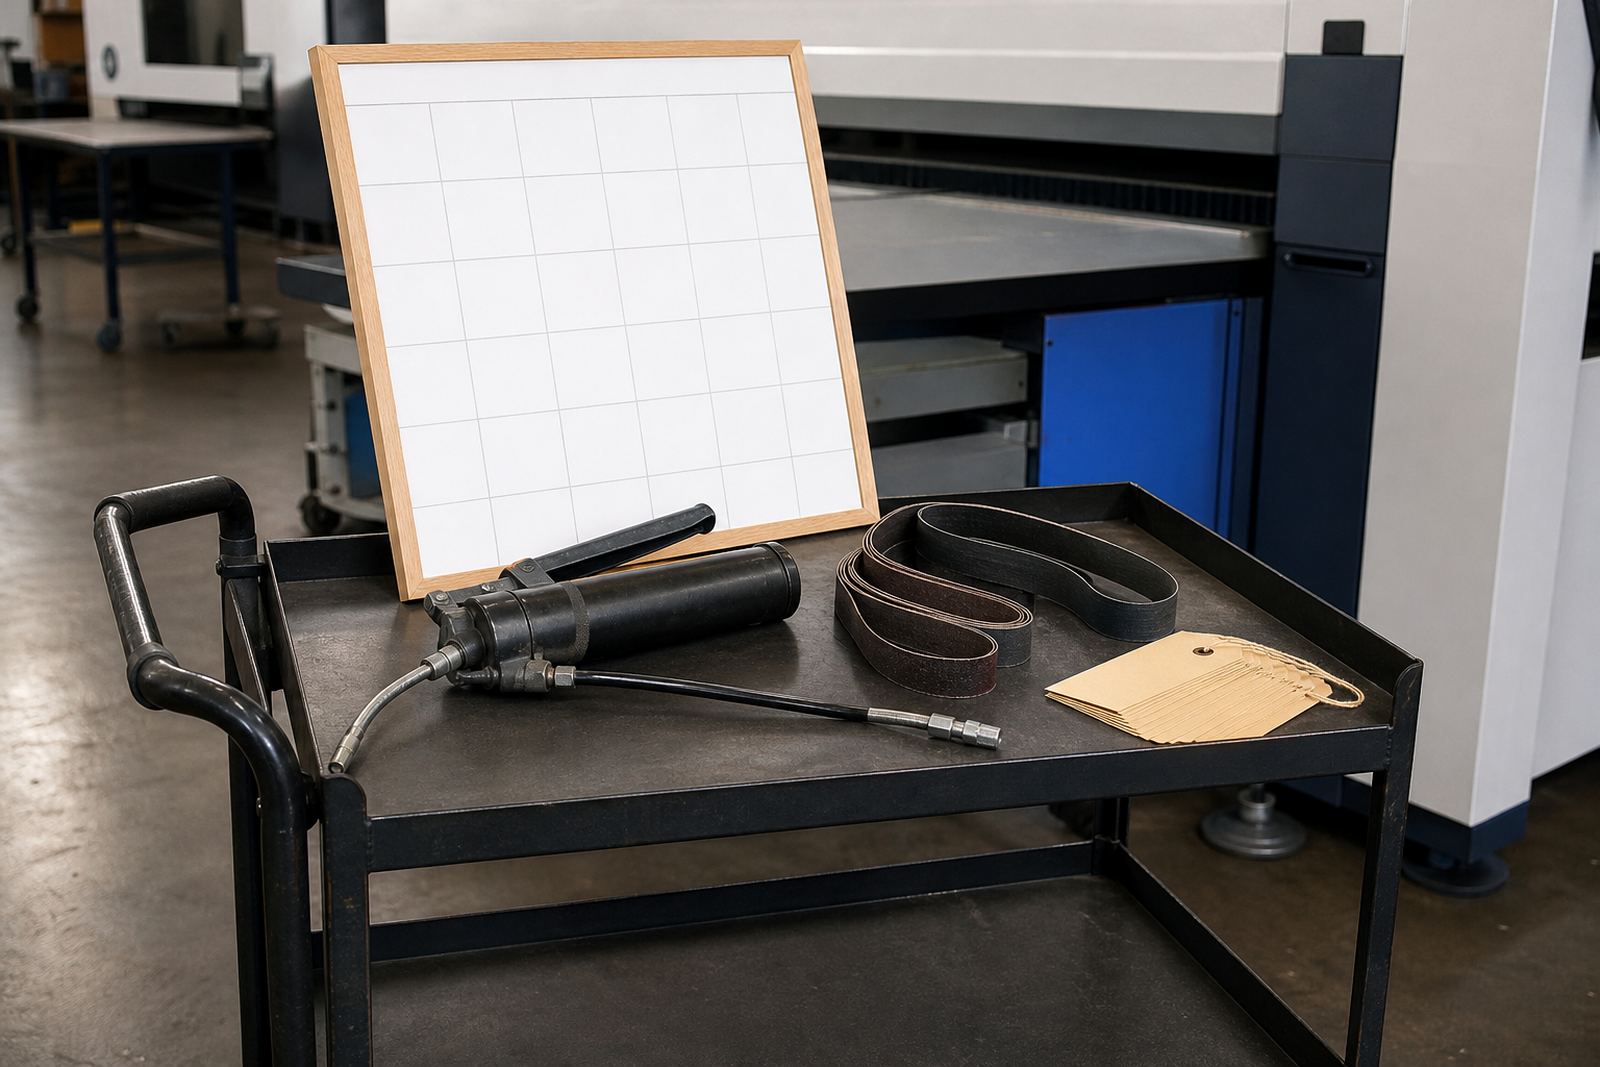
Once the machine is in daily use, routine care keeps the finish consistent. Preventive maintenance should cover cleaning, inspection, wear parts and any moving components that need attention. In shops that run long shifts or have dusty conditions, a short daily clean and a proper weekly check can prevent a lot of trouble. It is better to replace a worn part early than to lose a whole shift to a stoppage.
Keep a small stock of the consumables and wear items you use most. If your production must keep moving across Johannesburg, Pretoria or Durban, waiting for a spare can delay several orders at once. That is why service planning matters from the start. When maintenance is part of the schedule, not an afterthought, the machine supports production instead of interrupting it.
- Set daily, weekly and monthly checks
- Keep spares for the most used wear items
- Log every service visit and replacement part
- Train staff to spot abnormal noise or finish changes
- Review the process after major order changes