
Why belt wear shows up in the finish first
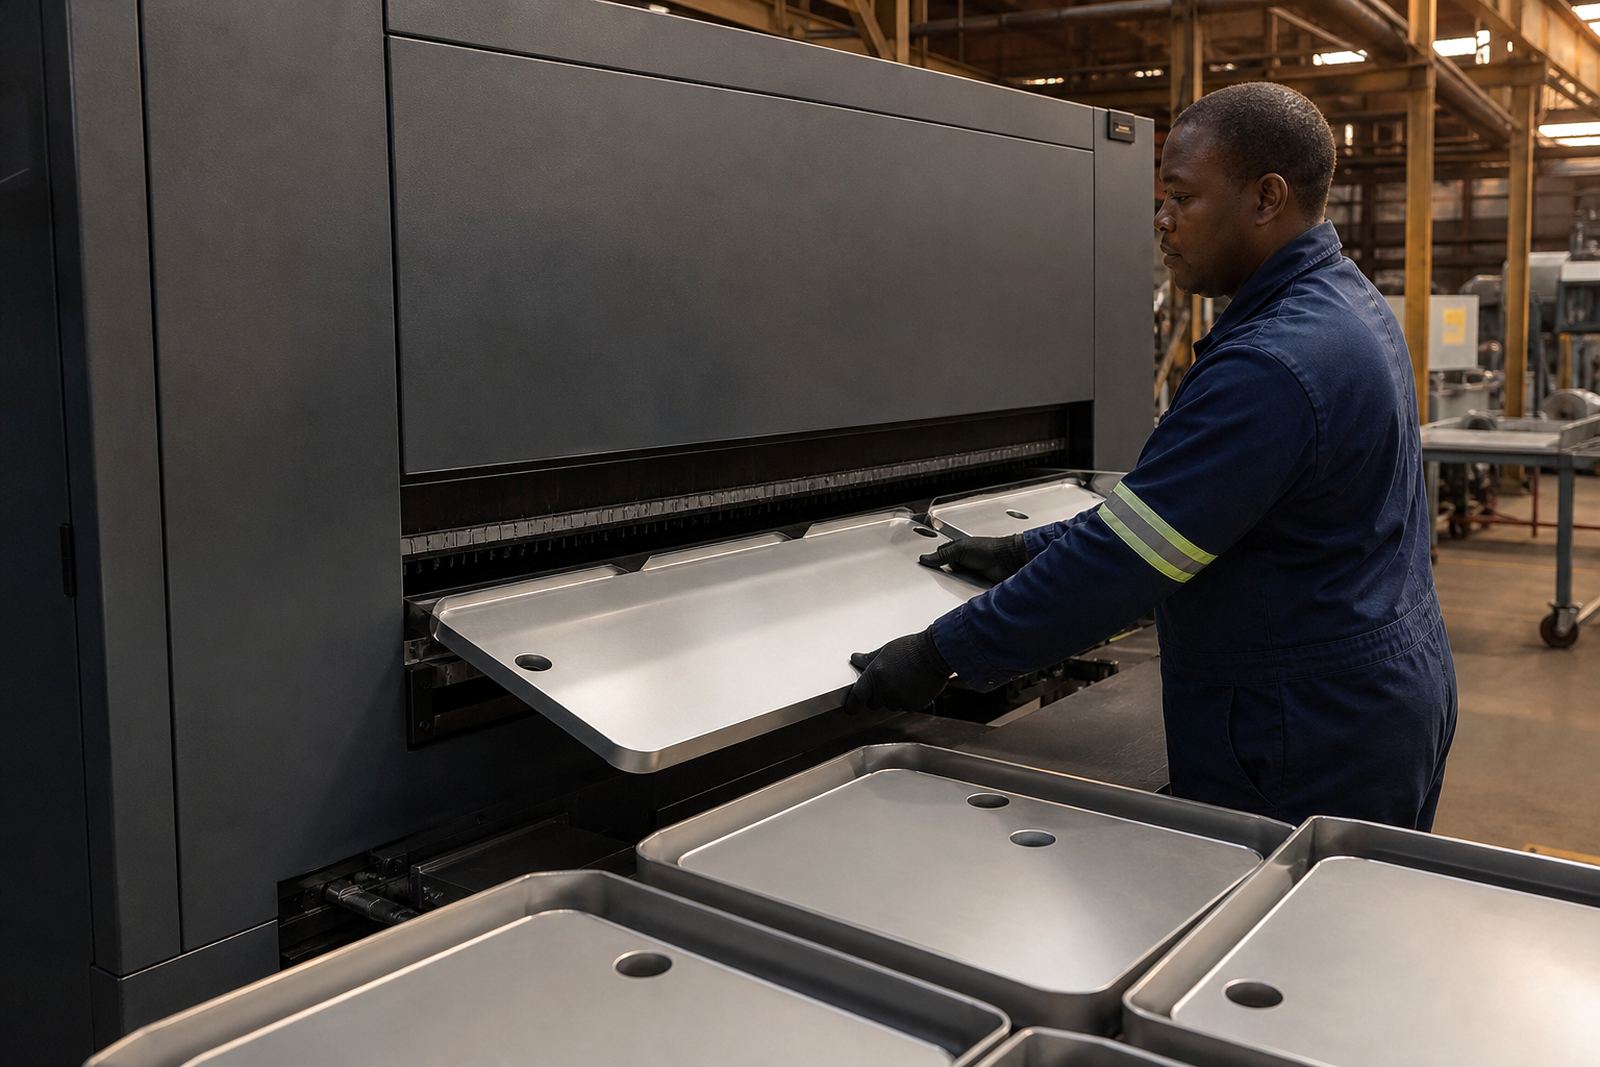
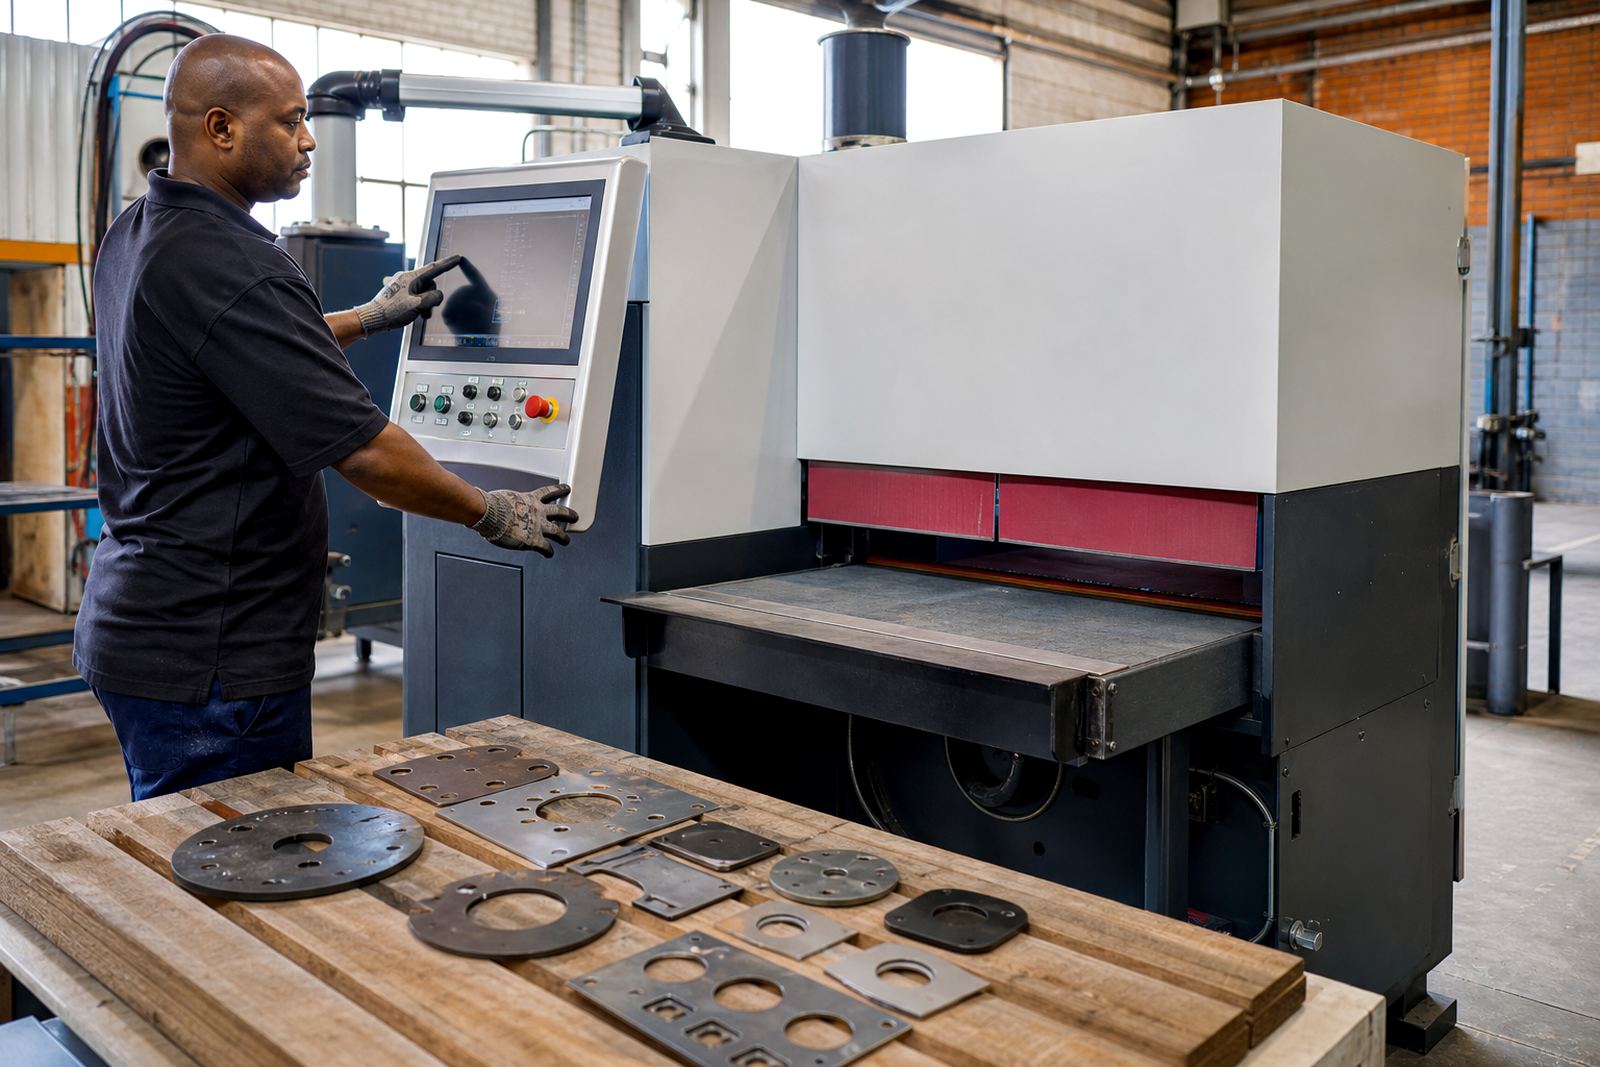
On laser-cut sheet metal, the abrasive belt does the fine work after cutting. It removes dross, softens sharp edges, and gives the part a consistent surface before it moves on to the next process. When the belt starts to wear, the machine may still run as normal but the finish changes. That is usually the first warning sign, not a breakdown.
A fresh belt cuts evenly across the full width. A worn belt loses bite in some areas before others, so operators may see clean edges on one side of the part and a rougher edge on the other. In a busy fabrication shop in Wadeville or Pretoria, that can mean rework building up before anyone realises the belt is past its best.
Visible marks that tell you the belt is tired
The clearest signs are usually on the workpiece. If the belt is glazing, clogged with fine metal dust, or breaking down unevenly, the part will show it straight away. Parts that used to come off with a uniform finish may now show streaks, shiny patches, or a dull band where the abrasive has lost grip.
- Edges feel sharp in places and smooth in others
- Surface finish becomes patchy or inconsistent
- Belt tracks poorly or wanders during operation
- Deburring time increases for the same part
- Fine burrs remain after the pass instead of being removed
- Burn marks or heat discolouration appear on sensitive material
If the belt is leaving a visible line across the part, that often points to uneven wear or loading of the abrasive. On stainless steel and aluminium this can be more noticeable, especially when the machine is processing thin laser-cut blanks all day.
Sound, heat and feel changes operators should not ignore
Operators hear the machine before they diagnose it. A healthy belt runs with a steady sound. When wear starts, the pitch can change and the belt may sound smoother but do less work, or it may chatter as the abrasive breaks down. The feed can also feel less stable as the belt stops biting properly.
Heat is another clue. If the belt is no longer cutting cleanly, friction increases. That extra heat can affect thin sheet, especially on long production runs where parts come through one after another. In coastal areas like Durban, humidity can also make belts behave differently if they are stored poorly, so the issue may show up faster than expected.
- Machine sounds higher pitched or uneven under load
- Parts feel warmer than normal after finishing
- More force is needed to achieve the same result
- Dust and swarf build up faster around the contact area
These signs do not always mean the belt must be replaced that minute, but they do mean someone should inspect it before the next shift. A short stoppage beats a run of reject parts, especially when orders are tight and load-shedding has already interrupted the day.
When replacement is better than another pass
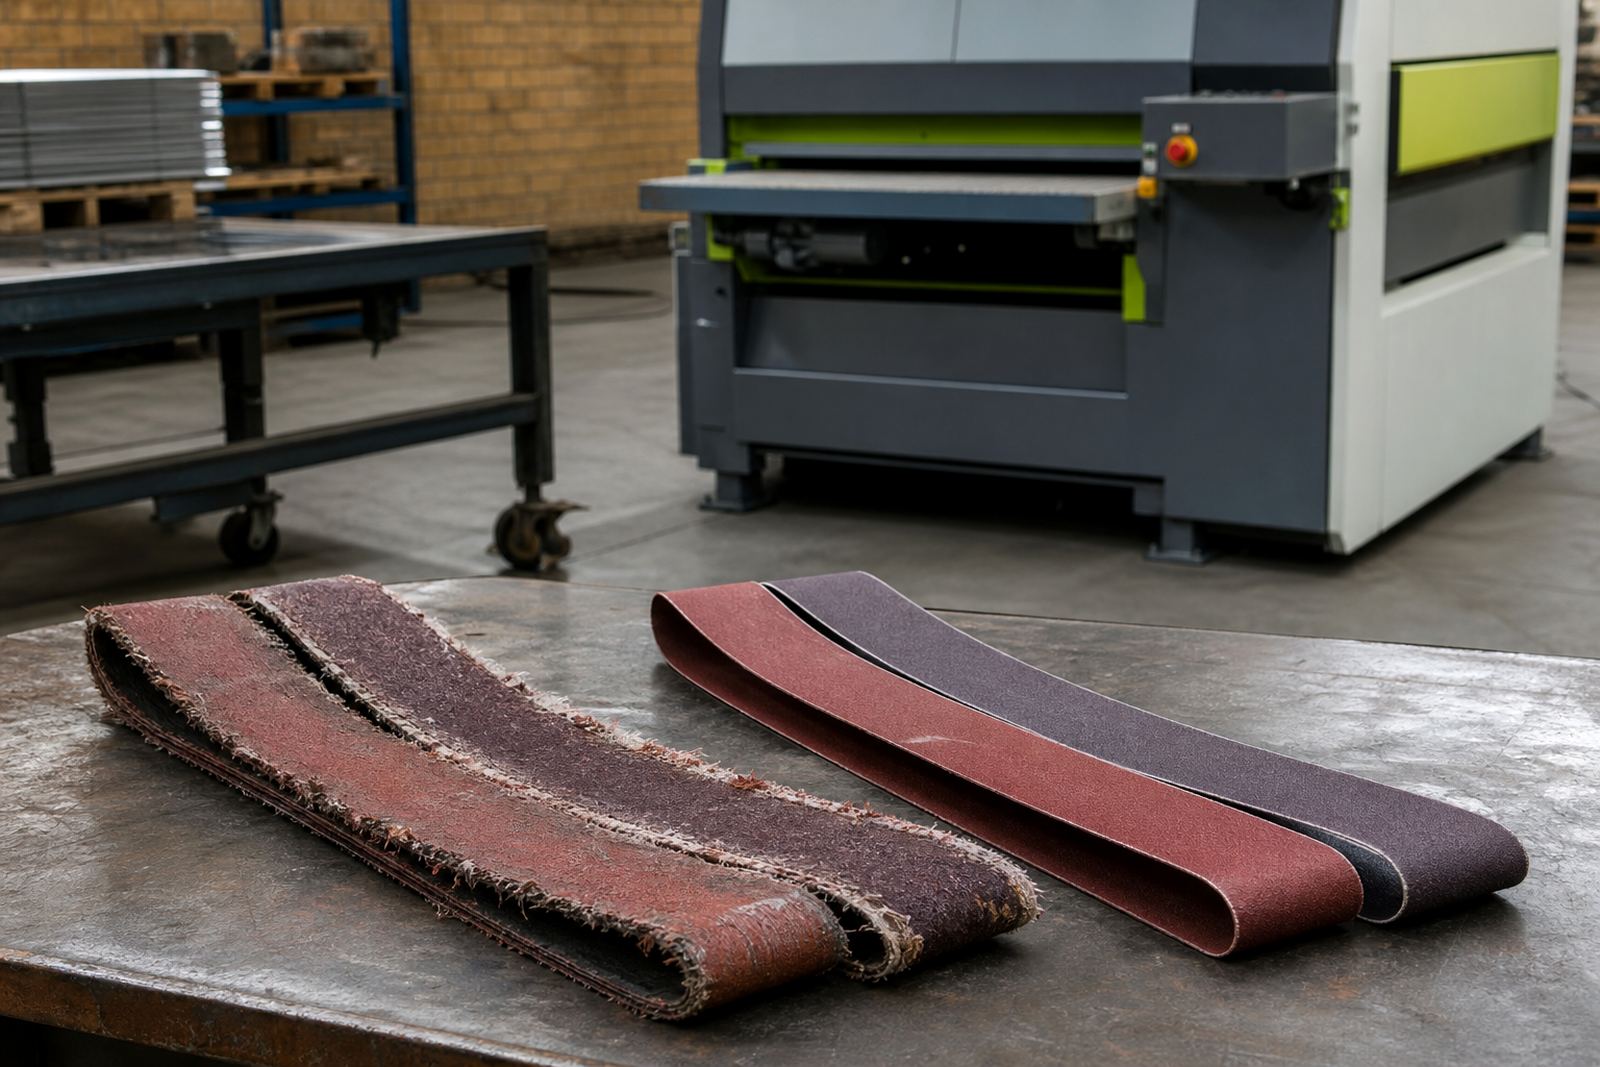
There is a point where cleaning the belt or adjusting the feed will no longer help. If the abrasive face is glazed, the grit has worn down, or the belt has started to fray at the edges, replacement is usually the better call. Trying to stretch it further can waste time and put unnecessary wear on the machine itself.
As a rule, replace the belt when one or more of these happen repeatedly:
- Parts need two or more passes to meet the same standard
- Edge quality changes from batch to batch
- The belt shows bald patches, cracks, or visible fraying
- Dust extraction collects more fine powder than normal
- The operator keeps adjusting settings just to hold output steady
For high-volume fabricators, the cost of one worn belt is not only the belt itself. It is the extra labour, slower output, and risk of a bad batch leaving the workshop. In many cases, a fresh belt pays for itself quickly by cutting repeat handling.
A Germiston example from a busy sheet metal shop
A workshop in Germiston processing laser-cut brackets and panels was seeing small burrs remain on parts that had always finished cleanly. The team first checked the laser cut quality, then the deburring settings, but the real issue was belt wear. The abrasive still looked usable at a glance, yet it had become glazed across the middle section and was no longer cutting evenly.
Once the belt was replaced, the finish returned to normal and the machine needed less pressure to achieve the same result. The shop also changed its inspection habit, checking belt condition at the start of each shift instead of waiting for defects to appear. That small change reduced rework and kept the process steadier through the week, even with power interruptions affecting production timing.
Simple belt care that stretches service life
Good belt life starts with storage and daily checks. Belts kept in a dry, clean room last better than belts left near open doors, cutting dust, or damp floors. In South African workshops, where weather can swing from dry inland conditions to humid coastal air, storage matters more than many teams expect.
Operators should also clean the machine regularly and watch for the build-up of fine metallic dust. When swarf packs into the belt surface, it stops cutting properly and wears faster. A short inspection routine can save a lot of trouble later.
- Store belts flat or as recommended, away from moisture
- Check tracking before each shift starts
- Remove dust and swarf from guards and rollers
- Replace belts before they fray into the backing layer
- Keep a small stock of common belt sizes on site
Where production runs are constant, it also helps to keep spare belts matched to the materials being processed. A belt that works well on mild steel may not give the same life on stainless or aluminium, so the right grade matters.
What to do before the next quality problem starts
If a deburring machine starts leaving sharp edges, dull patches, or uneven finishes, do not wait for the next reject pile to confirm the belt is done. Inspect the abrasive, check the machine settings, and compare the result against a known good sample. That gives the clearest answer in the shortest time.
For fabricators working under deadline pressure, a belt change at the right moment is cheaper than stopping to sort out bad parts later. When the finish begins to drift, replacement is usually the practical fix. It keeps the line moving and helps the machine do what it was set up to do in the first place.
If your team wants help with belt condition, machine checks, or process settings, it is worth getting a proper look at the equipment before the next production run starts.