
Why a clean cut can still leave a poor finish
Laser cutting gives you speed and accuracy, but the cut edge still needs the right finishing step afterwards. On thin and medium gauge sheet, burrs, oxide residue, heat marks and raised edges can all stay behind if the material moves too quickly through the line. In practice, the fault is often blamed on one machine when the problem comes from the full process, from the cut quality to the handling before deburring.
In Wadeville and the wider East Rand, many shops run mixed jobs in mild steel, stainless steel and aluminium. Each behaves differently. Stainless can show heat tint and stubborn burrs, while aluminium may mark easily if abrasive pressure is too high. If the first pass is wrong, the finish problems keep showing up downstream.
Burrs that stay on the edge after processing
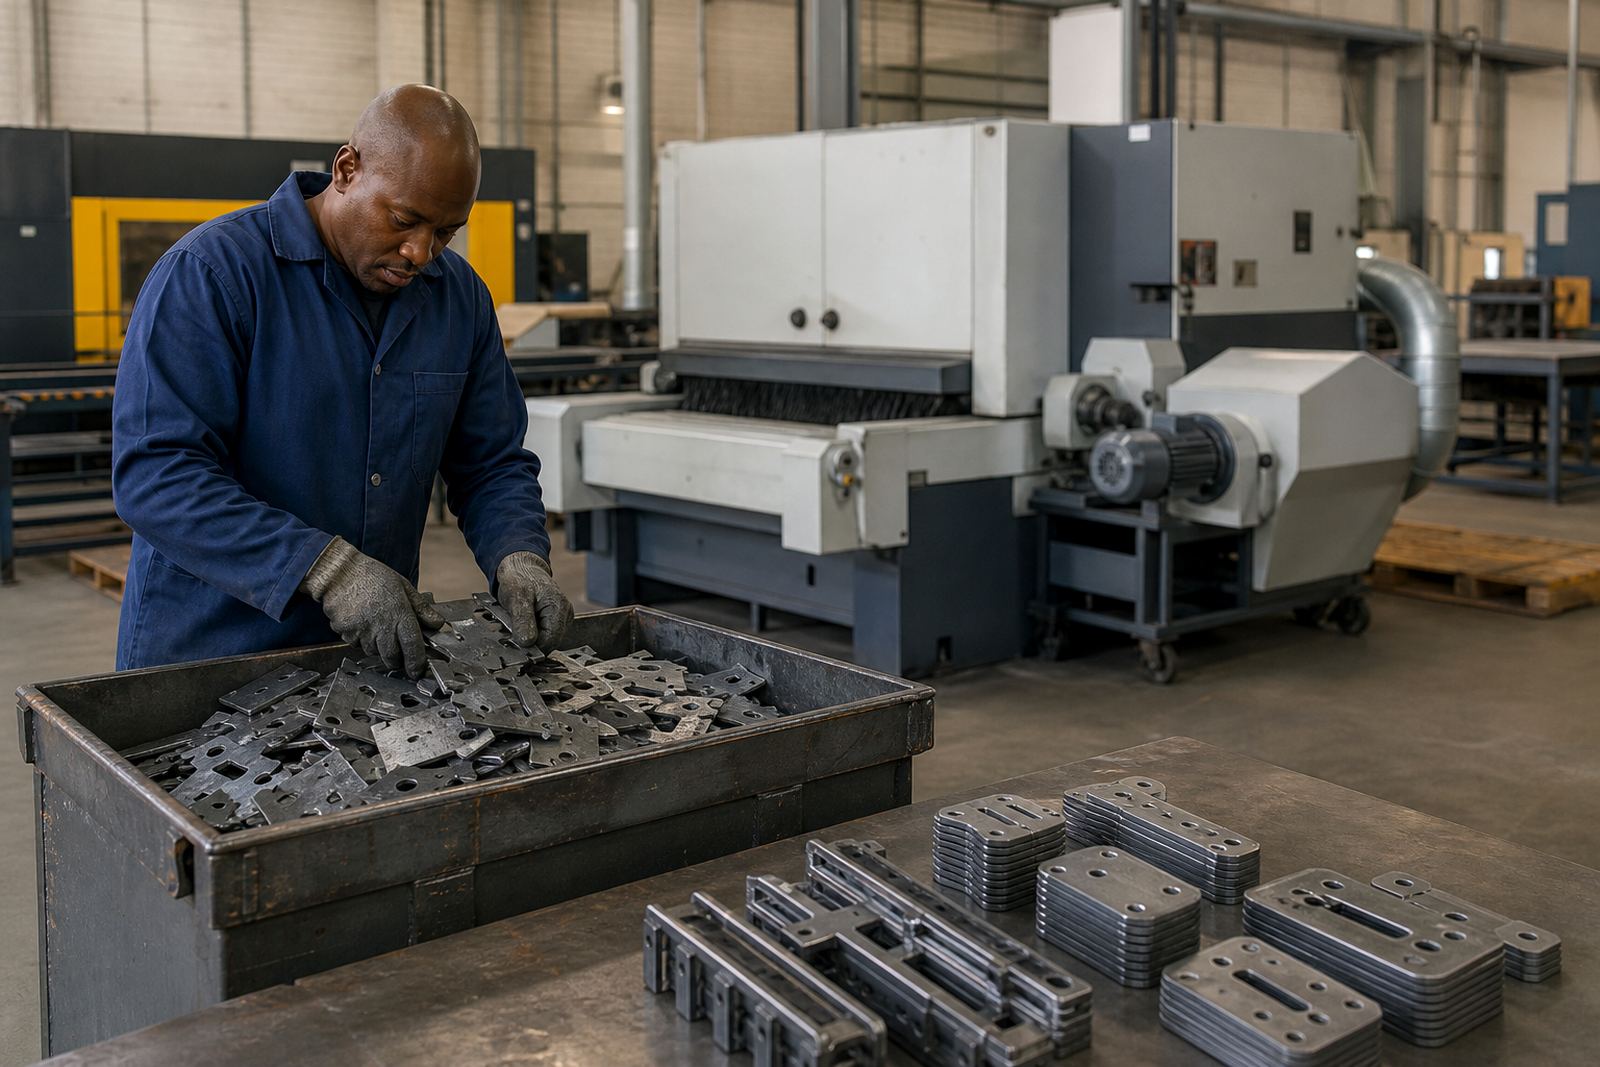
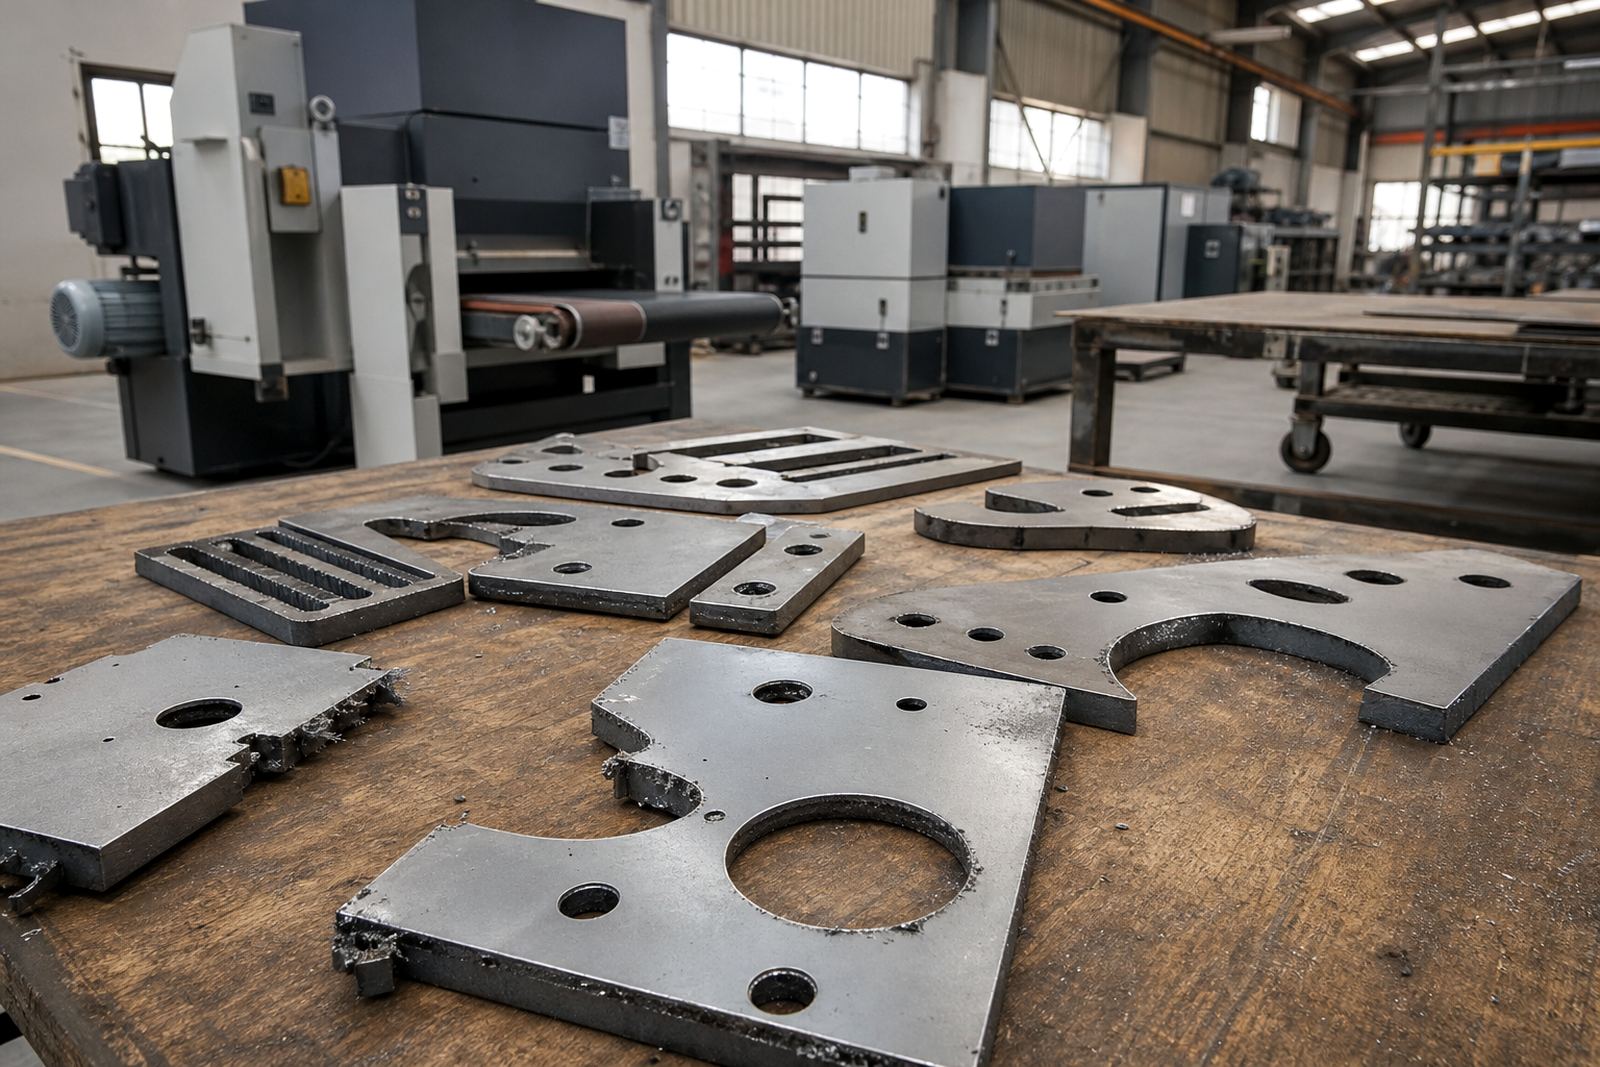
A burr is usually the first defect people notice. It feels sharp, looks uneven, and can cause issues in welding, coating and assembly. Burrs often remain when the cutting setup leaves too much dross on the underside or when the deburring stage is not removing enough material from the full edge.
Common causes include dull cutting optics, poor assist gas settings, worn abrasives, incorrect feed speed and sheet movement that is not stable. If the operator is trying to push throughput too hard, the machine may only touch the highest points and leave the rest behind.
- Check whether the burr is on the top edge, underside, or both.
- Match the abrasive grade to the metal thickness and finish needed.
- Watch for build-up on rollers, brushes or contact parts.
- Confirm that sheet width and thickness are within the machine setting range.
Heat tint, oxide and staining on stainless steel
On stainless steel, a common complaint is a dark edge, blue tint or stubborn oxide line after laser cutting. This is not just cosmetic. It can affect coating adhesion, weld cleanliness and, in some applications, corrosion resistance. Coastal clients in Durban often notice this more quickly because humidity can hold moisture on the panel while parts wait for the next operation.
Heat tint usually points to cutting parameters that are too aggressive, poor gas control or delayed cleaning after cutting. If the oxide is baked on hard, the deburring stage may need extra passes or a separate cleaning step. The best result comes when cutting and finishing are aligned from the start, rather than treating the stain after the fact.
Rounded edges that are too heavy or too light
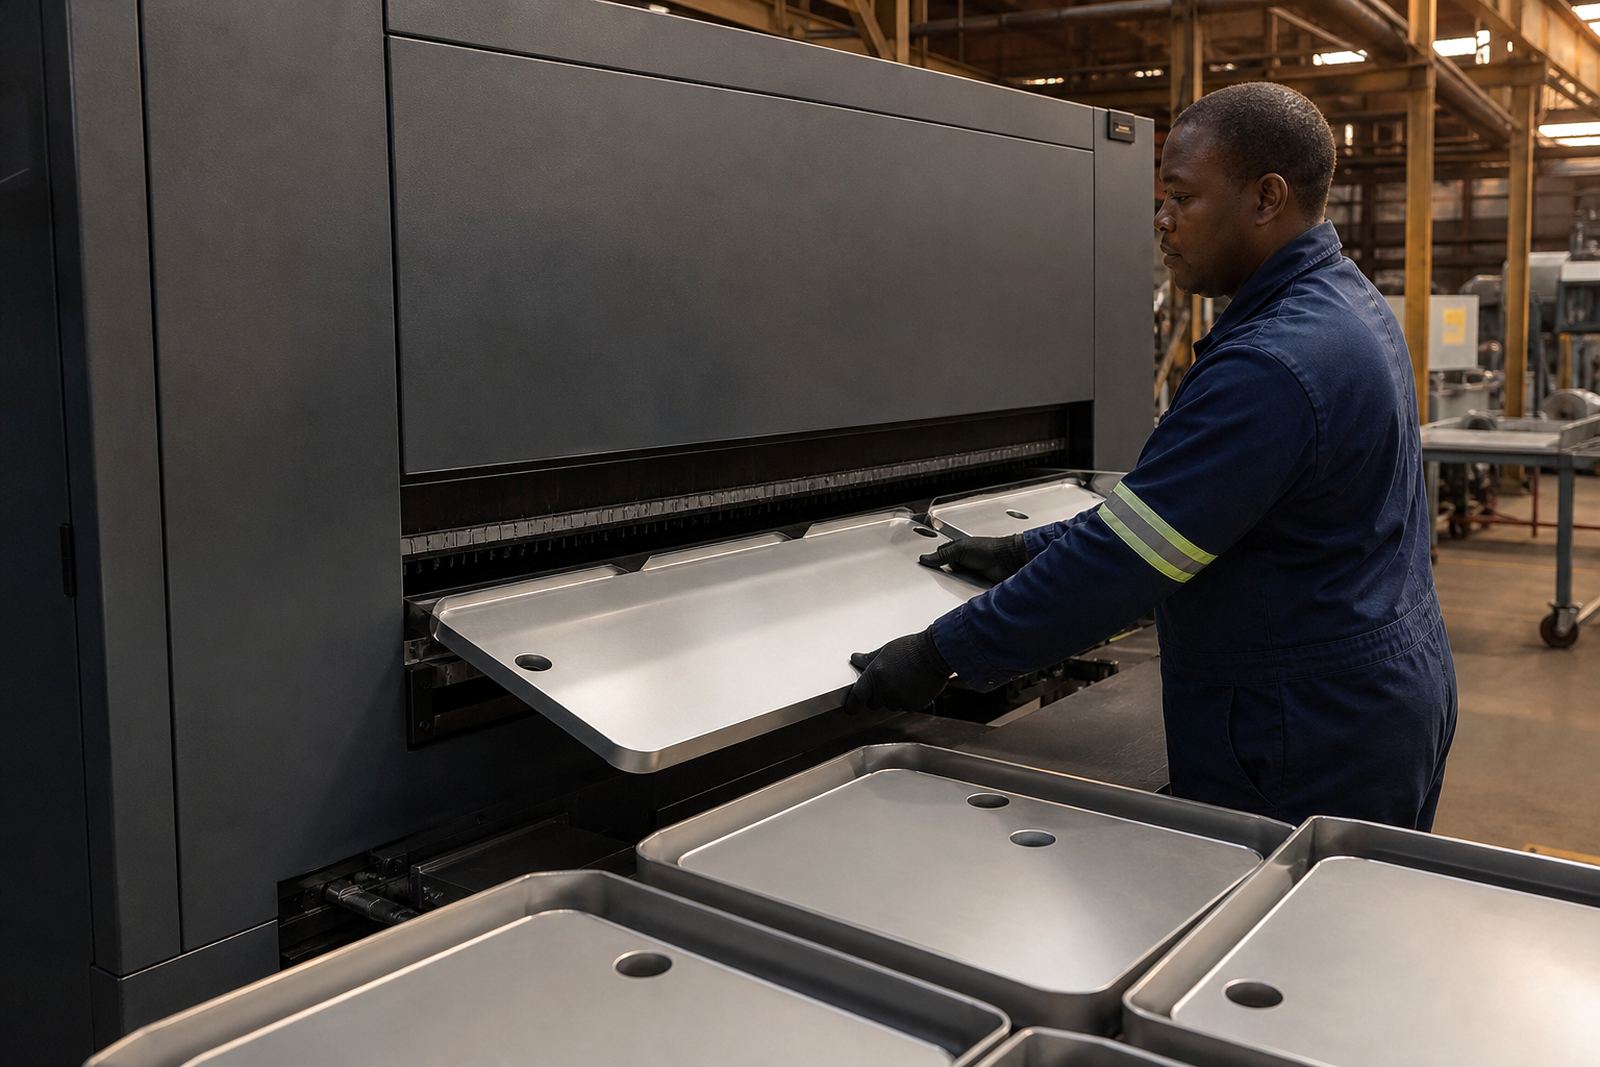
Edge rounding is useful when the part will be handled often or coated later, but the amount must be controlled. Too little rounding leaves a sharp edge. Too much rounding changes the drawing, affects fit-up and can remove important detail around slots and holes. This is where process discipline matters, especially on parts that have to fit jigs or folded assemblies.
Typical causes of uneven rounding include worn consumables, inconsistent sheet flatness and poor part spacing on the conveyor or bed. When parts are nested too tightly, the machine may struggle to keep the same pressure across the full sheet. That is why sample testing on the exact part helps before a large batch is released.
- Use sample parts to confirm the final edge radius before production.
- Check whether small parts need a different handling method.
- Review the final tolerance on folded or welded assemblies.
- Keep records of settings for repeat jobs so the finish stays consistent.
Scratch marks, swirl lines and surface bruising
When the edge finish leaves visible marks on the face of the sheet, the cause is often mechanical contact rather than the laser cut itself. Abrasives that are too coarse, contaminated belts or brushes, or loose scrap trapped in the machine can bruise the surface. This is a common issue on polished stainless and pre-coated sheet where appearance matters as much as function.
Operators should inspect the work area before every run. A small offcut under a part can score a panel in seconds. In a busy Johannesburg or Pretoria workshop, that can mean a full batch needing rework, which pushes labour and material cost up. A quick clean-out and a proper consumable check save more than most people expect.
When the finish problem starts before the deburring machine
Not every defect is created at the finishing stage. If the laser leaves heavy dross, the deburring machine has to work harder and may still not achieve a good result in one pass. Sheet storage can also play a role. Rust on carbon steel, oil film on incoming stock, or moisture from coastal storage can all affect how the abrasive contacts the metal.
For a fabrication shop in Germiston supplying frames to Rustenburg, the practical answer is to check the full chain: incoming sheet, laser settings, transfer times, and the finishing sequence. A process audit often shows that the machine is not the problem. The issue is that the job is arriving at the machine in poor condition and the line is not set up to recover it.
- Store sheet on level racks and keep it dry.
- Remove cutting residue before parts sit overnight.
- Separate stainless and mild steel jobs to avoid cross contamination.
- Use preventive maintenance so worn parts do not create repeat defects.
How South African fabricators reduce repeat defects
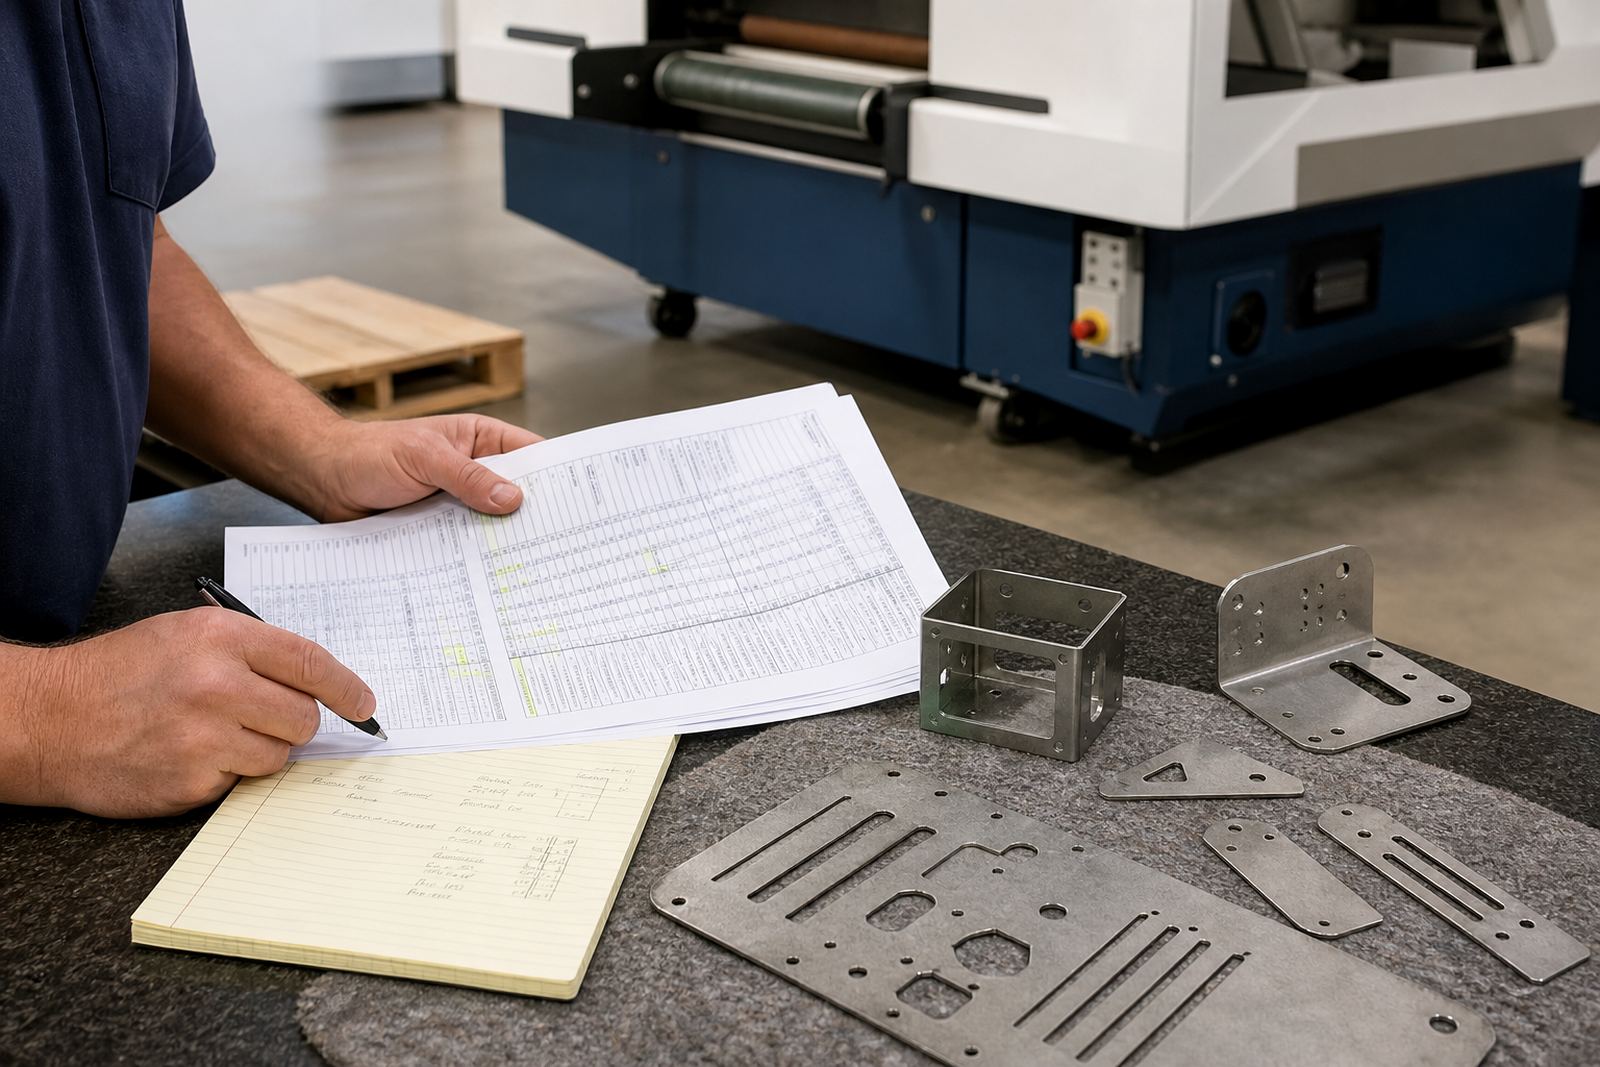
The fastest way to cut down on finish defects is to set one standard for the part, then keep that standard across the whole run. That means the same operator notes, the same consumables, and regular checks on conveyor speed, pressure and wear. It also means training staff to spot the early signs of trouble before a full pallet is affected.
A good example is a Wadeville fabricator producing enclosure panels for a client in Cape Town. The parts looked fine at first, but some batches came back with sharp edges and light scratching. After sample part testing and a process review, the team adjusted the finish sequence, changed consumable grades and tightened handling after laser cutting. The result was fewer returns and less manual touch-up. Small changes, but they made a real difference.