
Why burrs show up on laser-cut sheet metal
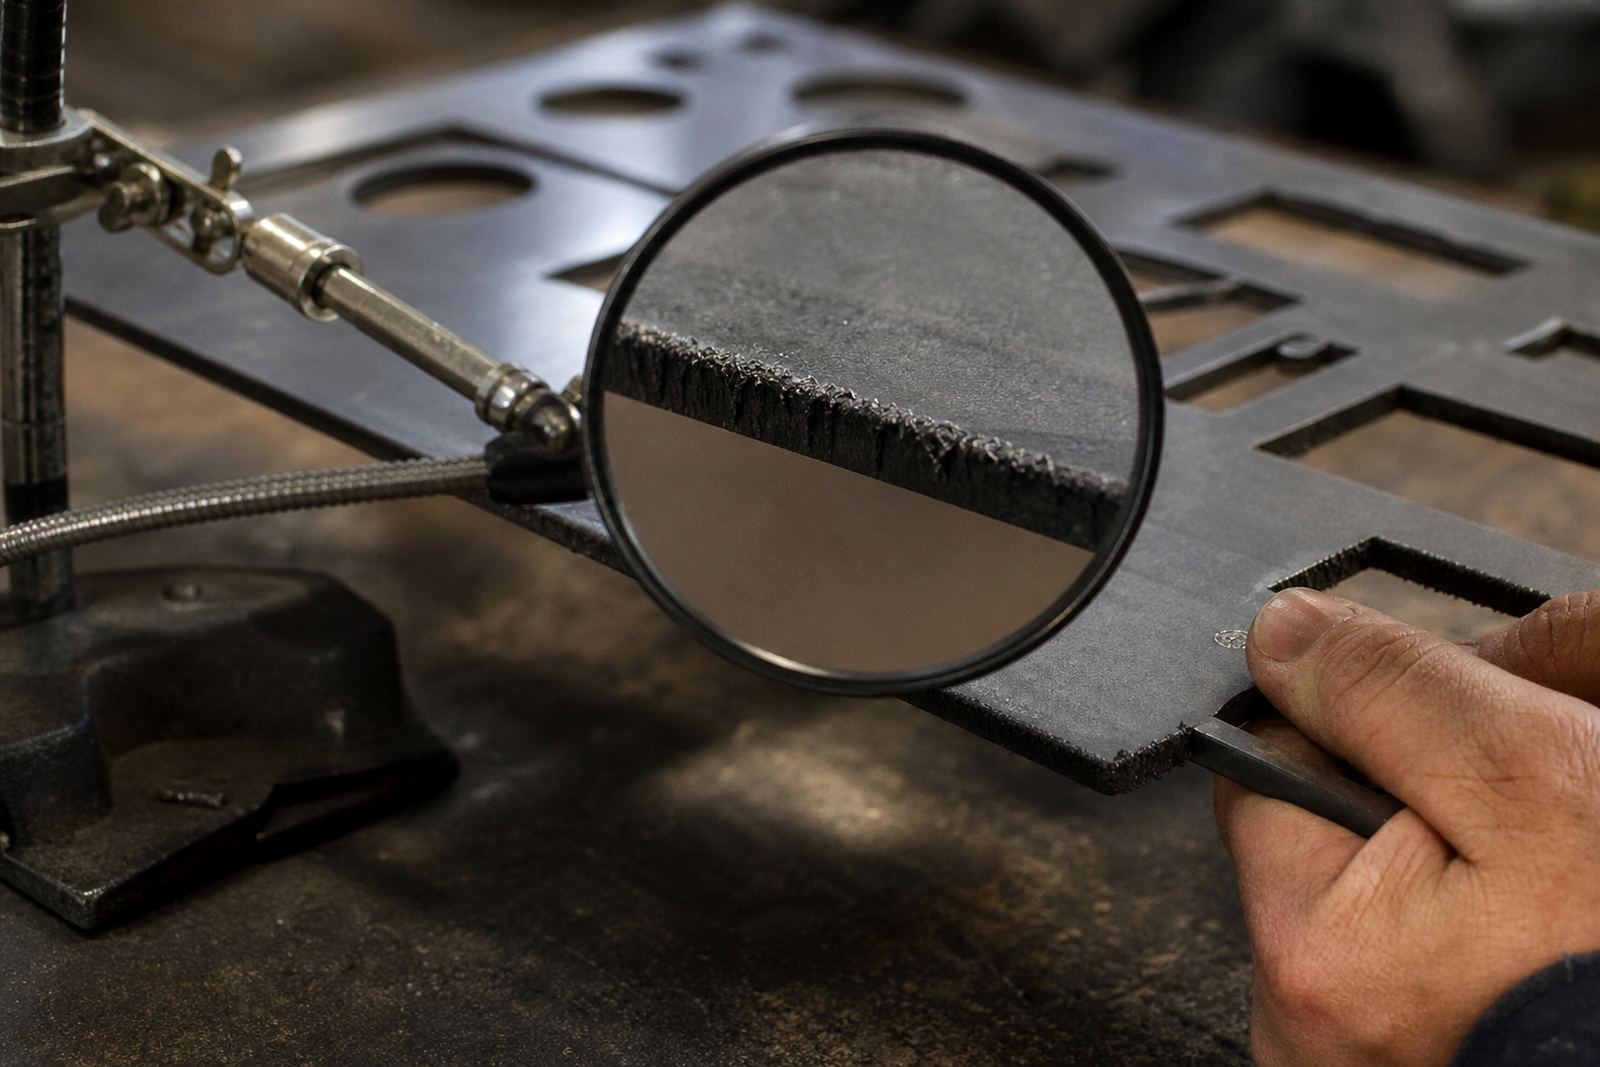
Burrs form when molten metal is not cleared cleanly from the cut edge. Instead of leaving a sharp, tidy profile, the cut line drags material down, leaves dross on the underside or produces a rough edge that needs extra work before folding, welding or powder coating.
In local workshops this often shows up on parts cut from mild steel, stainless steel and aluminium, especially where sheet thickness changes through the week. A clean laser cut depends on correct power, speed, assist gas, nozzle condition and sheet flatness all working together. If one of those falls out, burrs are usually the first sign.
- Too much heat can melt the edge and re-solidify as burr.
- Cut speed that is too slow can leave heavy dross on the underside.
- Cut speed that is too fast can leave incomplete separation and ragged edges.
Gas pressure and nozzle condition matter more than many teams expect
Assist gas is there to push molten material out of the kerf. If the pressure is low, unstable or the gas is contaminated, the melt does not clear properly and burrs build up. The same applies when the nozzle is worn, off-centre or partially blocked. Even a small defect can disturb the gas flow enough to spoil the edge.
On busy lines, operators often chase the problem by changing speed first. That can help, but if the gas delivery is wrong the burr will return. Check the basics first: pressure at the machine, hose condition, filter condition and nozzle alignment. On stainless work, poor gas quality can also leave a rougher edge that takes longer to clean up.
- Check for moisture, oil or dirt in the gas line.
- Inspect nozzles for spatter, damage and uneven wear.
- Keep pressure settings consistent for each material and thickness.
Cut speed, focus and power need to match the sheet
Laser settings are not one size fits all. A 3 mm mild steel job will not behave like 1.6 mm stainless, and a clean cut on one machine may leave a burr on another if the focus point is off. When the beam is not focused correctly, the energy spreads unevenly through the sheet and the cut edge can harden or tear.
Power settings that are too low can leave a stubborn burr because the cut does not fully clear. Power that is too high can create excess melt and a wider heat affected zone. The same applies to cut speed. Fabricators in Johannesburg or Durban may see different edge behaviour on the same material if the sheet supplier, storage conditions or machine calibration differ.
Good operators keep a record of settings for each material and thickness. That saves time when a new batch arrives and conditions have changed a bit.
Material quality and sheet handling can start the problem before cutting begins
Not every burr is caused by the machine alone. Rust, scale, poor surface finish and sheet warping can all affect the cut. If the sheet is bowed, the focus height changes across the table and the cut edge becomes inconsistent. If protective film is left on in the wrong places or dirt sits on the sheet, the beam may react differently at entry and exit points.
Coastal humidity can also make a difference, especially in Durban and Cape Town. Stored sheet can surface rust faster than expected, and that rust changes how the cut behaves. In Rustenburg, dust and workshop contamination can affect both optics and cut quality if housekeeping is not kept under control.
- Store sheet flat and dry where possible.
- Remove surface contamination before cutting.
- Check for bow, twist or thickness variation across the batch.
A simple troubleshooting routine for the workshop floor
When burrs start appearing, the quickest fix is to follow a repeatable sequence instead of guessing. Start with the material, then the machine setup, then the consumables. This keeps operators from changing too many variables at once and helps the team find the real cause faster.
A practical routine also makes it easier to train new operators. If every shift checks the same points, there is less downtime and fewer wasted sheets. For many South African fabricators, this matters as much as the cut quality itself because electricity interruptions and production pressure already tighten the schedule.
- Confirm material grade and thickness before changing settings.
- Inspect nozzle, lens condition and alignment.
- Check gas pressure and delivery consistency.
- Run a small sample part before full production.
How Deburring helps reduce burrs after laser cutting
Even with the best laser setup, some jobs still leave a small edge that needs finishing. That is where a dedicated deburring and edge-finishing machine becomes valuable. It helps remove light burr, smooth the cut edge and prepare parts for bending, welding, coating or assembly without sending operators back to hand work for every piece.
For fabricators in Wadeville, Germiston and across Gauteng, that can mean steadier output and less variation from shift to shift. Our team supports sample part testing, machine audits, process optimisation, installation and operator training so clients can match the machine to the actual parts they make. If the burr is coming from a process issue, we help identify it. If the burr is already there, we help finish it properly.
In one local example, a jobbing shop running mixed mild steel and stainless parts was spending too much time on hand finishing after night runs. After checking the cut parameters, sheet condition and edge-finishing stage, they reduced rework and kept the line moving better through load-shedding related schedule changes. Not perfect every day, but a lot more predictable.