
Why Laser Oxide Forms On Sheet Metal Edges
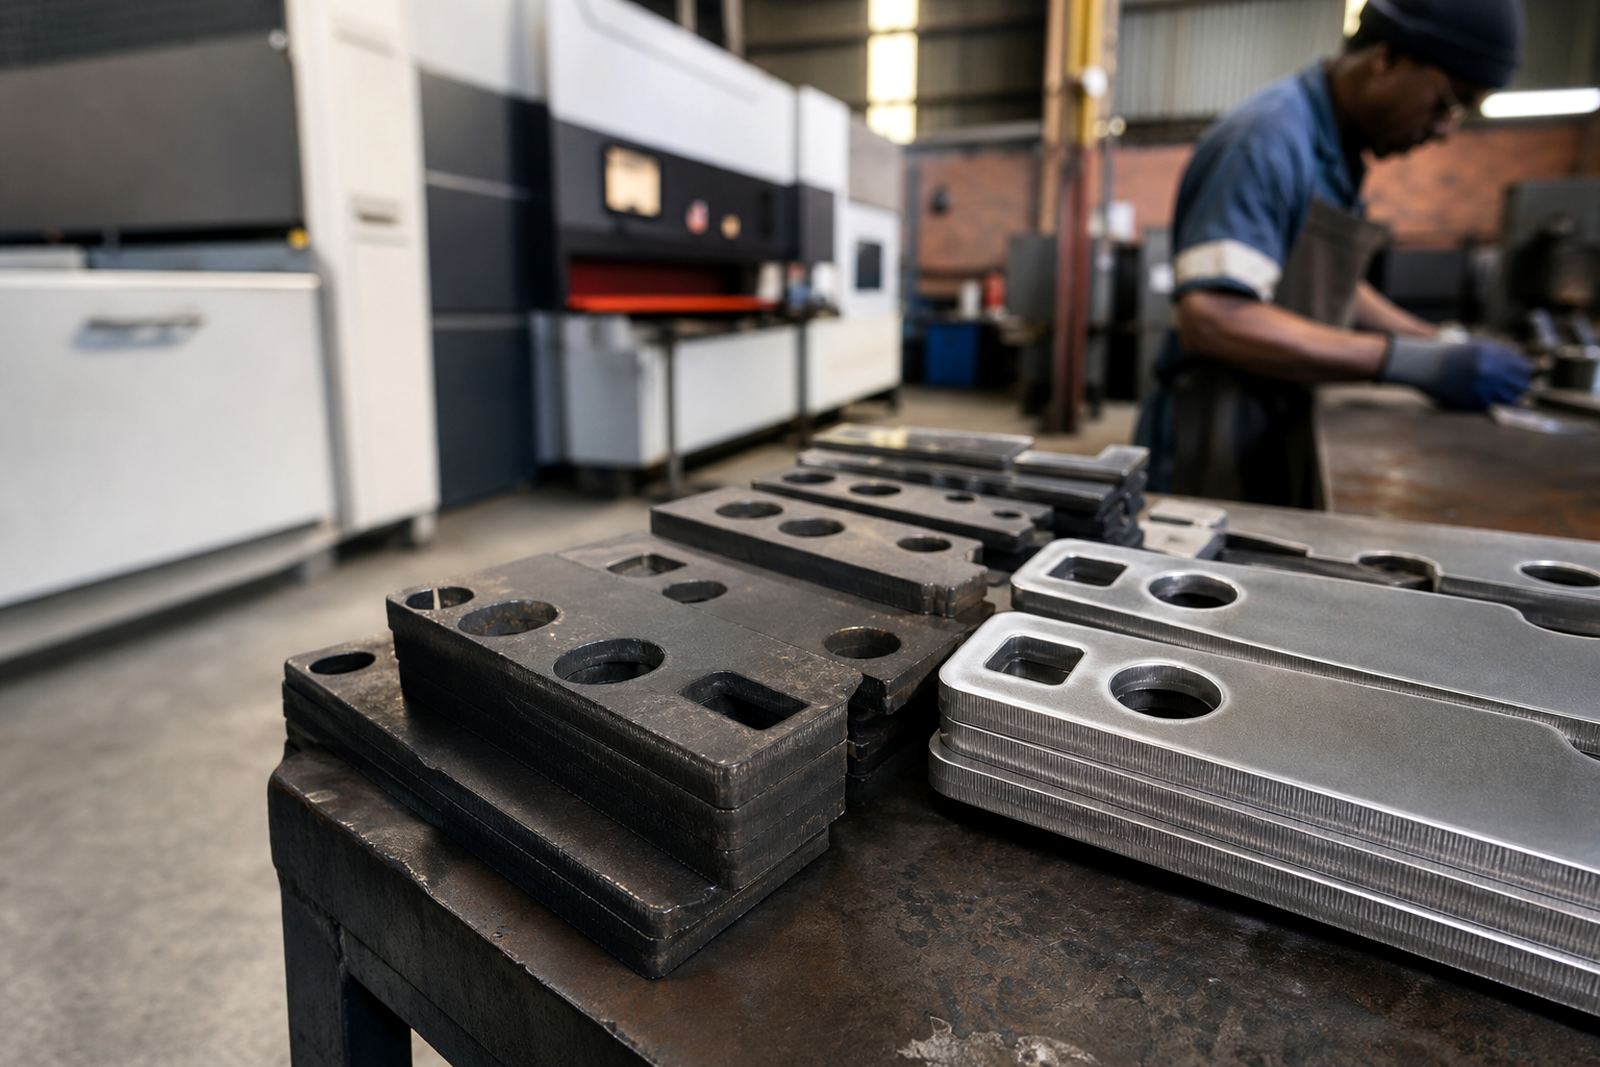
When sheet metal is laser cut, the heat from the beam can leave a thin oxide layer on the cut edge and on the heat affected zone around it. The amount of oxide depends on the material, cutting gas, thickness and machine settings. Mild steel usually shows the most visible oxide, while stainless steel and aluminium can react differently depending on the process used.
In practical terms, oxide is the dark, hard residue that can make an edge feel rough or look stained. On a busy fabrication floor in Wadeville or Germiston, it may seem like a small issue, but once parts move into welding, powder coating or assembly, that layer can become the reason a job needs rework. A clean cut edge saves time later and makes handling easier.
Some shops leave oxide in place because it looks acceptable at first glance. The problem is that the cut edge may still be harder to weld, slower to coat, and more likely to give trouble during fit-up on the production floor.
How Oxide Affects Welding And Heat Transfer
Welding over oxidised laser edges can cause unstable arc behaviour, extra spatter and poor fusion at the joint. The welder often needs to grind or clean the edge before the first tack, which adds labour and creates another opportunity for inconsistency. On thinner sheet, the problem can show up as pinholes or a weak root area, especially where the oxide is thick.
For manufacturers working on brackets, enclosures or frames, this matters because welded joints need repeatable preparation. If one batch is clean and the next batch is covered in oxide, the welding team will spend time adjusting rather than producing. That slows throughput and makes job costing less predictable.
- Less reliable arc start on contaminated edges
- More spatter and post-weld cleanup
- Higher chance of poor fusion at the weld line
- More time spent on edge prep before assembly
A clean laser edge makes it easier for welders to keep the process consistent, especially on repeat production runs where timing is tight and labour needs to be used carefully.
Why Coating And Paint Can Fail On Oxidised Edges
Powder coating, wet paint and galvanising all depend on surface preparation. If oxide remains on the cut edge, coating adhesion can suffer. The coating may still look fine when it leaves the workshop, then chip earlier than expected on sharp edges or corners where the oxide was not removed properly.
This is particularly important in coastal areas such as Durban or Cape Town, where humidity and salt in the air can make poor surface prep show up faster. Even inland, dust and handling marks can combine with oxide to create adhesion issues. A part that is supposed to go straight into assembly may end up needing a second pass through cleaning or finishing.
For fabricators supplying municipal equipment, electrical enclosures or outdoor components, this is not something to guess at. The finish needs to hold up after installation, not only in the spray booth.
- Coating lifts more easily from rough or oxidised edges
- Edge chips can spread under the coating film
- Outdoor parts are exposed to faster corrosion risk
- More reject work if the finish is inconsistent
Assembly Problems That Start With A Dirty Edge
Oxide can also affect assembly, especially where parts need to slot together, locate against tabs or sit flush before fastening. A rough edge may prevent a clean fit and cause a panel to sit proud by a millimetre or two. That sounds small, but on a cabinet, guard or machine frame it can throw off alignment across the full build.
When parts arrive from laser cutting with oxide still on the edge, teams often spend time filing, sanding or brushing before they can assemble. On a deadline job in Pretoria or Rustenburg, that extra manual work can upset the whole schedule. It also creates variation from one operator to the next, which is not ideal when the part has to be repeated next week.
In our experience, shops that control oxide early usually have fewer problems later in the line. The parts fit better, the welders work faster and the final finish is easier to manage. It sounds simple, but it saves real hours over the month.
How To Reduce Oxide Before It Slows Production
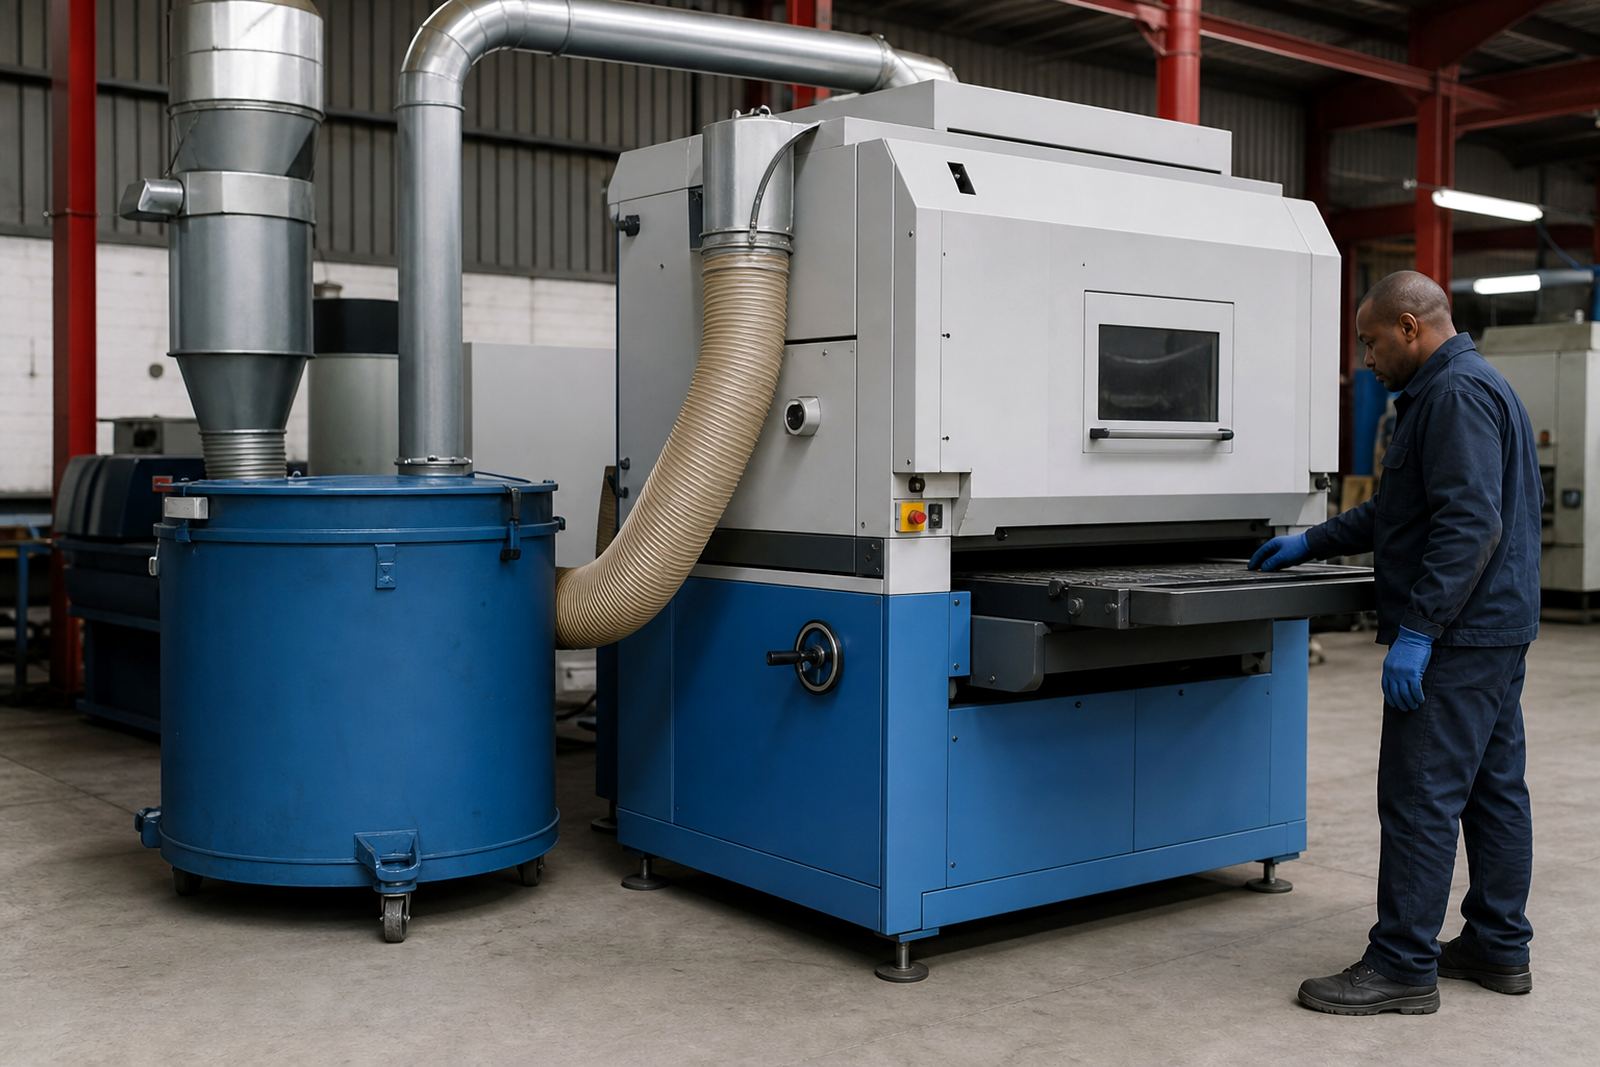
There is no single fix for every job, but there are practical ways to control oxide on laser-cut sheet metal. The right edge-finishing machine depends on the material, the thickness and the final use of the part. Some jobs need light edge cleaning only, while others need a more thorough finish before welding or coating.
Good process control starts with understanding where the part goes next. If it is going straight to welding, the main goal may be edge consistency and removing loose residue. If it is going to powder coating, surface preparation becomes more important. If the part will be handled a lot during assembly, a smoother edge can also help reduce marks and scratches.
- Match the finishing method to the material and thickness
- Check cut quality before batch processing
- Keep consumables and abrasive media in good condition
- Train operators to spot oxide before parts move on
For many South African workshops, the best savings come from preventing rework rather than fixing it later. That is especially true where labour is limited and load-shedding can already disrupt planned output.
A Local Example From A Busy Gauteng Fabrication Floor
A fabricator in the East Rand was cutting mild steel panels for electrical housings and sending them straight to assembly. The parts looked acceptable at first, but the welders kept finding inconsistent edges and the powder coat team was seeing early chips on the corners. After checking the flow, the issue turned out to be oxide left from the laser cutting stage.
Once the parts were run through a proper edge-finishing process, the welding team spent less time on prep and the coating finish improved. The shop did not change the design, the material or the workforce. It simply removed a bottleneck that had been hiding in the cut edge all along. That kind of change is practical and measurable, especially when production is busy and every saved minute counts.
For manufacturers supplying Johannesburg, Pretoria, Durban, Cape Town and Rustenburg, the lesson is the same. Oxide is not only a surface issue. It affects how fast parts move, how well they fit and how long the finish lasts.
When To Review Your Cutting And Finishing Process
If you are seeing weld contamination, coating failures or repeated hand finishing, it is worth reviewing the full cut-to-assembly process. The problem may not be the laser alone. It may be the combination of gas settings, material handling, storage conditions and lack of edge finishing after cutting.
Routine machine audits, sample part testing and preventive maintenance help identify where oxide is building up and why. For busy workshops, that can be the difference between running to plan and chasing small faults all week. It also helps to keep a record of which materials and thicknesses produce the most oxide so the team can treat those jobs accordingly.
At Deburring in Wadeville, Germiston, the focus is on helping fabricators keep laser-cut parts cleaner, easier to weld and better prepared for coating or assembly. With the right finishing approach, oxide stops being a hidden problem and becomes one more production issue you can control.