
Why edge quality matters before powder coating or paint
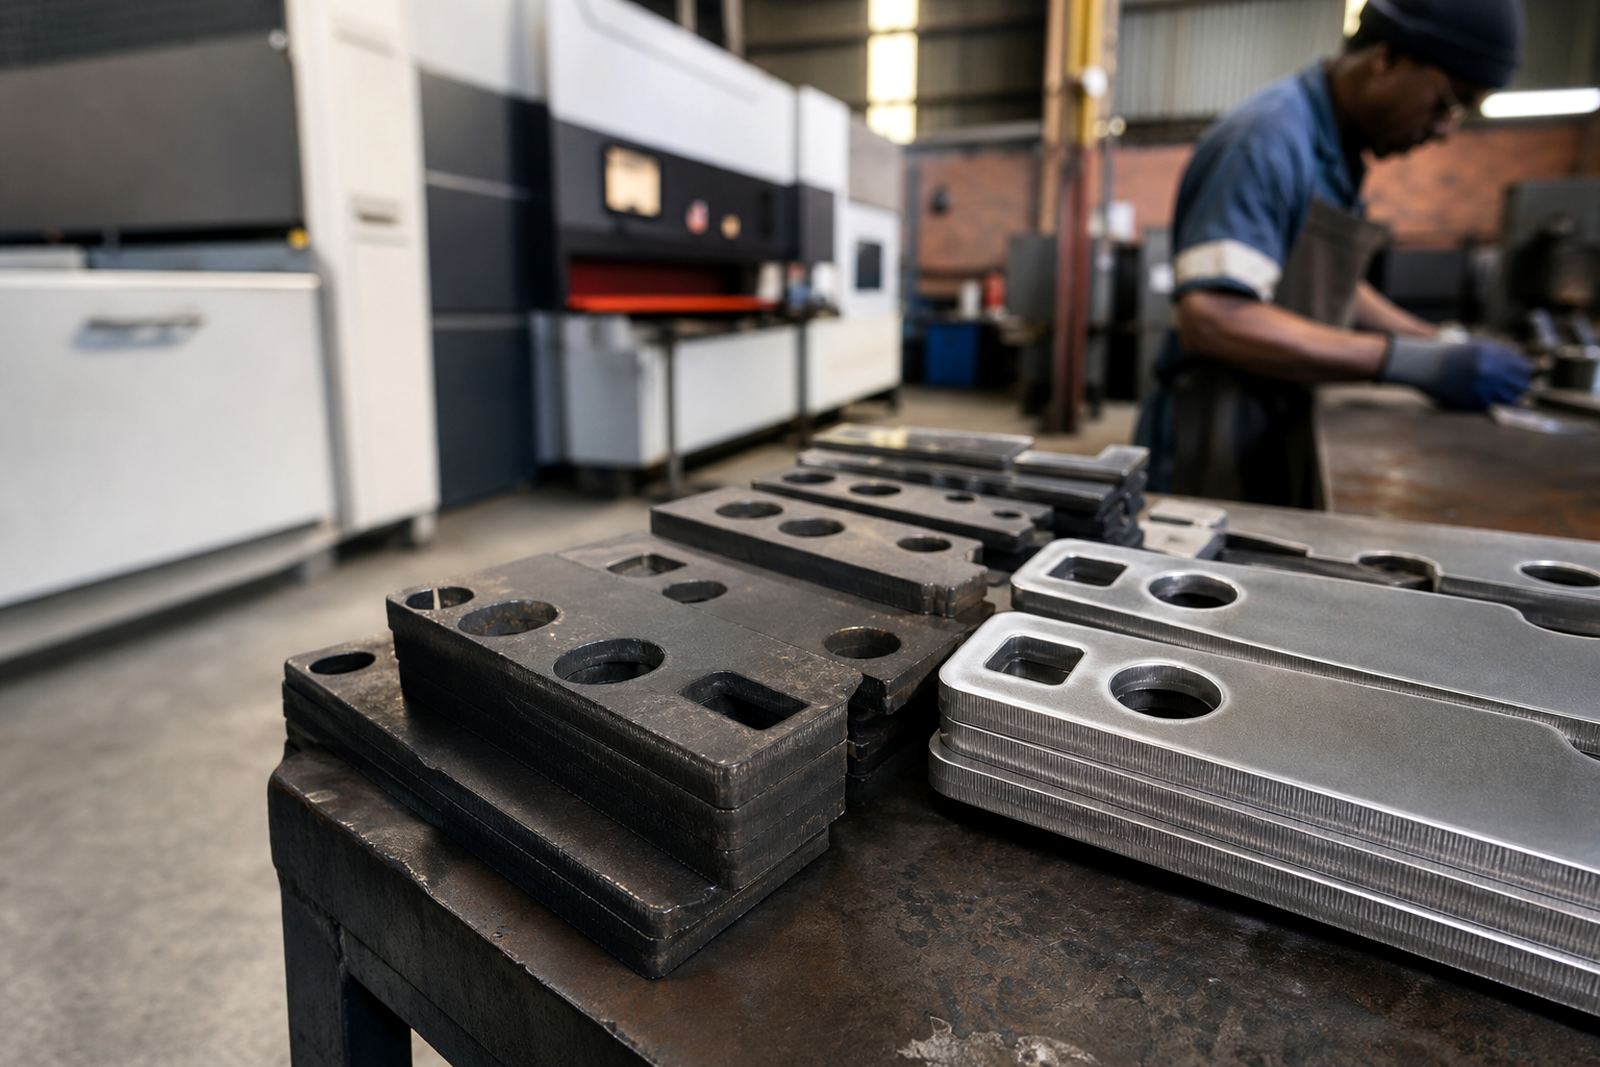
When sheet metal leaves the laser, the cut may look neat at first glance but the edge can still carry oxide, burrs, dross and heat marks. Those small flaws become a problem later when the part is coated. Paint and powder need a stable surface to grip, and if the edge is rough or contaminated the finish can lift, chip or show uneven coverage.
In South African fabrication shops, this matters on both sides of the process. A panel that passes through a spray line in Wadeville still has to survive transport, stacking and handling before it reaches the site in Johannesburg, Durban or Cape Town. If the edges are sharp or inconsistent, there is a higher chance of coat damage, contamination and customer complaints.
Good edge-finishing is not about making every edge look polished. It is about producing a predictable surface condition that supports adhesion, improves handling safety and makes the finished part look consistent across a batch.
What a paint-ready edge should look like
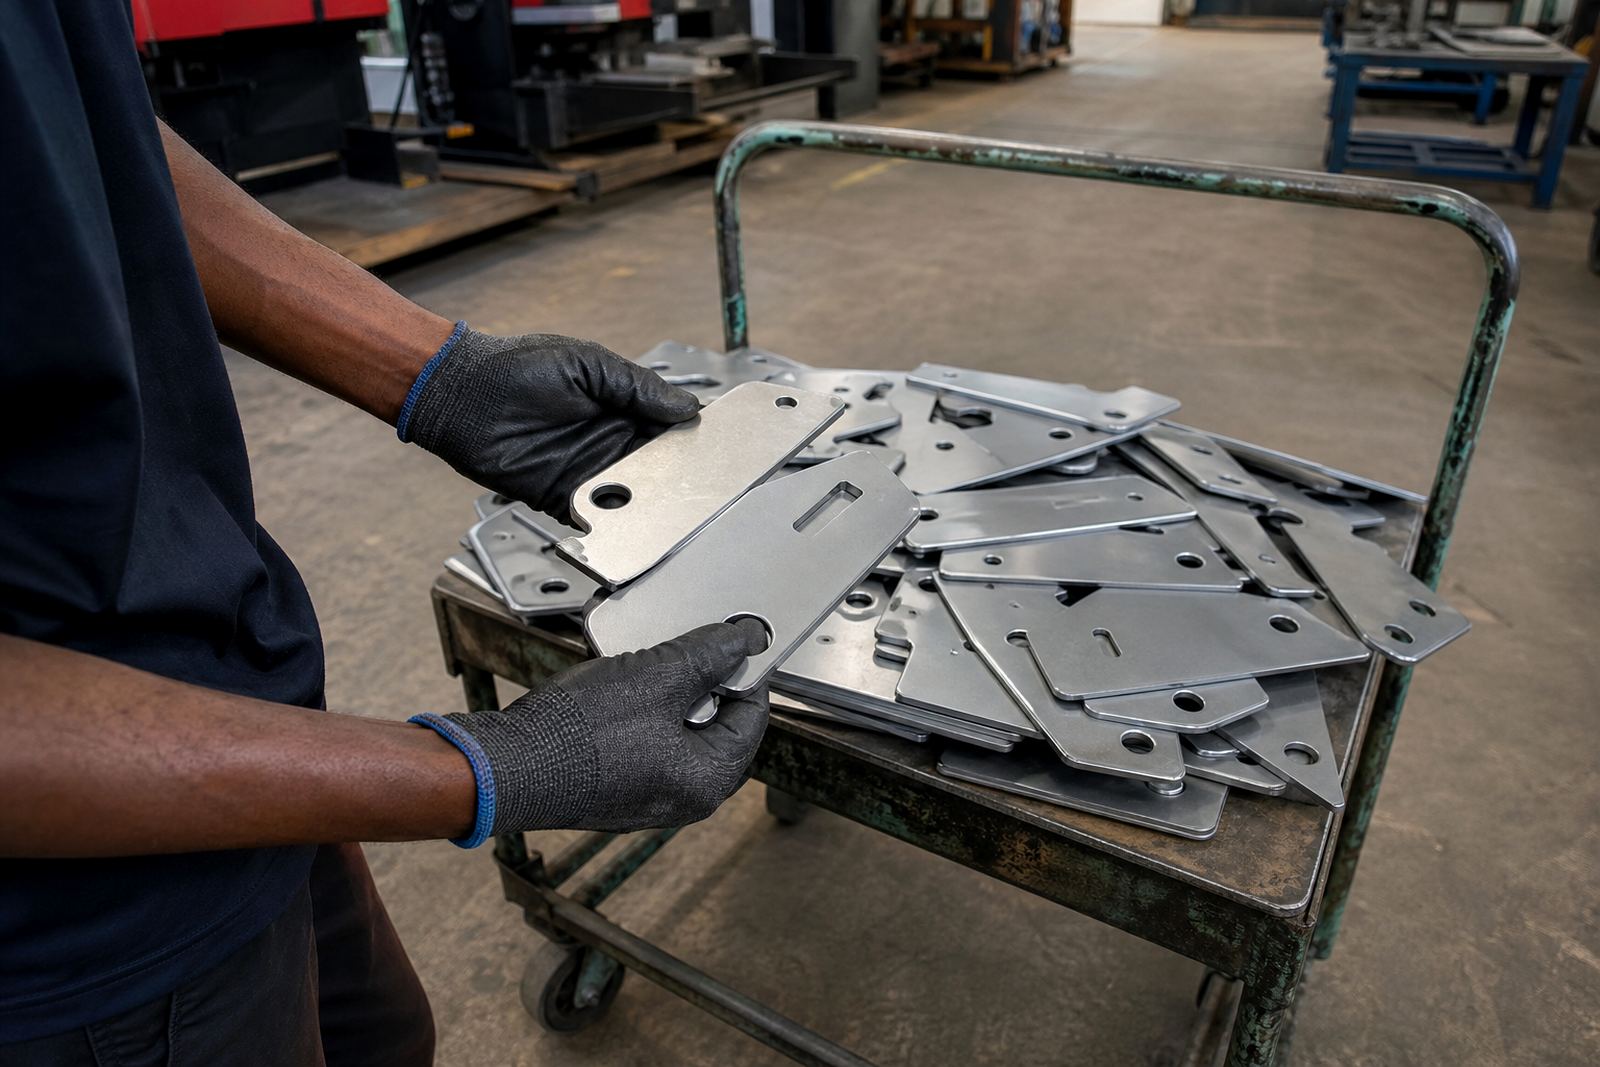
A paint-ready edge should be clean, even and free from loose material. The aim is to remove laser dross, reduce burr height and break the sharp corner enough to improve coating coverage. For many fabricators, that means a controlled radius or chamfer rather than a heavy grind mark or a polished shine.
- No loose slag or re-deposited metal on the cut line
- No sharp knife edge that catches gloves or flakes coating
- Minimal heat tint and surface residue near the cut
- Uniform edge condition across the full sheet or batch
- No deep scoring that can show through thin coatings
For work that goes outdoors, especially near the coast, the standard needs to be even tighter. Coastal humidity and salt exposure can expose weak prep very quickly. A clean edge helps the coating system do its job and reduces early failure at corners and cut-outs.
The finish standards fabricators should control on the floor
Many coating issues start with vague instructions such as “give it a quick clean-up”. That usually leads to mixed results. A better approach is to define the edge condition in measurable terms and apply the same expectation to every job, whether it is a small bracket or a full production run.
Fabricators should agree on what counts as acceptable for burr height, edge break, oxide removal and surface consistency. That standard can vary by product, material thickness and coating type, but it must be clear enough for operators to follow without guesswork. In practice, the finishing stage should be treated like any other critical process step.
- Set an edge-break target for different product types
- Define when oxide or scale must be removed fully
- Specify whether both sides or one side need finishing
- Check corners, slots and small holes, not only straight edges
- Inspect before coating, not after the first trial batch
If a part is going into municipal street furniture, control boxes or site enclosures, the finish standard should be stricter on visible faces and exposed edges. A little extra preparation there saves time later and improves the final presentation.
How deburring machines support coating adhesion
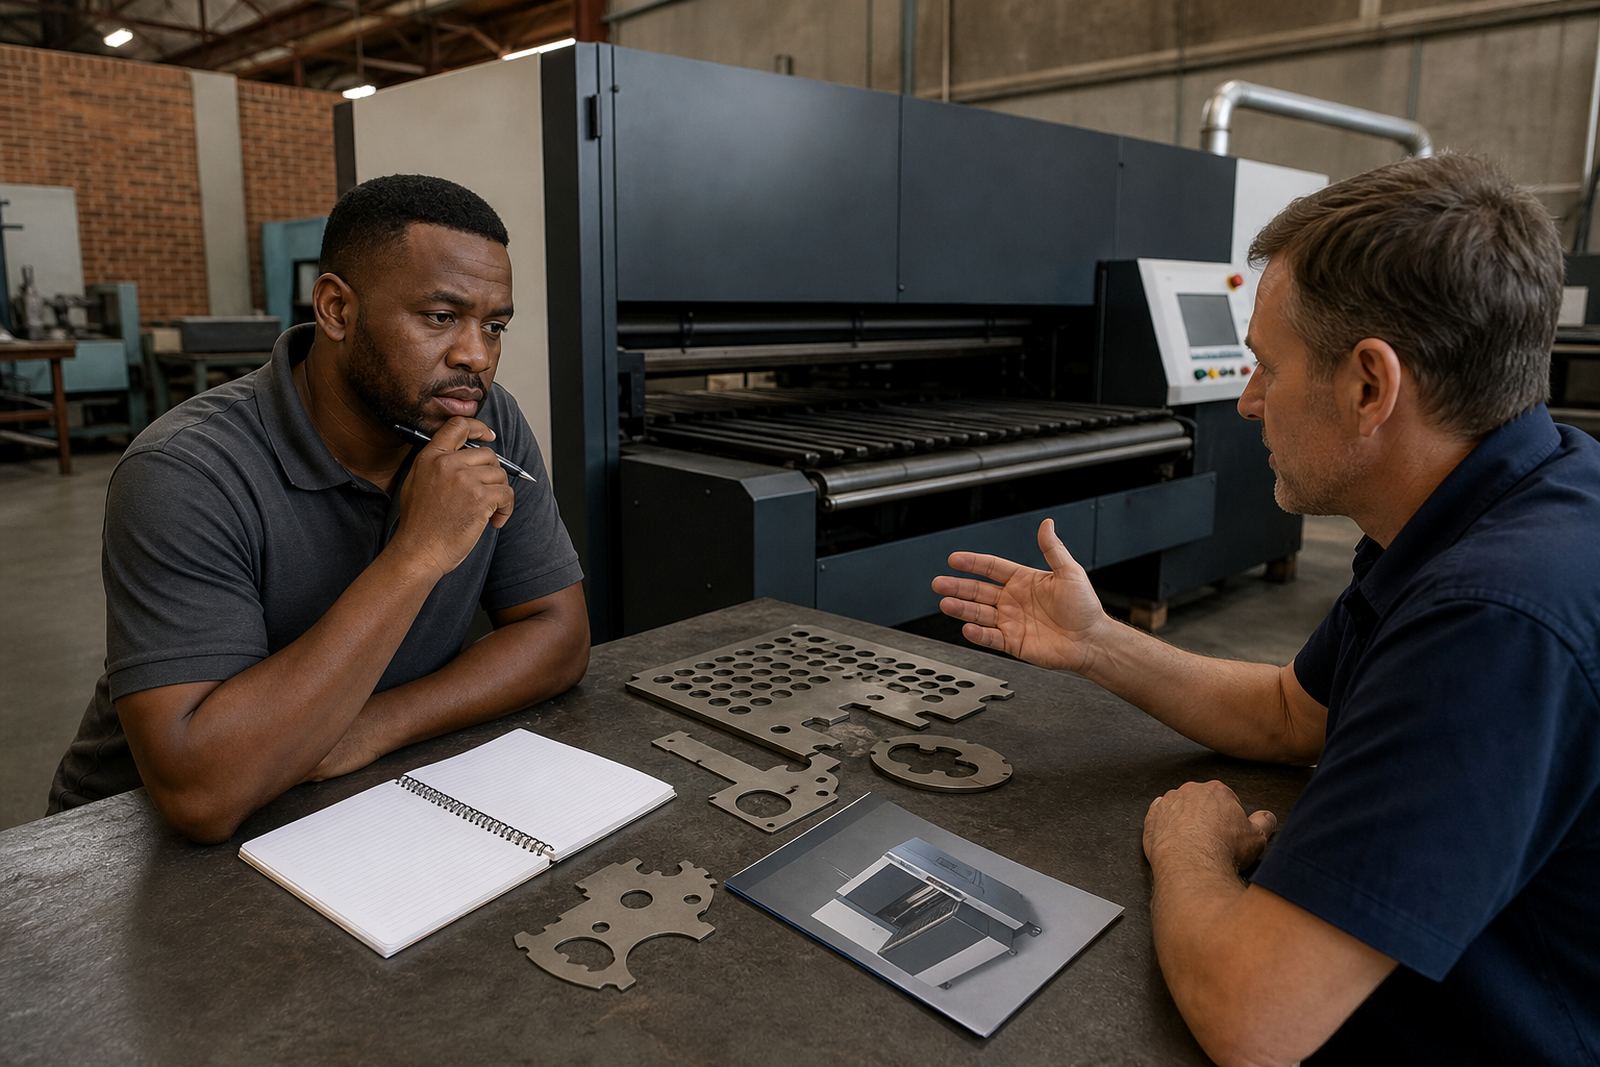
Manual grinding can work for one-off jobs, but it is hard to keep the finish uniform when volumes climb. A dedicated deburring and edge-finishing machine gives repeatable results, especially on laser-cut sheet metal where the cut pattern is consistent from part to part. That consistency helps coating teams because they are not dealing with a random mix of edge conditions.
The right machine can remove sharp edges, clean cut faces and improve the overall surface profile before parts go to wash, pretreatment or coating. For powder coating in particular, an even edge means better coverage on corners and less risk of thin spots. It also reduces the chance of powder build-up on jagged burrs that later break off.
For shops running long shifts, the practical benefit is throughput. A machine can process parts while operators focus on sorting, inspection and packing. That matters during load-shedding planning as well, because a controlled finishing step helps production recover faster after power interruptions and keeps the line moving.
A practical standard for Durban and coastal jobs
Consider a fabricator in Wadeville supplying laser-cut brackets and cover plates to a contractor in Durban. The parts are painted for outdoor use and sit in a humid environment close to the coast. If the edges still carry burrs or oxide, the coating can fail first at the corners where moisture settles and handling wear is highest.
In that situation, the shop should focus on more than appearance. The finishing target should remove any loose metal, soften the edge enough for coating coverage and keep the surface uniform before the parts are packed. A consistent process also helps when the same job is repeated months later, because the customer expects the same result every time.
This is where sample part testing is useful. A few finished parts can be checked before the full batch runs, then adjusted if the coating team sees edge-related defects. It is a simple way to avoid rework, especially on repeat orders with tight delivery dates.
What to check before parts go to coating
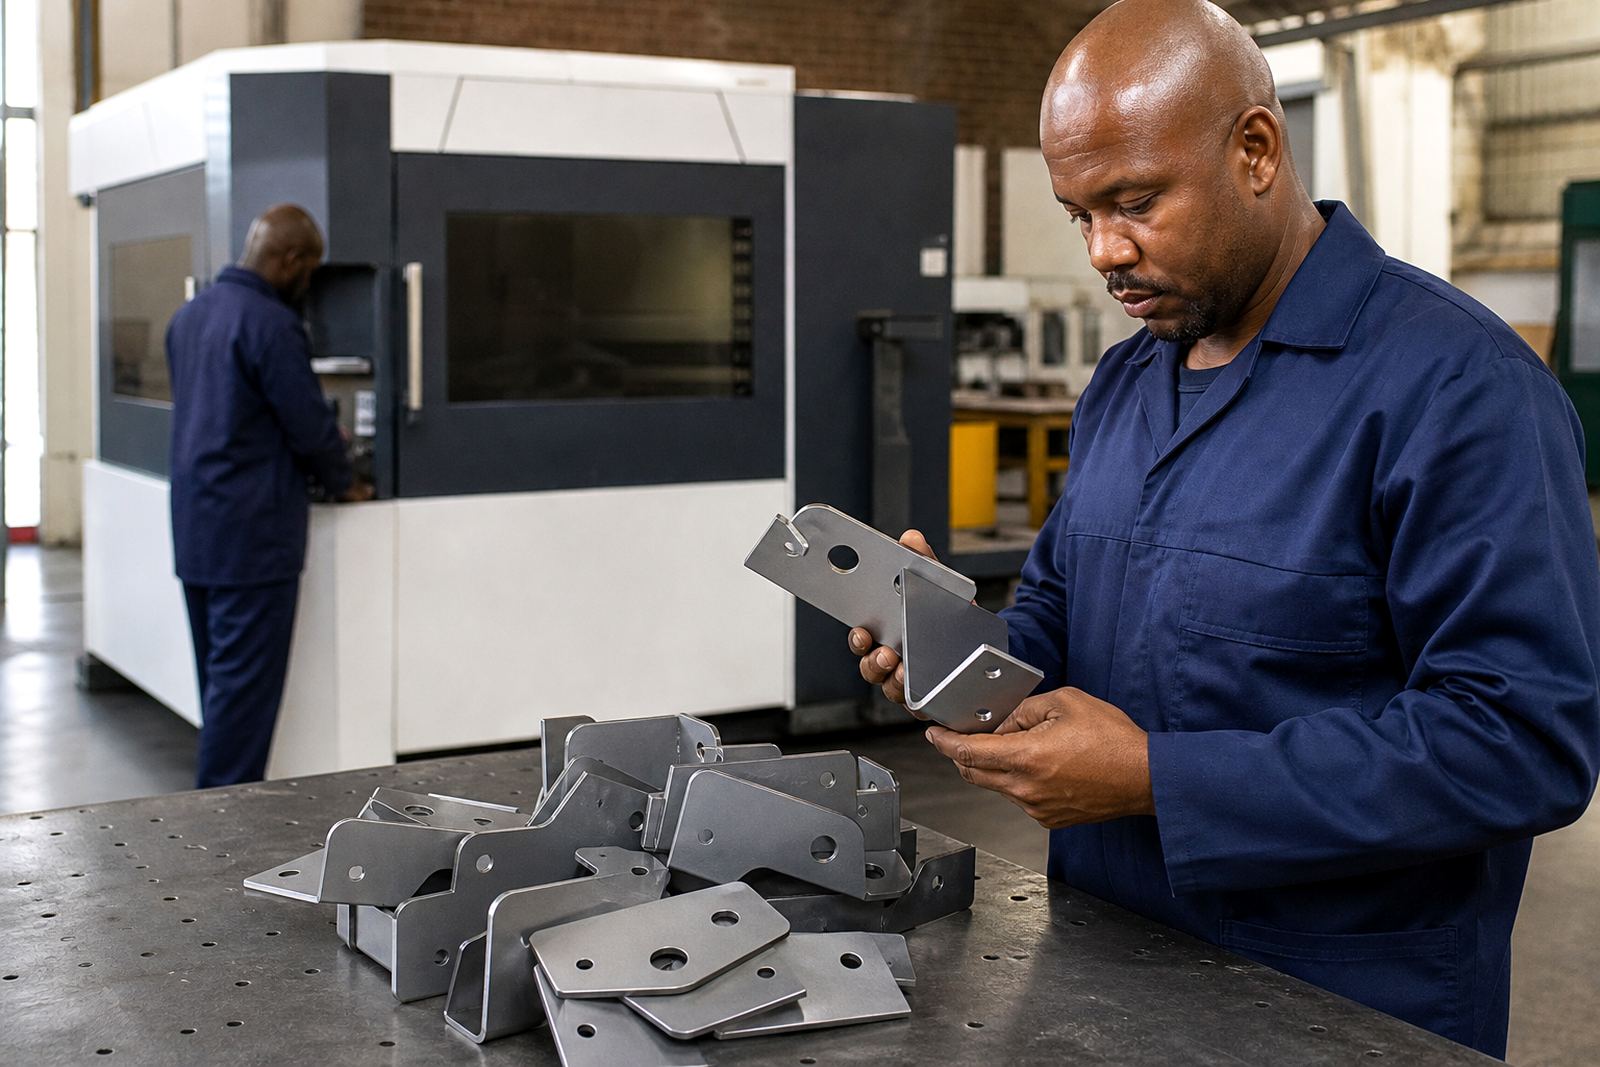
Before any batch leaves the finishing area, the operator or supervisor should inspect the parts with a clear checklist. This is faster than sorting out rejected coated parts later, and it protects both appearance and adhesion. On smaller parts, a light burr can be enough to spoil the look once paint hits the surface.
- Run a glove test along exposed edges for sharpness
- Check cut-outs, internal corners and small features
- Look for any remaining dross after finishing
- Confirm the surface is clean and free from loose dust
- Compare the first and last parts in the batch
For high-value work, many shops add a machine audit or preventive maintenance check to keep the finishing result stable. Worn abrasives, poor feed settings or neglected rollers can all change the edge quality without being obvious at first glance. A small shift in process can become a big problem once the coating is on.
The result is better presentation and fewer returns
Paint-ready edges are not just about technical neatness. They affect how a product is handled, how it looks on site and how long the coating lasts. When the edge-finishing standard is controlled, the fabricator gets cleaner presentation, fewer touch-ups and less time spent fixing rejects after coating.
For South African manufacturers, that means better output without adding unnecessary labour. Whether the parts are going to Pretoria, Rustenburg or Cape Town, the same principle applies: finish the edge properly first, then coat it. That simple sequence makes the whole job easier to price, easier to deliver and easier to stand behind.
With the right machine, a clear standard and regular operator training, paint-ready edges become a repeatable part of production rather than a last-minute repair step.