
Start With Parts That Match Real Production
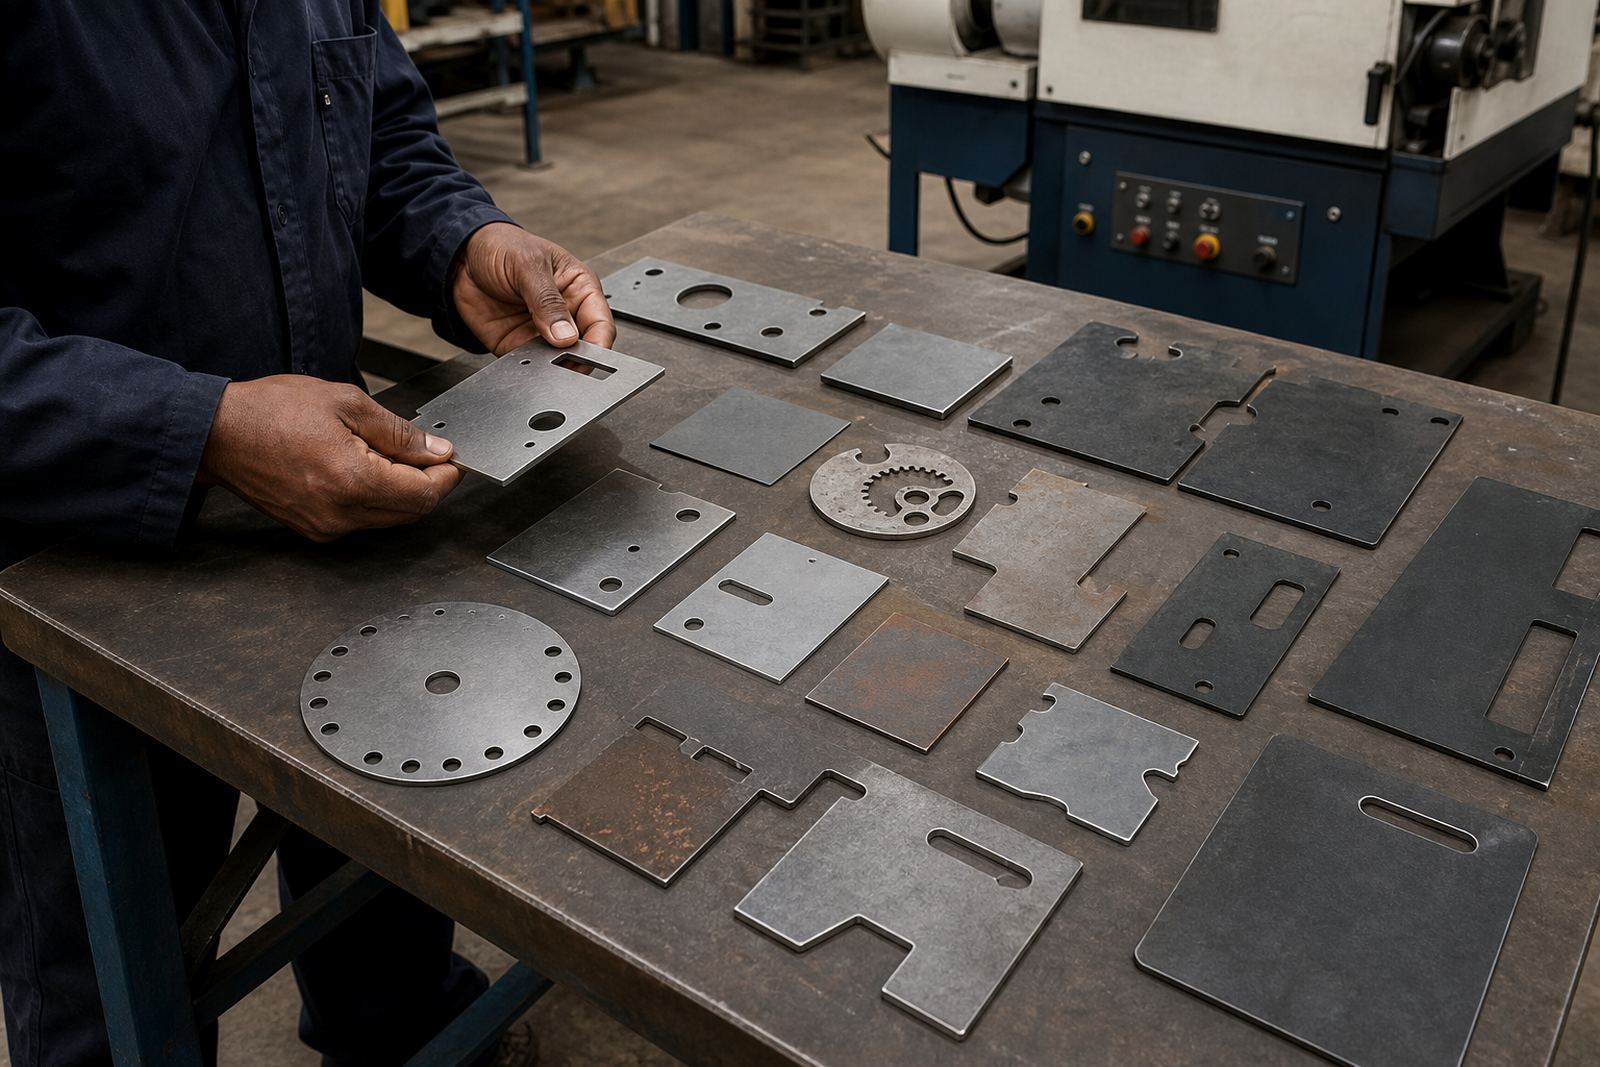
When you book sample part testing, send work that reflects the jobs you actually run. A neat offcut with one simple profile will not show how a deburring and edge-finishing machine handles your normal mix of holes, slots, internal corners and sharp outside edges. The aim is to see what happens on parts that carry the same problems your operators face every day.
For laser-cut sheet metal, that usually means sending a few different examples, not just one. If you work with mild steel, stainless steel and aluminium, test at least one part from each material. If your production includes small parts and larger sheets, include both. A test run should show how the machine behaves across the range, not just on the easiest item in the tray.
- Send parts with burrs from a real cutting run, not hand-finished samples.
- Include thin and thicker material if your workshop runs both.
- Add parts with tight holes, not only simple outer profiles.
- Mark which edge finish matters most, for example top edge, bottom edge or both.
Include The Problems You Want Solved
A useful sample set should highlight the exact issue you want fixed. If your main problem is burr left on the underside after laser cutting, make sure the sample shows that. If your issue is sharp edges that slow packing or assembly, send parts that create that risk. The machine test then shows whether the chosen process can handle the real pain points in your line.
It also helps to note what has been going wrong on site. For example, one Gauteng fabricator in Wadeville sent bracket parts that looked fine at first glance, but the customer kept rejecting them because the edges scratched powder-coated assemblies. Once the test included those same brackets in a typical batch, the result showed how much edge-break was needed before the parts could move to assembly. That kind of detail saves time later.
- List the current fault, such as burr, sharp edge, oxide, or inconsistent finish.
- Tell the team if the part must stay flat and within a close tolerance.
- Say whether the finish is for handling safety, coating prep, or fitting.
- Bring samples from the same cutting settings you use in normal production.
Send Enough Pieces To Show Variation
One part is rarely enough. Sheet metal runs vary from shift to shift, and even the same laser programme can leave slightly different edge conditions depending on material batch, gas settings and cutting speed. A proper test should include enough pieces to show that spread. That gives a more honest picture of cycle time, edge quality and repeatability.
As a rule, send more than you think you need. Five to ten parts from the same job is often better than one perfect sample. If your plant works in Johannesburg, Pretoria or Durban, where production can be under pressure from lead times and load-shedding, it is worth seeing how a machine copes with a realistic batch, not just a single easy part. The point is to test production, not a lucky one-off.
- Include parts from the start, middle and end of a typical batch if possible.
- Mix simple and more difficult shapes in the same test set.
- Ask for cycle time feedback on the full group, not only one item.
- If parts nest closely, send a few nested samples as well.
Clean, Label And Pack The Samples Properly
Samples do not need to be polished, but they should arrive in the same condition they would have on the factory floor. Remove loose swarf, oil buildup and heavy dirt, since these can affect the test and make handling unpleasant. If the parts are coated with cutting residue, say so. A bit of honesty here helps the result far more than sending something that has been scrubbed beyond recognition.
Label the samples clearly. Use a simple note that lists material type, thickness, cutting method, quantity and the finish you want to inspect. Keep the parts packed so they do not rub against each other in transit. Scratched samples can confuse the outcome, especially where appearance matters. In coastal areas like Cape Town or Durban, clean packing also helps protect against moisture while the sample is on the road or waiting for testing.
- Separate stainless, mild steel and aluminium into different packs.
- Use a clear note for thickness, quantity and job name.
- Avoid mixing clean parts with oily or rust-prone ones in the same bag.
- Protect sharp edges so the samples do not damage each other.
Tell The Testing Team What Success Looks Like
A sample test works best when everyone agrees on the finish standard before the machine starts. Some shops want a light edge break only. Others need a smoother finish for coating, handling or post-assembly fit. If that is not set out in advance, the test may look good but still miss your production target.
Be specific about the outcome. Do you want the burr removed completely, or only reduced to a safe edge? Must the surface stay mark free? Is there a limit on material loss? If the part will go straight into assembly, say so. If it is a decorative item, appearance may matter more than speed. A clear brief helps the operator and the applications specialist choose the right settings and avoids rework later on. It sounds simple, but many shops skip this step and then wonder why the result feels a bit off.
- State the finish requirement in plain language.
- Note any must-keep tolerances or hole sizes.
- Say if the part will be painted, powder coated or welded after testing.
- Confirm whether one side or both sides need treatment.
Use The Test To Plan Real Output
A good sample test should help you plan what happens next. Once the pieces are run, look beyond the finish on the first part and ask how the process will work on a full shift. What is the likely throughput per hour? How often will abrasive or consumable parts need replacement? How much operator attention does the machine need? These are the details that matter when you move from a sample to daily production.
That is especially important for fabricators in Rustenburg, Germiston and the East Rand, where many shops run mixed work and tight delivery windows. A test that shows a clean edge but no practical cycle time is only half the picture. The best result is one that can be repeated on Monday morning, not only in a controlled test bay. If the output looks right and the pace suits your line, you can plan with more confidence.
Good sample testing is not about proving a machine can do one pretty part. It is about finding out whether it can fit your real jobs, your staff and your production pace without causing more trouble than it solves.