
Start With The Actual Material Route
Space planning starts with one simple question: where does the laser-cut sheet come in, and where must the finished part go next? If the route is unclear, the machine becomes just another obstacle in the shop. In a busy Gauteng fabricating yard, that usually means more lifting, more waiting, and more chance of scratched parts or bent edges.
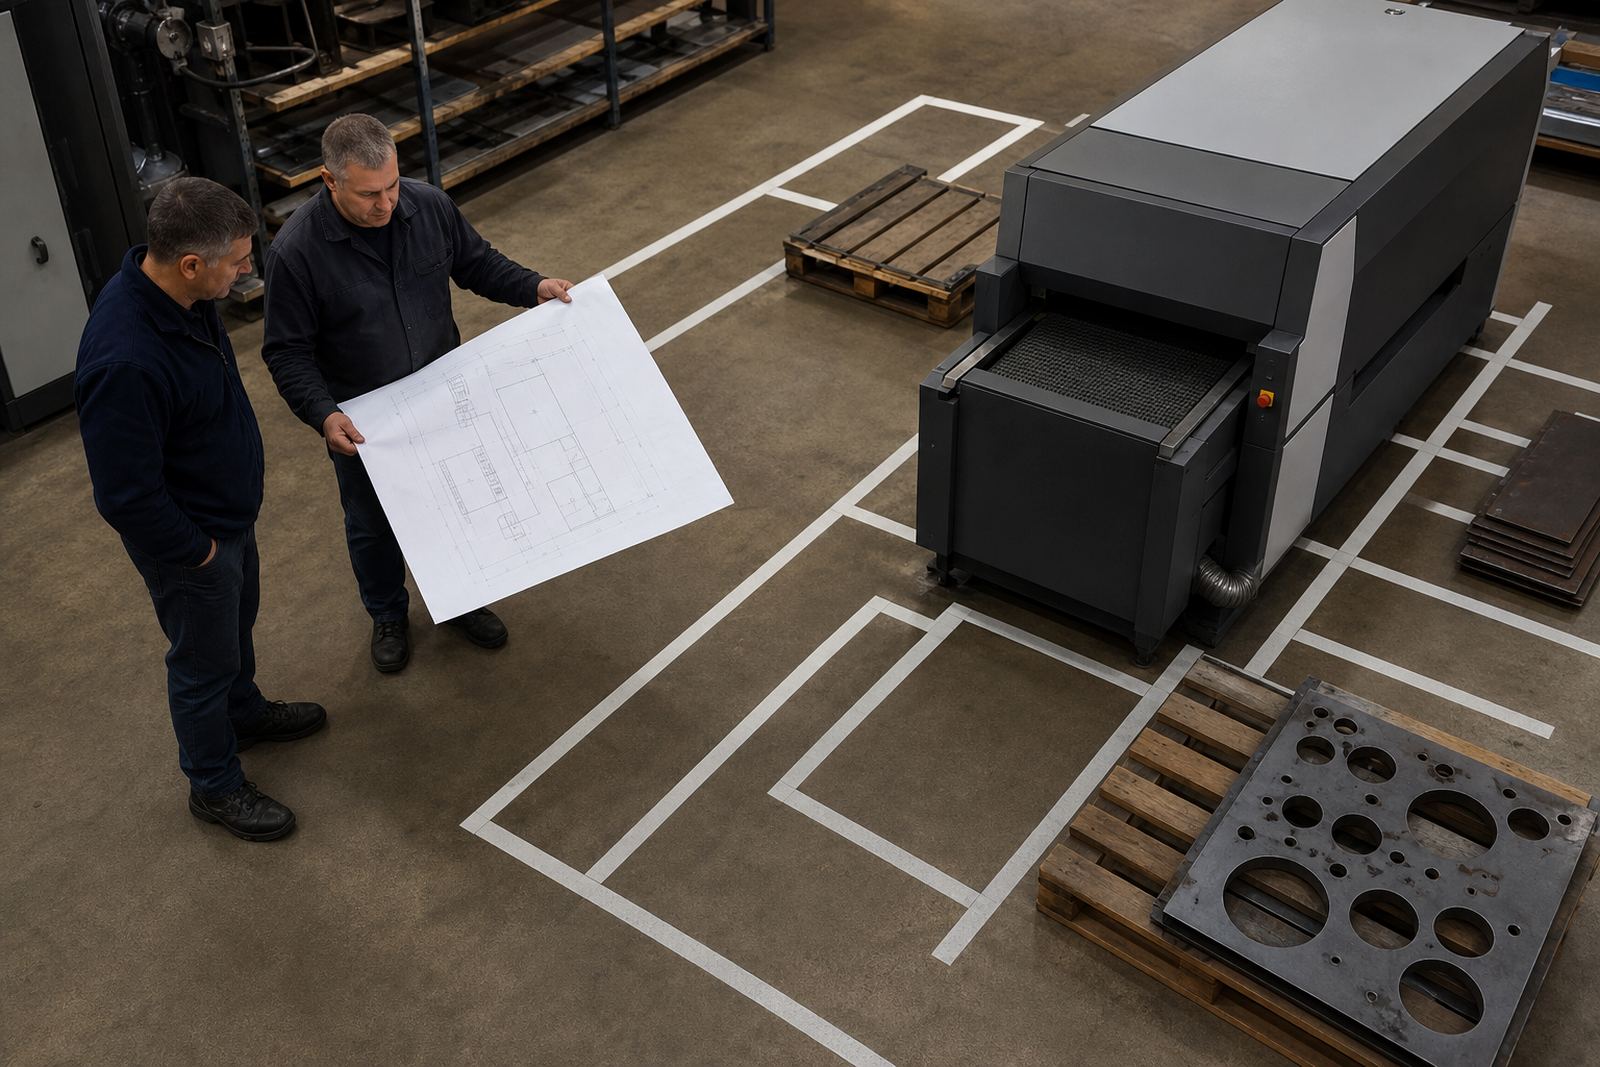
Map the full journey from incoming sheets to finished components. Mark out where packs are opened, where skeletons are removed, where parts are sorted, and where the deburring machine will sit. The aim is to keep the movement one way if possible, not back and forth across the floor. A small layout change can free up metres of space and cut down on handling.
- Keep the machine close to the cutting or nesting area.
- Leave a clear path for trolleys, pallet jacks, and small forklifts.
- Avoid placing the machine where offcuts, scrap bins, or packing tables will block access.
- Plan a staging area for parts waiting to be processed, and another for finished work.
In Wadeville and Germiston, many shops operate in tight bays, so every metre counts. If the route is too short and crowded, operators spend more time moving material than finishing it.
Allow Enough Floor Space For Loading And Unloading
Deburring machines do not work well when they are boxed into a corner. Operators need room to load parts, check the finish, and remove items safely. If the infeed and outfeed are too cramped, the machine may still run but the workshop will feel blocked. That is where planning before installation pays off.
As a rule, leave enough space on both sides of the machine for sheet handling, maintenance access, and cleaning. Also allow for the size of your biggest regular part, not just the small samples used during testing. A workshop that handles mixed batches should plan for oversize jobs too, because the one large contract often arrives when the floor is already busy.
- Measure the footprint of the machine itself.
- Add space for operator movement, tool changes, and inspection.
- Keep access open for maintenance and future part replacement.
- Think about how the machine will fit if production grows later.
A cramped layout can cause avoidable stops, especially when there is only one clear aisle. It also makes it harder to keep the area tidy, which matters in a metal shop where dust, swarf and abrasive residue collect fast.
Check Power, Air And Workshop Conditions Early
The best layout on paper still needs the right workshop conditions. Before you commit floor space, check that power supply, compressed air, and the general site conditions suit the machine and the process. In South Africa, load-shedding and unstable supply can interrupt production, so the machine location should make backup support easier to manage.
Place the machine where power cabling can be routed neatly and safely, without crossing walkways or forklift paths. If compressed air is needed for the process or cleaning, keep the line short and well protected. In coastal towns like Durban or Cape Town, humidity can also affect stored abrasive and metal parts, so it helps to keep the processing area dry, ventilated, and away from open doors where possible.
- Confirm the electrical supply and breaker capacity before setting the machine down.
- Plan for safe cable routes and proper isolation access.
- Keep moisture, dust, and grinding waste away from controls and service points.
- Allow for generator or inverter use if the site relies on backup supply.
If your workshop has a lot of open loading doors, think about wind, dust, and rain as well. Rustenburg yards, for example, often deal with dust and hard working conditions, so positioning matters more than people think.
Build The Layout Around People, Not Only Machines
A deburring machine only works properly when operators can use it without strain. That means the space around it should suit the people on shift, not only the floor plan. A good layout reduces bending, twisting, and carrying heavy parts over awkward distances. It also helps new operators learn faster, because the process is easier to follow.
Think about who will load the machine, who will inspect parts, and who will handle maintenance. If one person must do everything, the space should be simple and direct. If the workshop runs multiple shifts, make room for changing handover notes, cleaning tools, and spare abrasives in a set place. Small details like these keep the line moving when orders are tight.
Where possible, place the machine near the main production team rather than isolating it in a back corner. That makes supervision easier and helps with quick decision making when a part needs a different finish. It also means the operator is less likely to be cut off from the rest of the shop during busy periods.
- Provide clear sight lines to the loading area and the next process.
- Keep commonly used consumables close by, but not in the walkway.
- Use marked positions for samples, rejects, and finished parts.
- Allow enough standing space so operators are not forced into awkward positions.
Plan For Dust, Waste And Cleaning Between Jobs
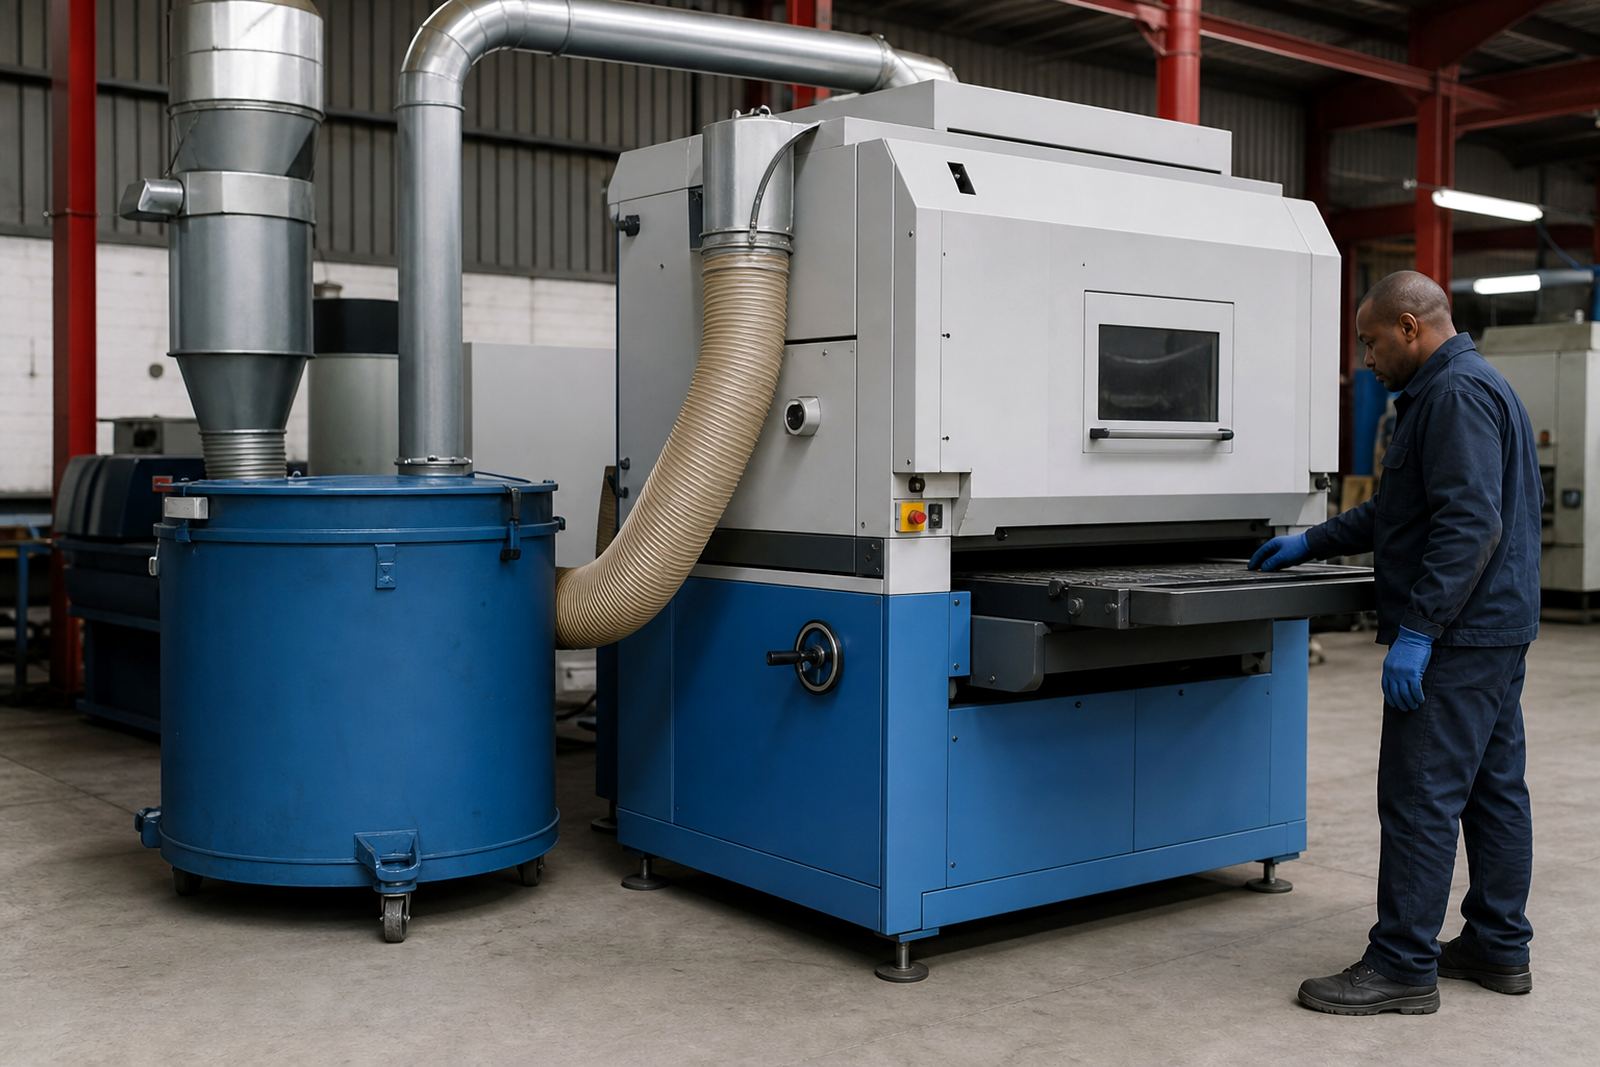
Metal finishing creates waste, and the workshop must have a place for it. Deburring produces dust, abrasive residue, and small offcuts that should not be left to build up around the machine. If cleaning has not been planned, the area becomes untidy fast and productivity drops.
Set out a waste route before installation. There should be a clear place for scrap bins, used abrasives, and cleaning tools, with enough room to remove waste without blocking the machine. In some shops, the cleaner and the operator share the same narrow passage. That usually leads to delays and mess. A better plan is to give waste its own path out of the work area.
Cleaning access also matters for maintenance. If the machine is packed in tightly, routine upkeep takes longer and gets postponed. Then small issues turn into breakdowns. That is why preventive maintenance is not just a service item, it starts with the physical layout of the workshop.
- Keep bins near the point of use, but not in the operator’s way.
- Leave space for sweeping, vacuuming, and safe disposal of dust.
- Store cleaning gear in a dry, reachable spot.
- Make sure waste removal does not cross the main material flow.
Even a well-run shop can lose time if debris is allowed to collect. A clean area is easier to inspect, easier to service and safer for everyone on the floor.
Use Sample Testing To Confirm The Final Position
Before fixing the machine into its permanent position, sample part testing can confirm whether the layout really works. This is where the theory meets the real workshop. A part may look manageable on paper, but once you bring in actual sheet sizes, batch quantities, and operator movement, the space can tell a different story.
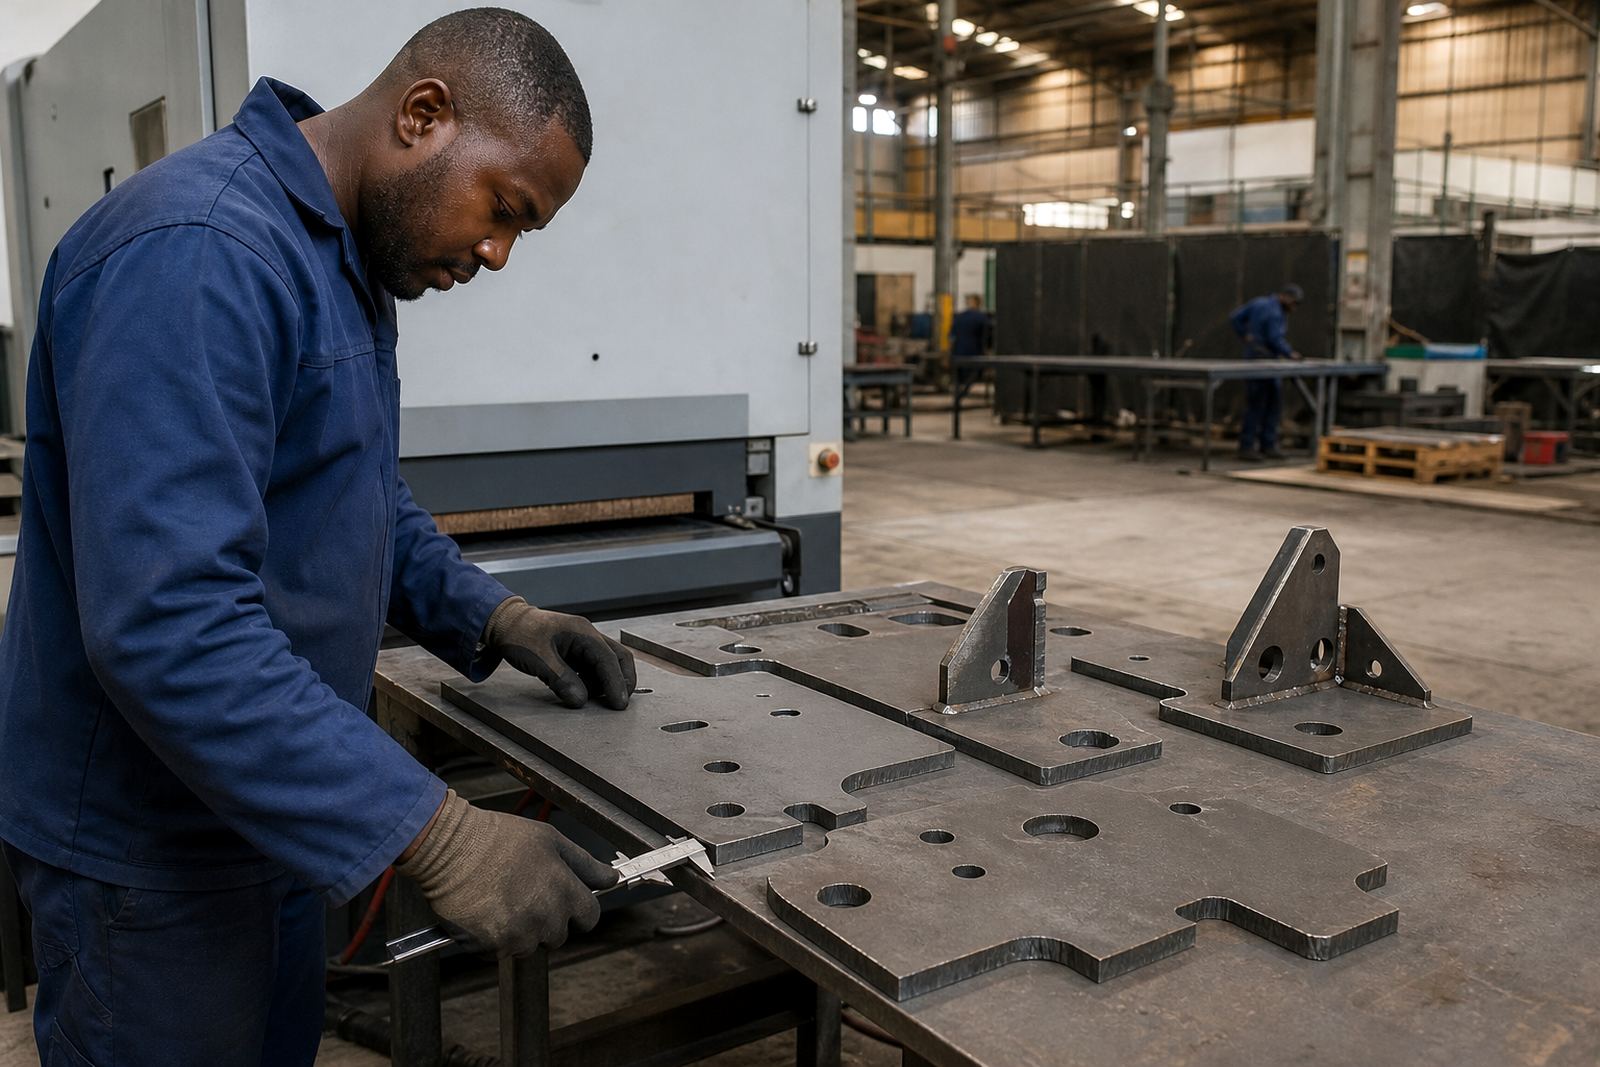
Testing should check more than finish quality. It should show whether operators can load and unload without crowding, whether parts stack neatly, and whether the next process sits in the right place. If the test batch causes hold-ups, the machine might need a slight shift before final placement. That small correction can save a lot of frustration later on.
For many South African fabricators, this step is where production planning helps most. A workshop in Pretoria or Johannesburg may handle different materials on the same floor, so a machine that works well at one site may need a different orientation at another. Good planning is practical, not theoretical.
- Run a test batch with normal part sizes and volumes.
- Watch how long it takes to move parts in and out.
- Check if the operator has enough room during busy hours.
- Adjust the position before finalising the installation.
If the machine works well in testing, the shop is more likely to run smoothly after installation. If it does not, the layout still has time to be corrected.
A Wadeville Example: Tight Space, Better Flow
Consider a fabrication shop in Wadeville with laser-cut parts coming off the cutting area in batches through the day. The first idea was to place the deburring machine against the far wall, near storage. On paper it seemed neat. In practice, it meant carrying parts across the floor twice, through the same narrow aisle used for packing and dispatch.
After reviewing the flow, the machine was shifted closer to the cutting area, with a small staging zone beside it and a separate finished-parts bay just beyond. That reduced handling, cleared the main aisle, and gave the operator space to work without stopping traffic. It also made cleaning easier, because waste could be collected before it spread through the whole shop.
That is the point of shop space planning. It is not about squeezing in another machine and hoping for the best. It is about making the workshop easier to run, safer to move through, and quicker to manage when orders rise. For fabricators across South Africa, especially where floor space is limited, those details can make the difference between a busy shop and a well organised one.
When you plan the space properly from the start, the machine fits the work instead of forcing the work to fit around the machine.