
Why stainless needs a different finishing approach
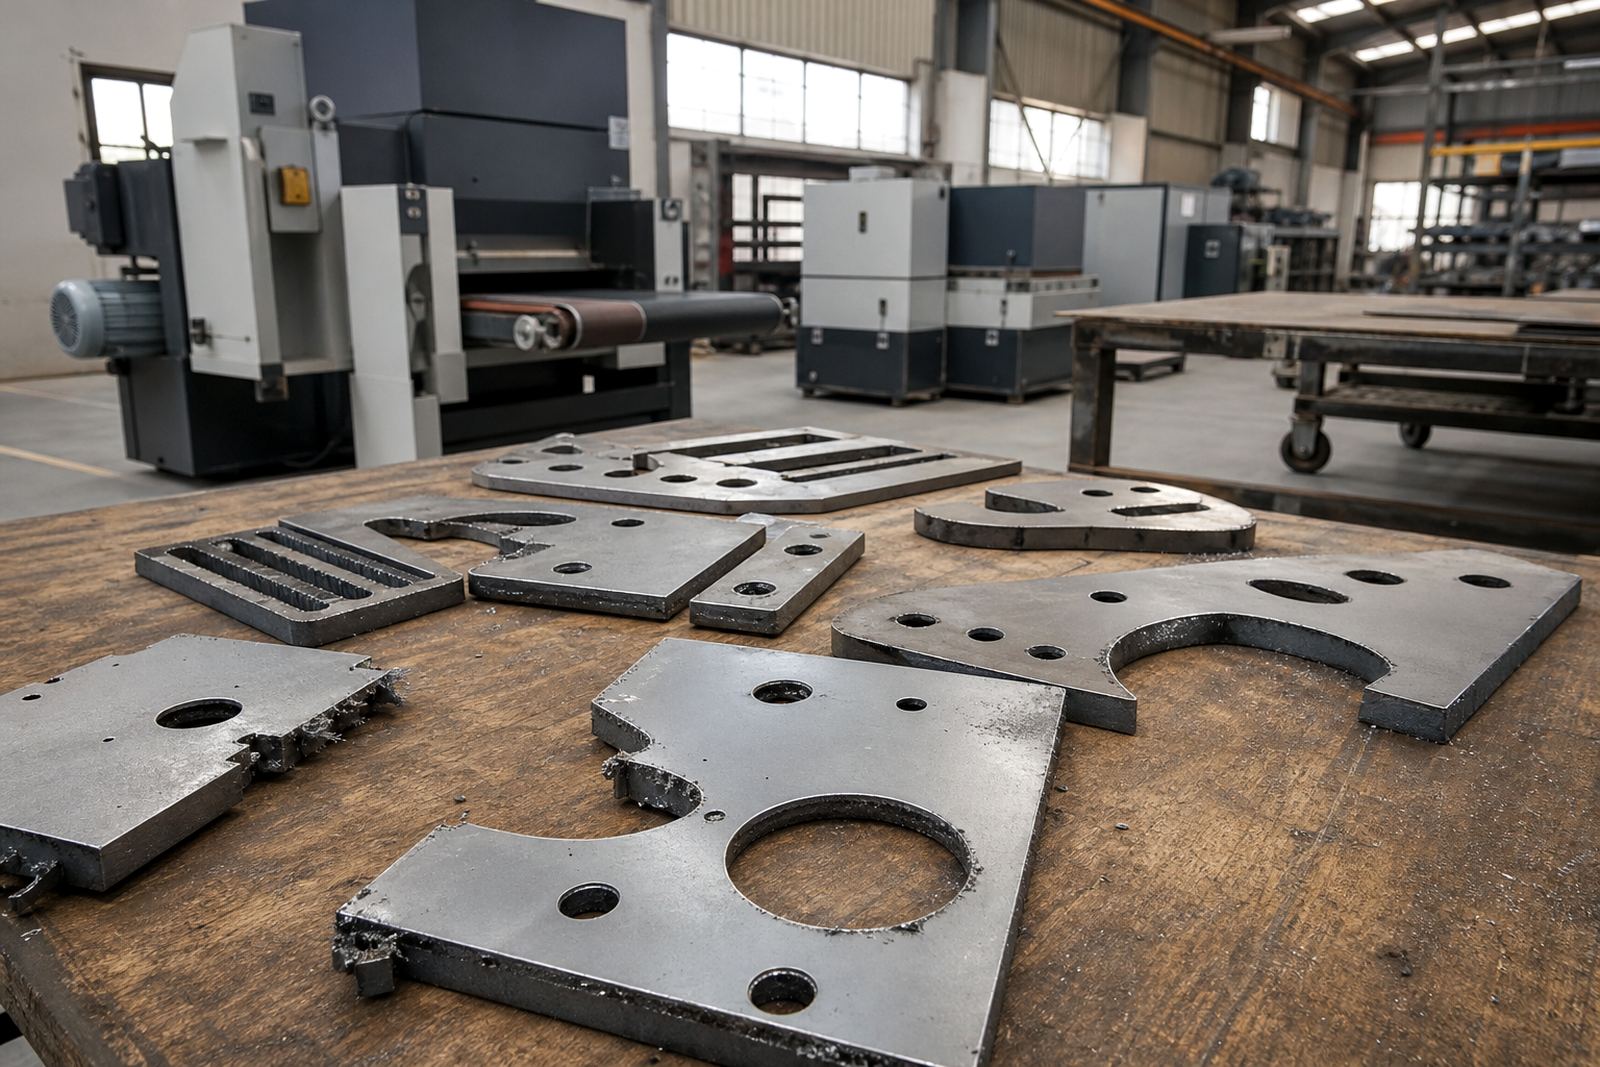
Stainless steel is often chosen for visible parts, food-related equipment, control panels and fabrication work that must look tidy as well as perform well. After laser cutting, the edge can carry dross, heat tint, tiny burrs and a rough cut line. If those marks are left behind, they catch light, trap contamination and can become a problem during welding, washing or final fitting.
The challenge is that stainless is unforgiving. Too little finishing leaves a sharp or dirty edge. Too much finishing can change the part size, round over a critical profile or introduce a patchy look that shows up on brushed surfaces. In practice, the aim is controlled material removal with a consistent result from the first sheet to the last.
For fabricators in Gauteng, the Western Cape or KZN, this matters even more when parts are being supplied to clients who inspect by eye and by touch. A clean edge is not just about safety, it also signals that the whole process has been managed properly.
What to look for after laser cutting
Before choosing a finishing method, it helps to inspect the cut parts properly. Not every stainless component needs the same treatment. Some only need a light edge break, while others need full deburring on both sides plus surface cleaning.
- Small burrs hanging from the lower edge after cutting
- Oxide or heat marks near the cut line
- Sharp corners that can cut hands during handling
- Micro burrs around slots, holes and fine cut-outs
- Surface blemishes that may affect final appearance
Laser-cut parts with tight tolerances need special care. If a component will slide into a frame, seal against another surface or fit into a welded assembly, even a slight burr can cause trouble. On stainless, that extra material can also hold moisture and residue if the part is used in a washdown area or near coastal humidity.
A good inspection routine before finishing saves time later. It also makes it easier to separate parts that need light edge-finishing from those that need a more intensive pass through the machine.
Matching the finish to the end use
Not every stainless part is judged the same way. A bracket inside a machine guard has different needs from a visible panel on a food-processing frame or a decorative handrail component. The end use should guide how aggressively the edge is treated.
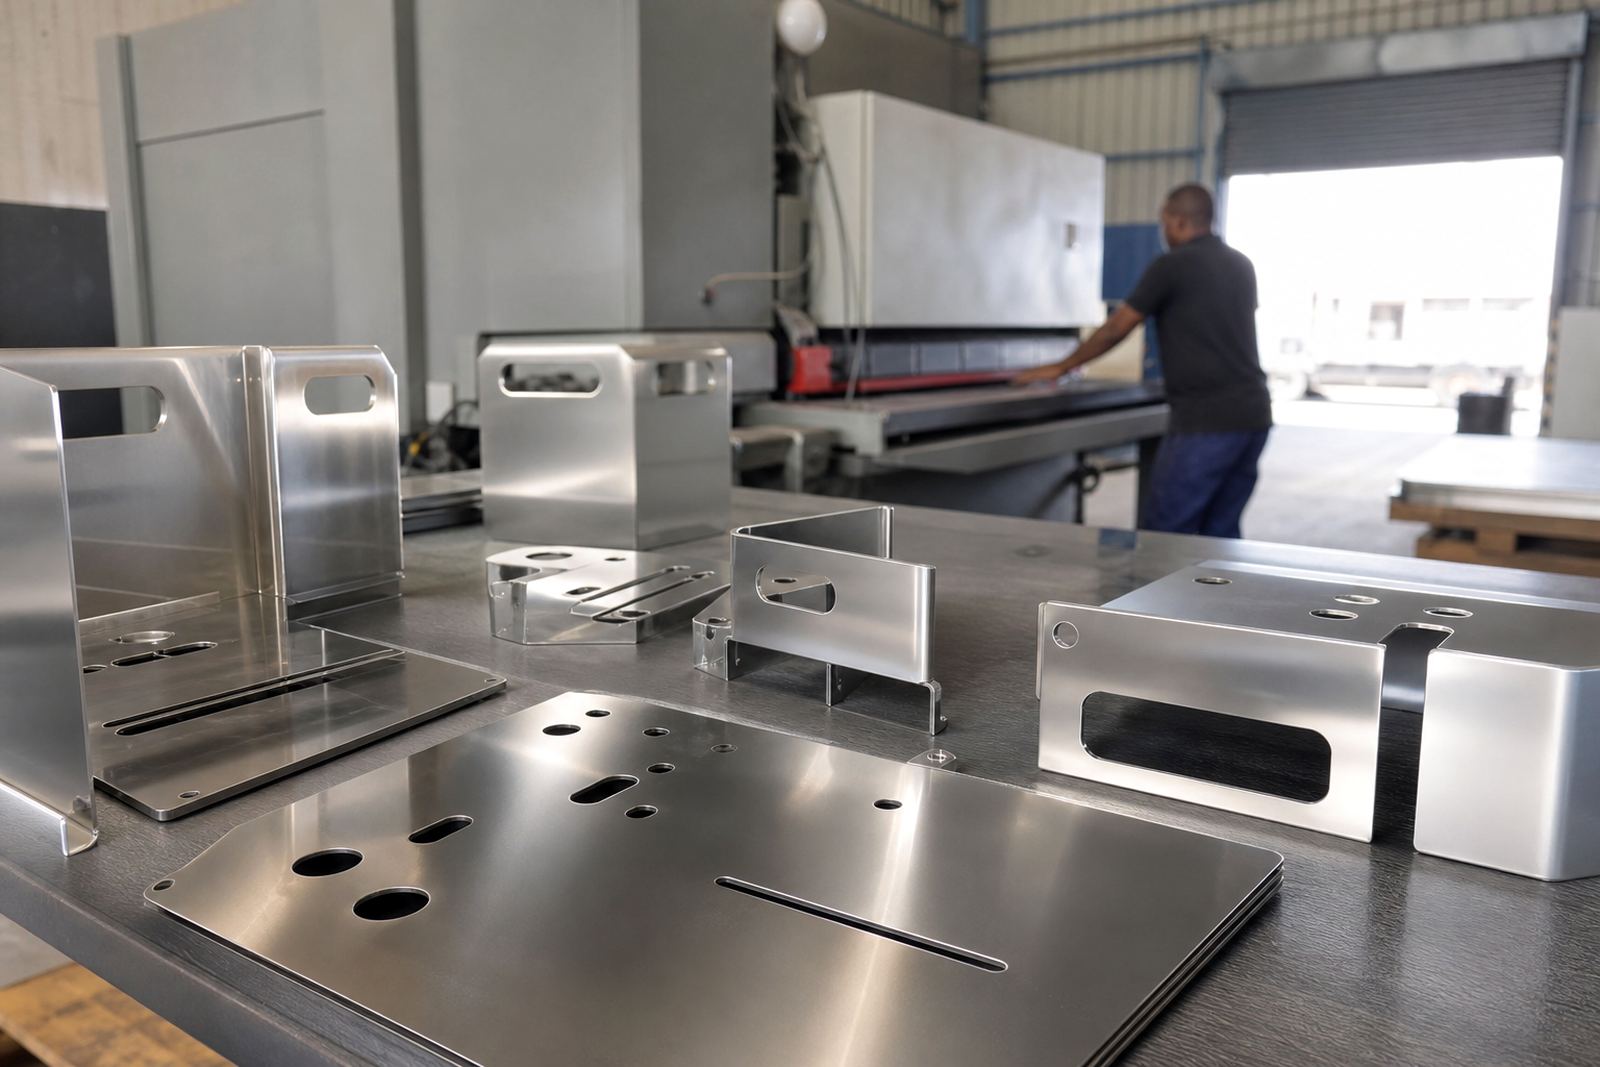
For appearance-focused work, the goal is to remove sharpness while keeping the cut face even and the visible edge clean. For hygienic applications, the priority is to remove burrs and loose particles so that the part can be wiped down or cleaned without snag points. For components that will be painted or welded later, the process may need to balance edge quality with a surface that still accepts the next operation.
- Visible panels: focus on a uniform look and consistent edge break
- Food and process equipment: prioritise cleanliness and particle removal
- Assembly parts: maintain dimensions and fit while removing burrs
- High-touch items: reduce sharp edges that can injure operators
It is also worth noting that different stainless grades and thicknesses behave differently. Thinner material may distort faster if the finishing process is too aggressive, while heavier plate can hold larger burrs that need more work.
Choosing the right machine settings for cleaner edges
Deburring stainless is as much about setup as it is about the machine itself. The wrong abrasive, feed speed or pressure can leave swirl marks, overheat the edge or create a finish that looks inconsistent from part to part. In busy shops, that inconsistency usually shows up at the inspection table.
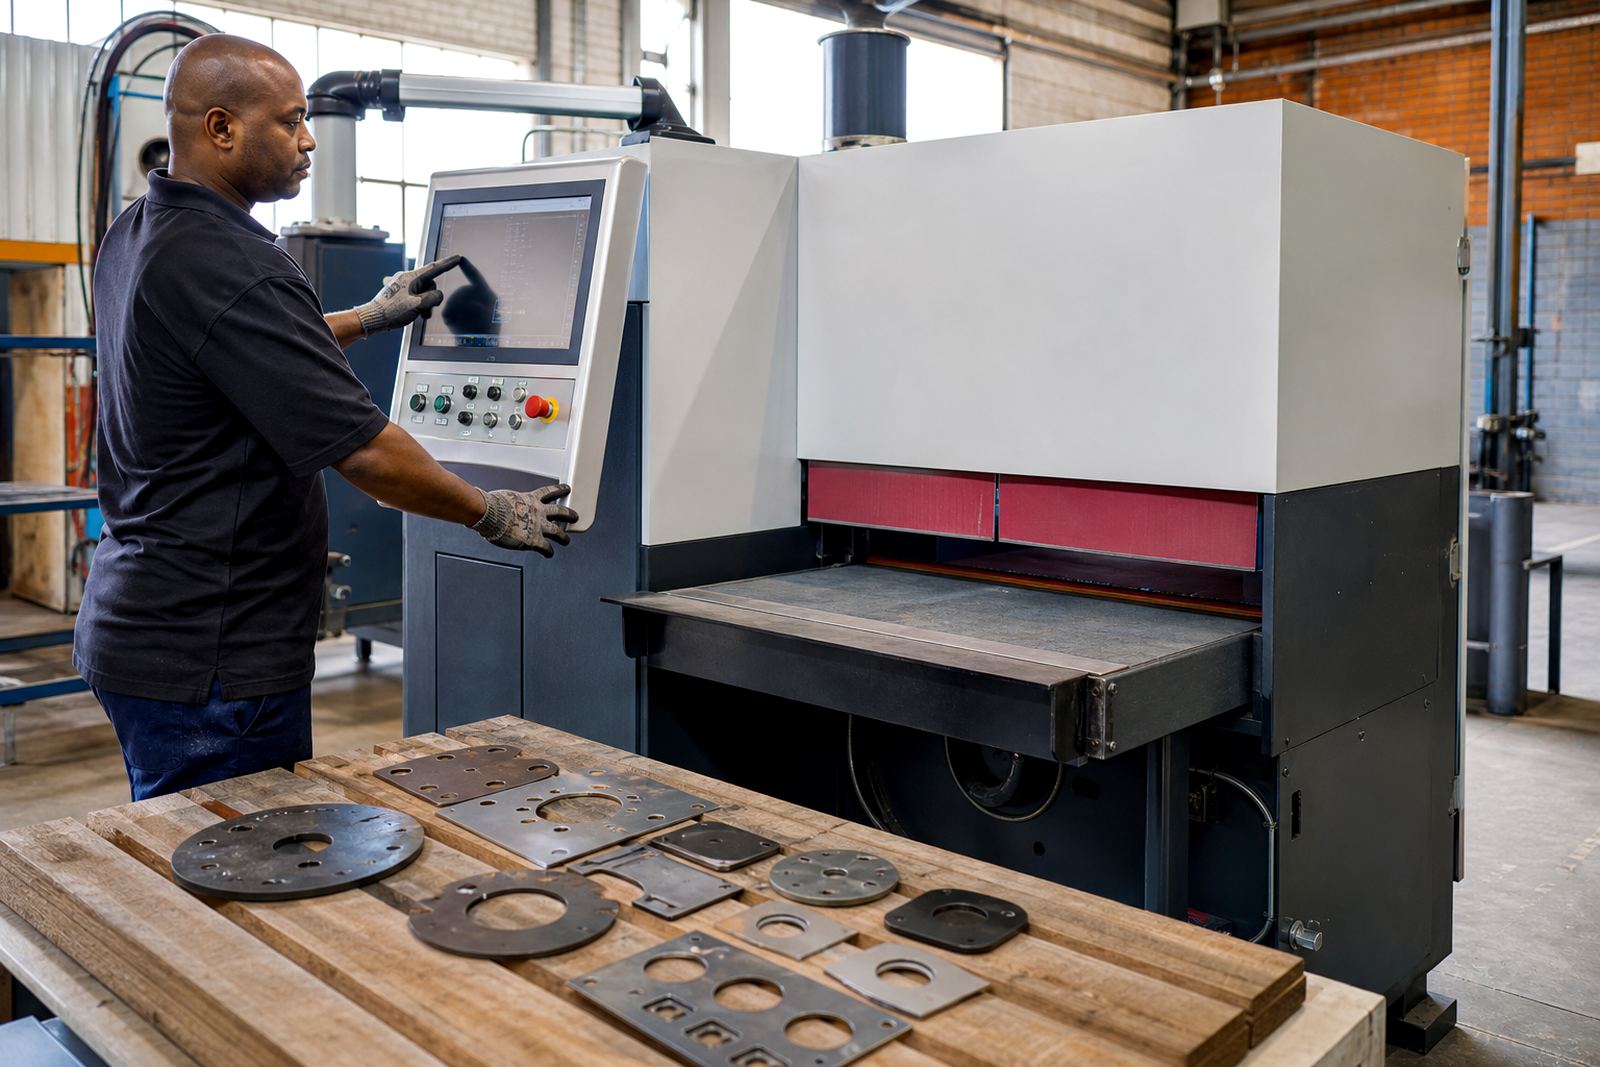
A practical starting point is to use just enough action to remove the burr and smooth the cut line, then test the finish on a sample part before running a full batch. Operators should check both sides of the sheet, especially on parts with fine internal geometry. A small adjustment in feed speed or contact pressure can make the difference between a clean edge and one that needs rework.
- Use sample parts to confirm finish quality before batch processing
- Keep abrasives in good condition to avoid uneven results
- Check for heat build-up on thinner stainless sheets
- Verify that internal cut-outs are reaching the same finish as outer edges
Where power supply is less stable, as can happen during load-shedding recovery, it helps to plan finishing work in batches and keep process checks simple. That reduces stops, restarts and the risk of handing over parts with mixed results.
Cleanliness, handling and contamination control
Stainless is often used because clients expect a clean surface. The problem is that a part can look fine and still carry loose abrasive dust, fingerprint marks or tiny metal particles from the finishing process. If those particles remain on the part, they can move into assembly lines or get trapped in service areas where cleaning is difficult.
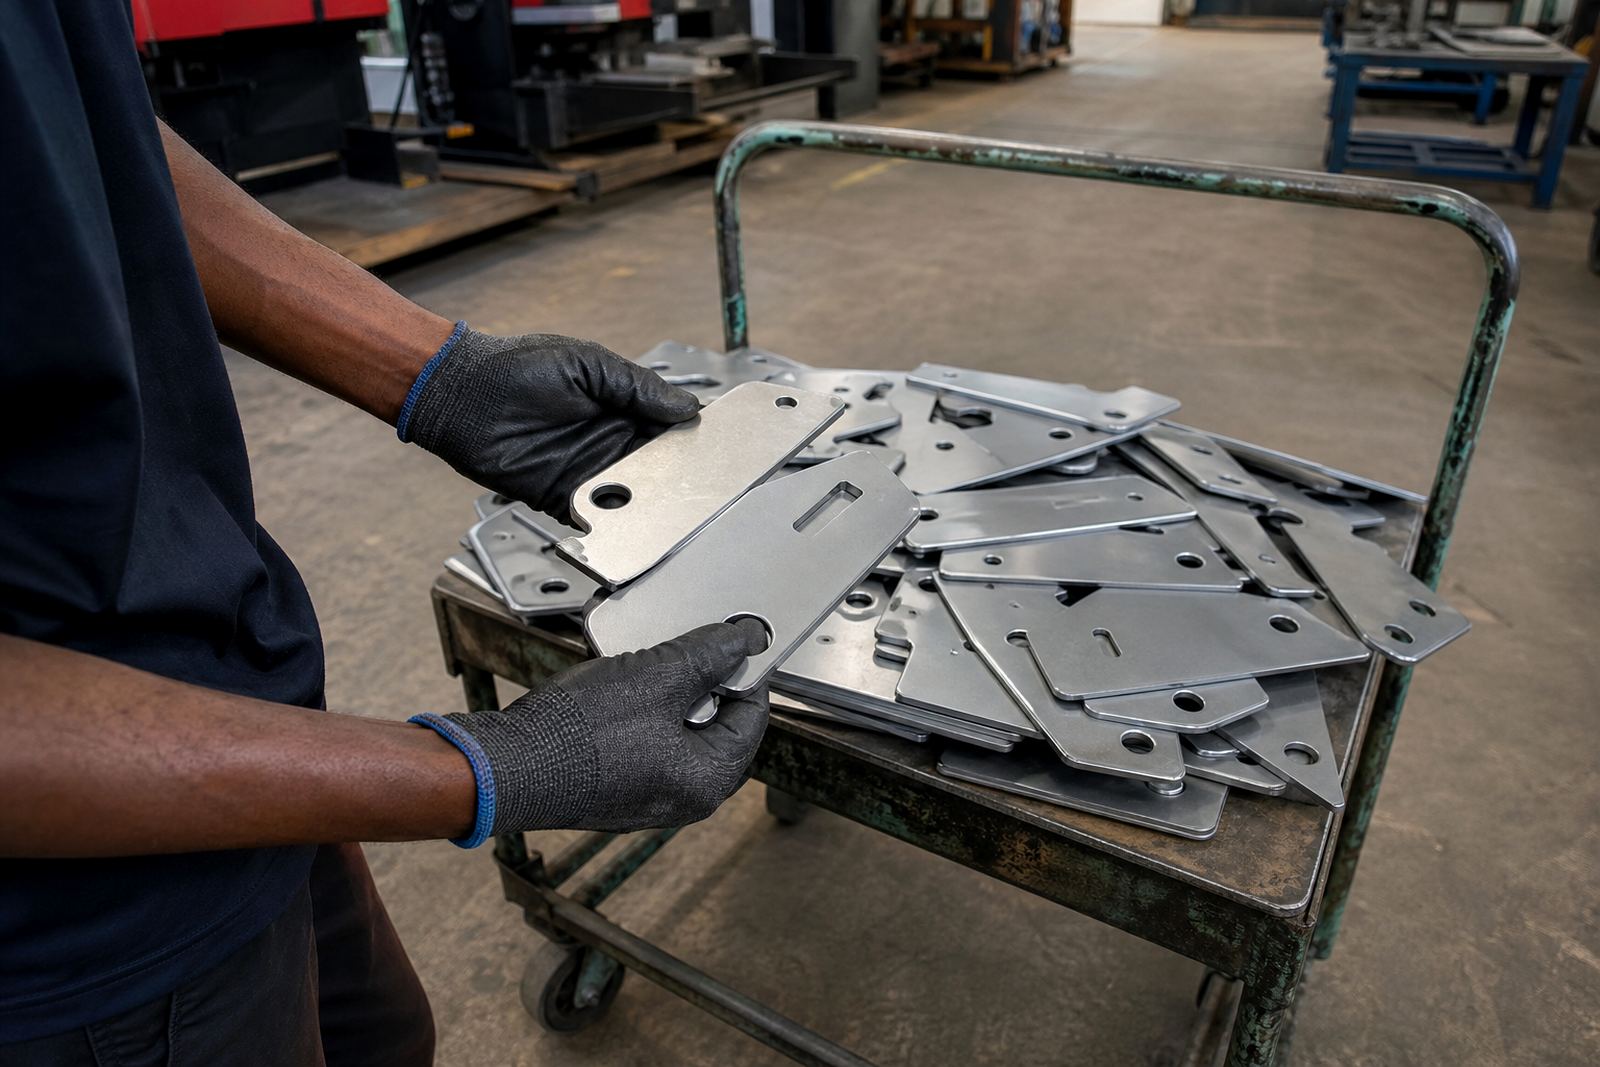
Good handling habits are part of stainless finishing basics. Parts should be kept separate from carbon steel offcuts, stored on clean surfaces and handled with gloves where appearance matters. It is also important to remove swarf and residue after finishing so that the part leaves the workshop ready for the next stage.
For fabrication teams working in Johannesburg, Pretoria or Cape Town, cleanliness also affects delivery confidence. A client receiving stainless parts for a kitchen fit-out or equipment frame will notice if parts arrive dusty, stained or scratched. That is why finishing and cleaning should be planned together, not treated as separate jobs.
A practical example from a Gauteng fabrication shop
A fabrication shop in Wadeville was producing stainless laser-cut panels for a local processing installation. The parts looked accurate on the cut table, but once assembled some edges felt sharp and a few panels showed visible burrs near narrow slots. The client wanted a neater result because the panels were exposed in daily use.
The shop tested a revised finishing sequence on sample parts first. The operator reduced the finishing pressure slightly, checked the feed speed and separated the more delicate parts from the heavier brackets. That meant the team could remove the burr without rounding over the visible edge too much. The result was a cleaner finish, fewer handling complaints and less time spent on manual touch-up.
That kind of practical adjustment is common across South Africa. The right process is usually not the most aggressive one. It is the one that gives a repeatable finish, keeps dimensions intact and suits the actual job at hand.
Getting repeatable results over a full production run
The real test of stainless finishing is not one good sample part. It is whether the same quality can be kept across a full run, with different operators, shift changes and varying sheet conditions. That is where process control matters most.
Simple checks can make a big difference:
- Set a clear standard for what a finished edge should look and feel like
- Review the first parts from every production run
- Replace worn abrasives before quality starts drifting
- Keep a record of settings for common stainless jobs
- Train operators to spot burrs, heat tint and contamination early
For fabricators in Rustenburg, Durban and the East Rand, consistency is what protects margin. Less rework means less time on manual finishing and fewer delays at dispatch. When stainless parts leave the shop clean, smooth and ready for use, the whole job runs better.
That is the basic rule: finish stainless with enough care to protect the part, but not so much that you lose time, size or surface quality. The best result is often the one that looks simple because the process was controlled from the start.