
Start With a Simple Quality Baseline
If you want to track finish quality properly, first agree on what "good" looks like for your shop. That sounds basic, but many teams only notice a problem after parts reach bending, welding, powder coating or assembly. At that point the burr has already created extra handling and rework.
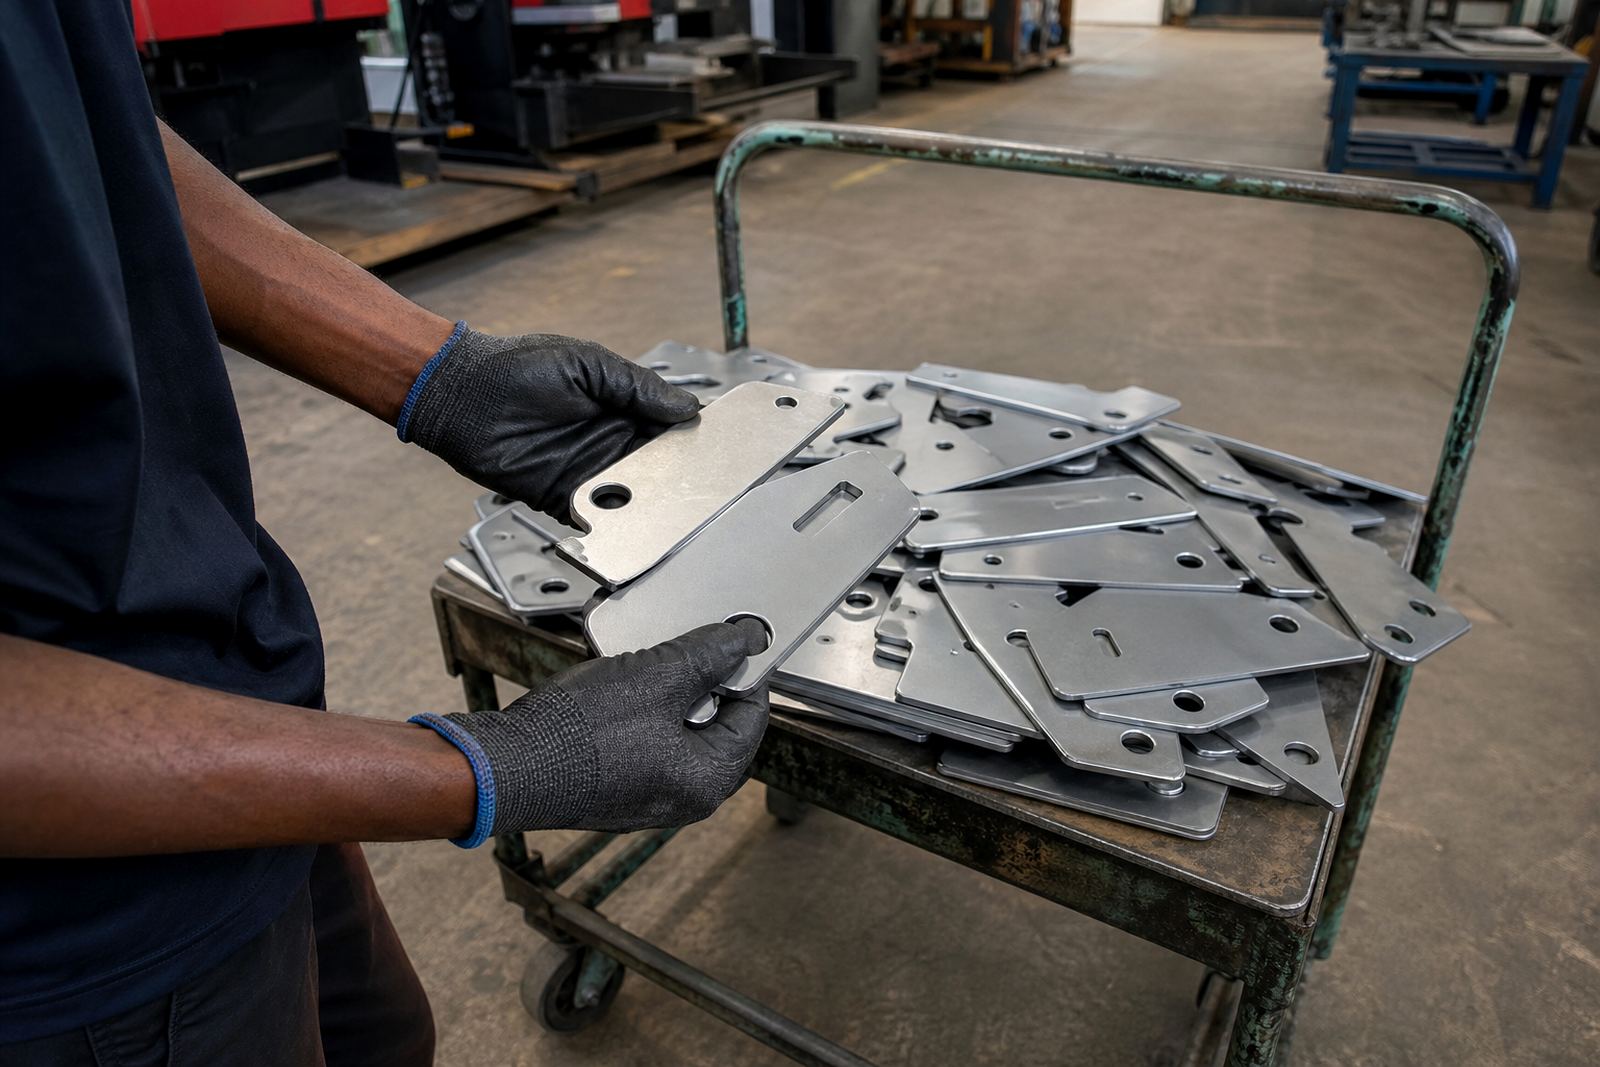
Set a baseline using a few repeat parts from your most common material thicknesses, for example 1.6 mm, 3 mm and 6 mm mild steel. Keep one set as a reference after deburring and edge finishing, then compare later batches against it. Look at burr height, edge feel, heat tint, scratch marks and any edge rollover. In our Wadeville area, many fabricators work long hours around load-shedding and mixed shift patterns, so the reference sample helps everyone judge the same standard even when the team changes.
- Use one approved sample per thickness range
- Record the cut date, machine settings and operator
- Note whether the part was handled manually or by conveyor between steps
- Keep the reference sample in a clean, dry labelled tray
Measure the Same Points Every Time
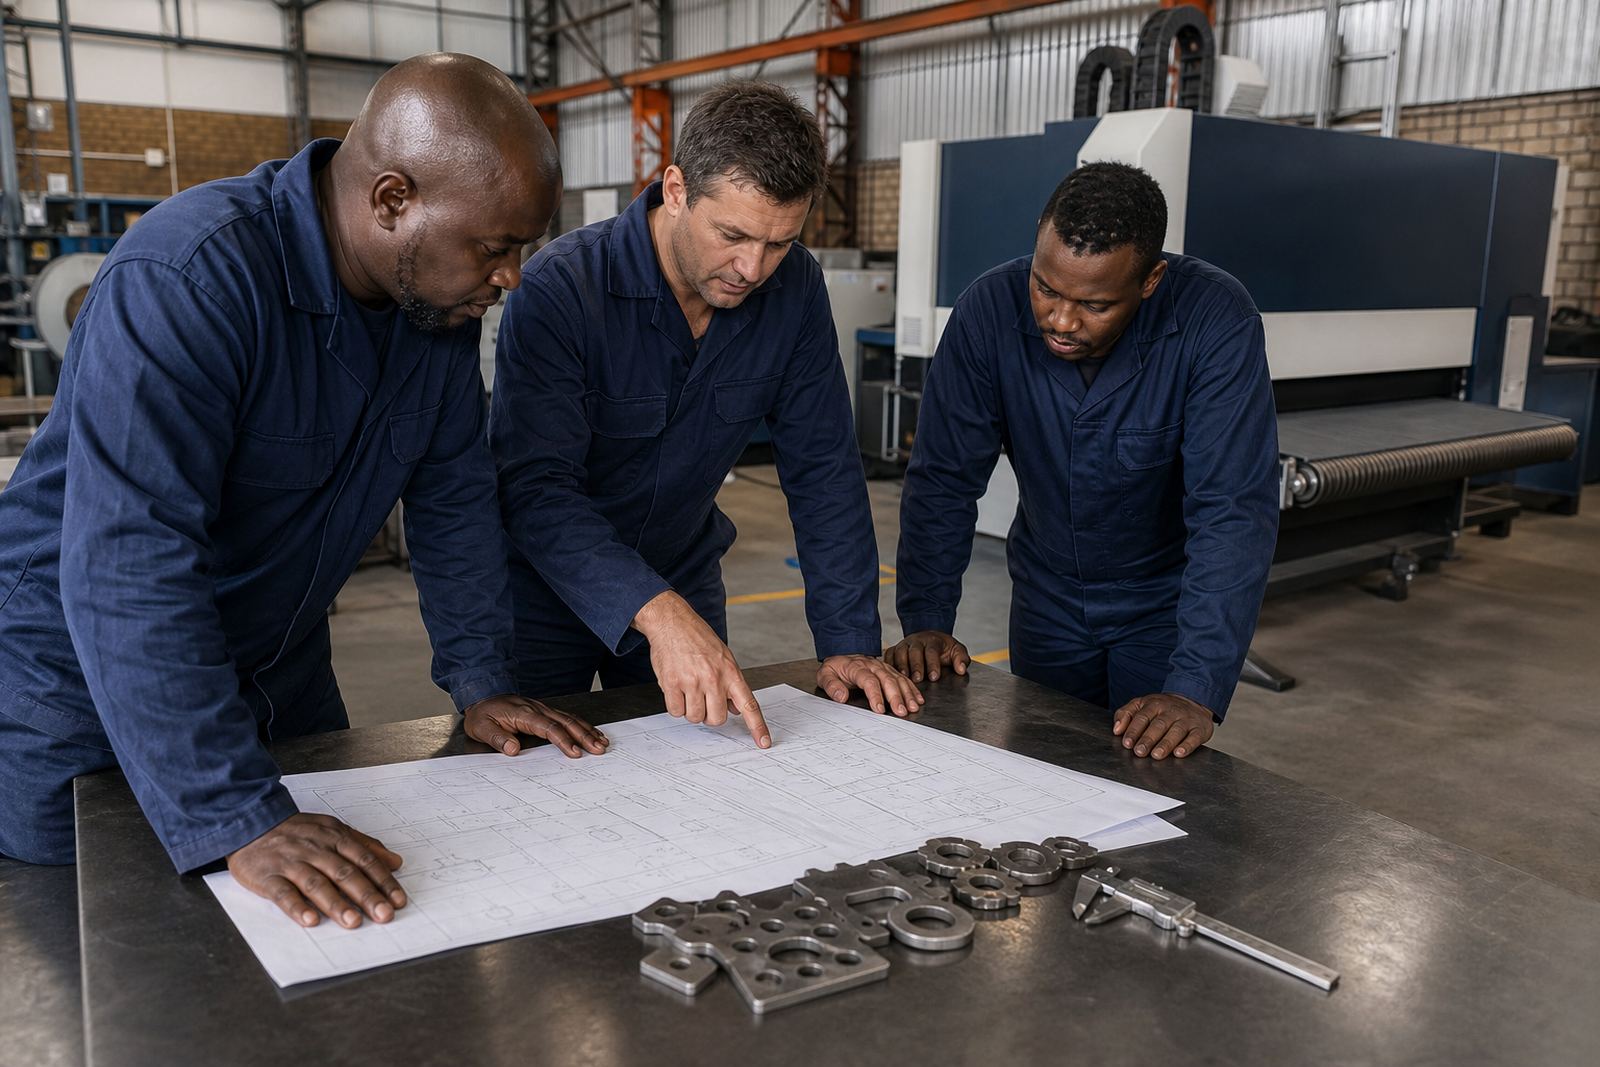
Consistency starts with repeatable measurement. If one person checks the sharp corner and another checks the centre of the edge, the numbers will drift. Pick the same locations on each part and use the same simple method every time. A magnifier, feel gauge, edge ruler or micrometer can be enough for day-to-day checks, provided the team uses them the same way.
For laser-cut sheet metal, focus on burr height at the exit side, edge uniformity along long runs and any rough spots around tight internal cut-outs. It also helps to measure after finishing, not just straight after cutting, because brushing, tumbling or sanding can hide a problem instead of fixing it. If a batch starts to need heavier finishing than usual, that is a sign to check the cut quality, not only the deburring machine.
- Measure the same 3 to 5 points on every sample part
- Track average burr height, not only the worst corner
- Separate outer edges from internal cut-outs in your records
- Compare readings before and after finishing
Keep an Eye on the Process, Not Just the Result
Good finish quality does not depend on one machine alone. It depends on the whole route the part takes through the workshop. A laser bed with poor assist gas control, a worn cutting nozzle, inconsistent sheet clamping or rough handling can all show up later as an uneven edge. The deburring stage then has to work harder, and sometimes the result still varies.
That is why it helps to log process notes beside the finish readings. Write down material grade, thickness, whether the sheet came from stock with surface rust, and whether the edge showed slag or dross. If the same problem appears on Monday mornings or after a power interruption, you will see a pattern quicker. Small notes save a lot of guesswork, and they often point to a setting issue rather than a finishing issue.
In Durban, for example, coastal humidity can affect storage and handling. If sheets sit too long before processing, light oxidation and staining can change how the edge behaves during finishing, so the records need to show storage time as well.
Use Visual Checks That Operators Can Repeat
Not every shop needs expensive inspection gear for every job. A practical visual check done the same way by trained operators can catch most issues early. The point is to make the check structured, not casual. A quick glance is useful, but a proper five-minute inspection is better.
Train operators to look for a few specific signs: shiny spots that still feel sharp, dark streaks from heat, uneven edge texture and raised nicks after part handling. Ask them to sort parts into pass, rework or hold, instead of trying to judge everything as either good or bad. This makes the decision easier on busy shifts and helps the supervisor see where variation is creeping in.
- Check under the same light each time
- Use a clean glove or cloth to test the edge by feel
- Inspect corners, slots and fine apertures first
- Separate cosmetic marks from actual burr problems
Link Finish Data to Machine Settings
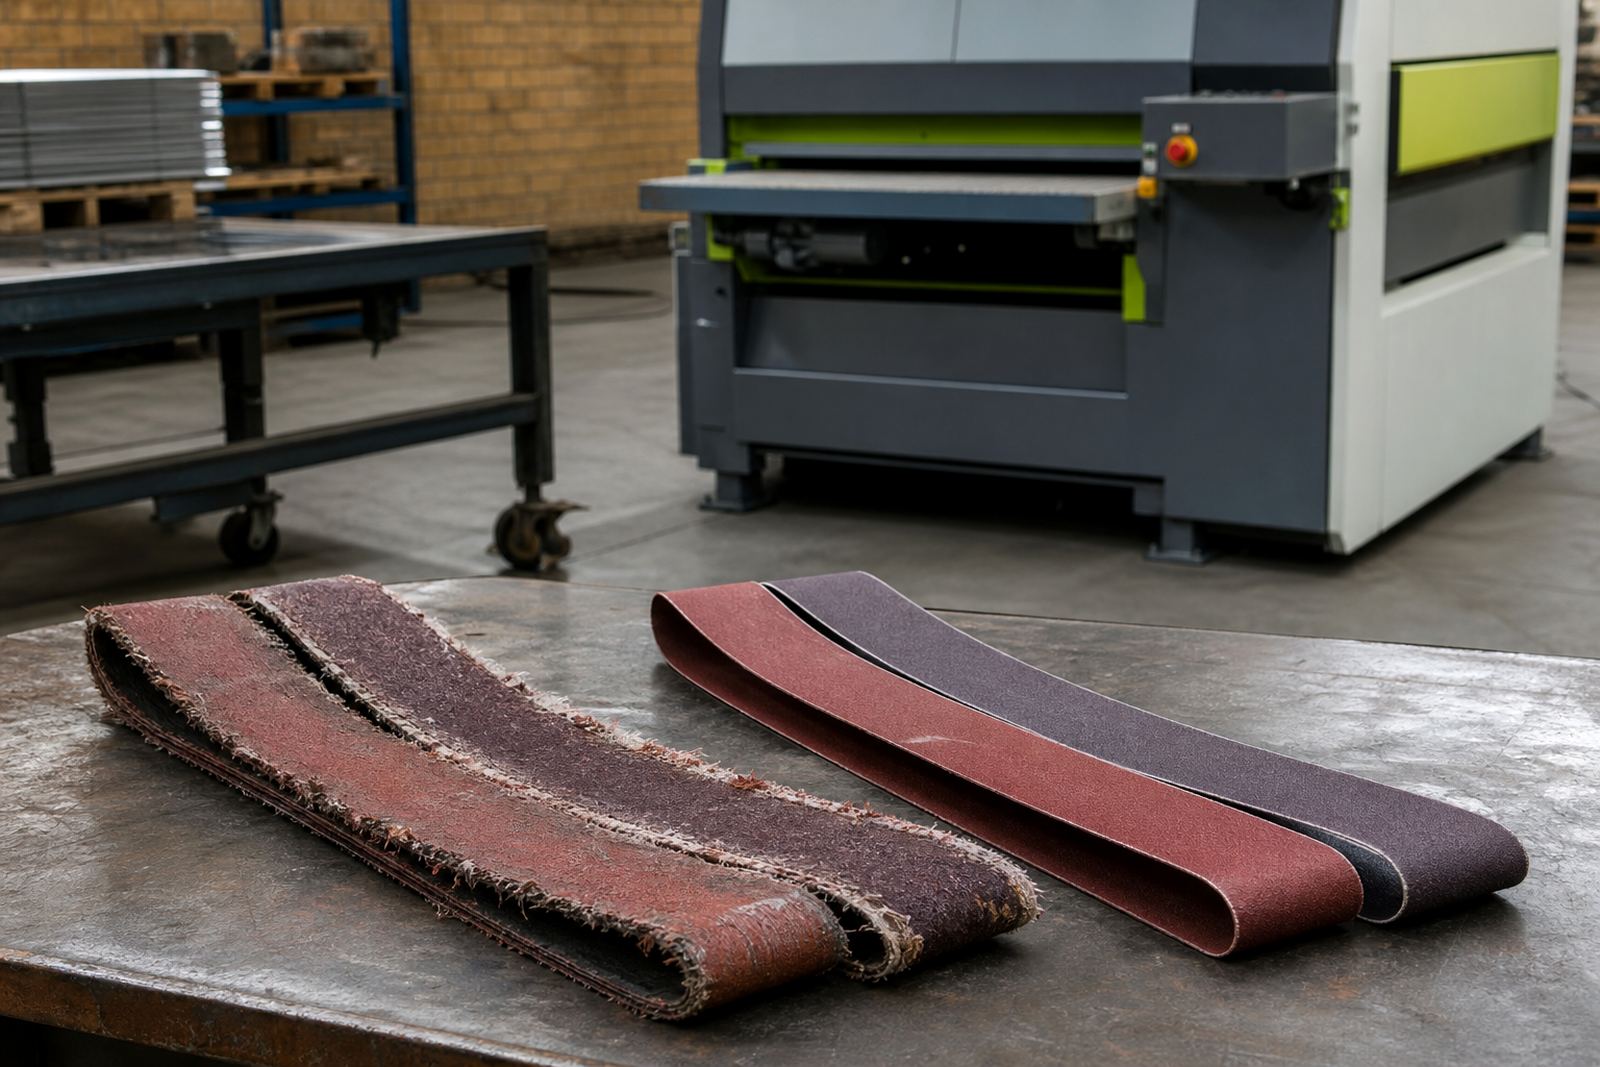
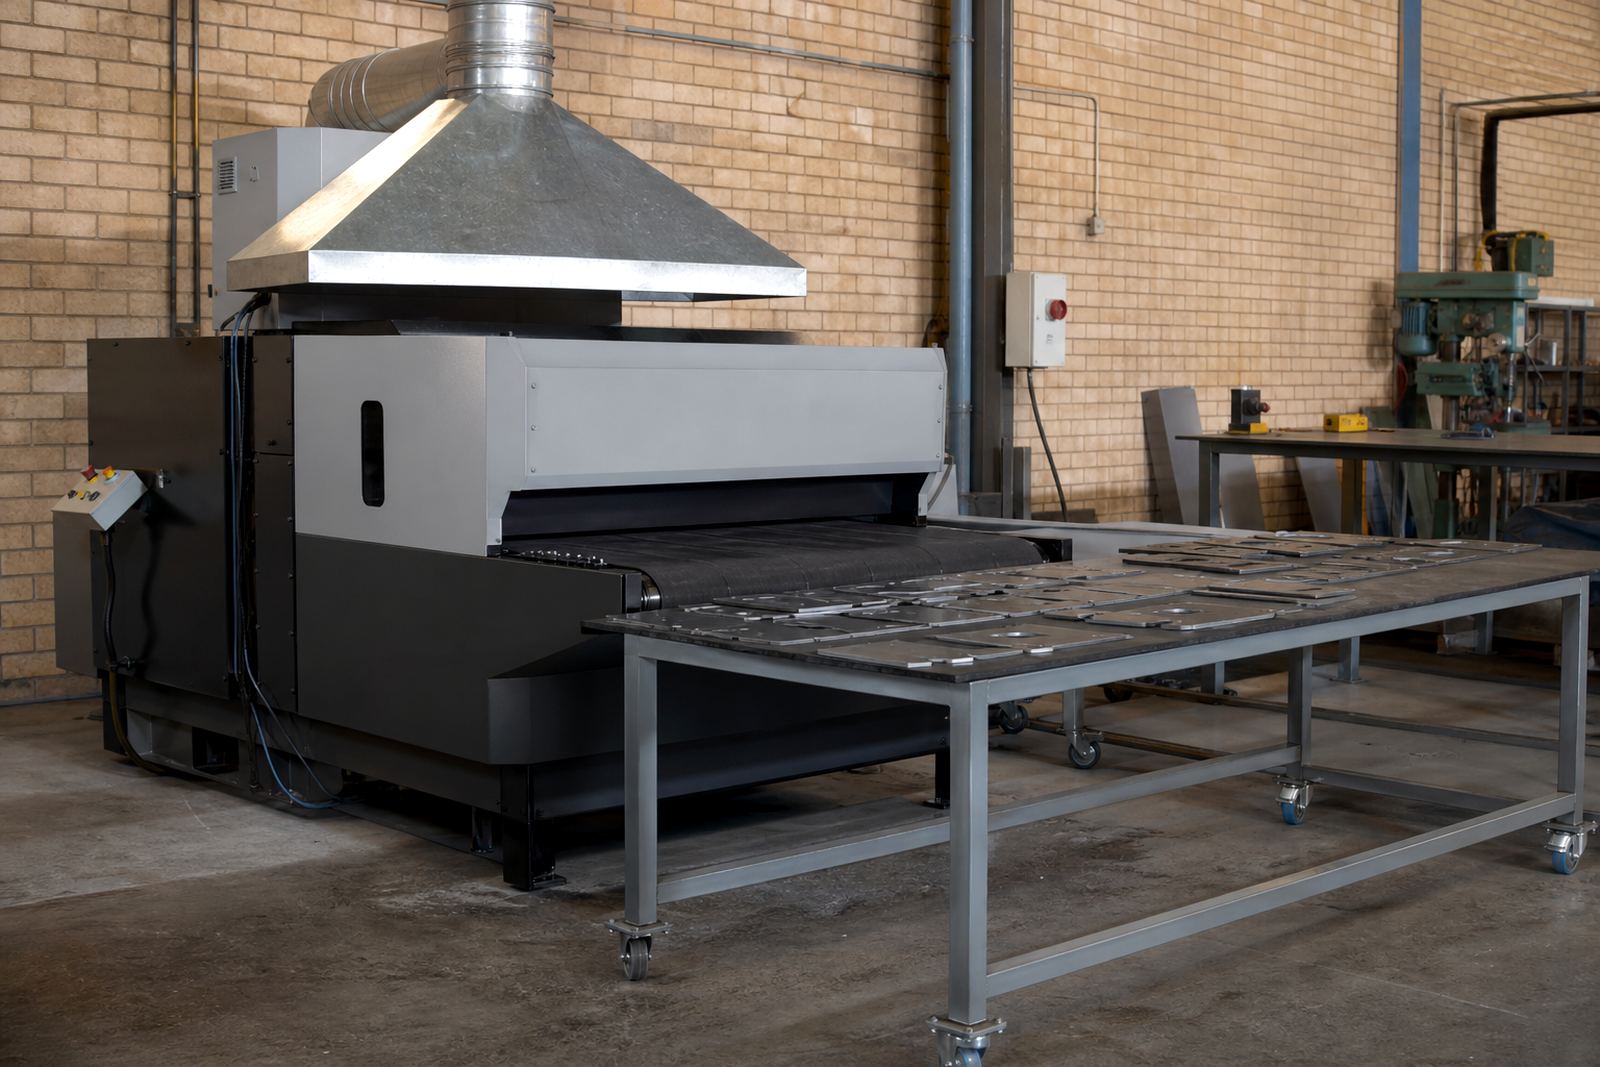
When finish quality changes, the answer is often in the machine settings. Feed rate, pressure, brush condition, abrasive wear and contact time all influence the final edge. If you only look at the finished part, you may miss the setting that caused the change in the first place.
Keep a simple log for each job or batch. Note the material, thickness, target finish, actual finish result and any adjustment made during the run. Over time you will see which settings give the cleanest edge on common parts and which combinations create extra rework. This is especially useful on high-mix jobs where fabricators need to switch between thin and thicker plate without wasting time. A good log also helps new operators learn faster, because they can see what worked before instead of starting from zero.
For many South African shops, the goal is not just a cleaner edge but less re-handling between departments. If the deburred part goes straight to bending or welding without another touch-up pass, production moves faster and scrap drops.
Build a Local Review Routine That Holds Up Under Pressure
A finish quality system only works if it is easy to use every week. A monthly review is usually enough for smaller teams, while busier plants may need weekly checks on high-volume parts. The review should be short and practical: review the samples, compare the readings, check which machine settings changed and decide what to do next.
For fabricators serving Johannesburg, Pretoria, Rustenburg, Cape Town and Durban, the busy part is often not making the parts but keeping them consistent across different shifts, suppliers and deadlines. A simple routine helps you spot whether the burr issue is coming from one product line or from general wear in the finishing process. It also makes it easier to plan maintenance before quality slips too far. That saves time, saves abrasive stock and keeps the edge finish closer to the standard your customers expect.
- Review reference samples against current production parts
- Check abrasive condition and contact parts before they fail
- Record repeat faults by job number and material type
- Set a trigger point for maintenance or re-training
What Good Tracking Changes in the Workshop
Once finish quality is tracked properly, the benefits show up in several places at once. Weld prep becomes easier, folding errors drop, coatings look better and customers spend less time rejecting parts. It also helps the workshop manager plan labour better, because the team spends less time fixing edge issues that should have been caught earlier.
The main habit is simple: measure, compare and record the same way every time. Do that and burr removal stops being a guess. It becomes a controlled part of production, which is exactly what a modern sheet metal shop needs when deadlines are tight and every batch has to be right first time.