
Where Canopy Fabrication Usually Loses Time
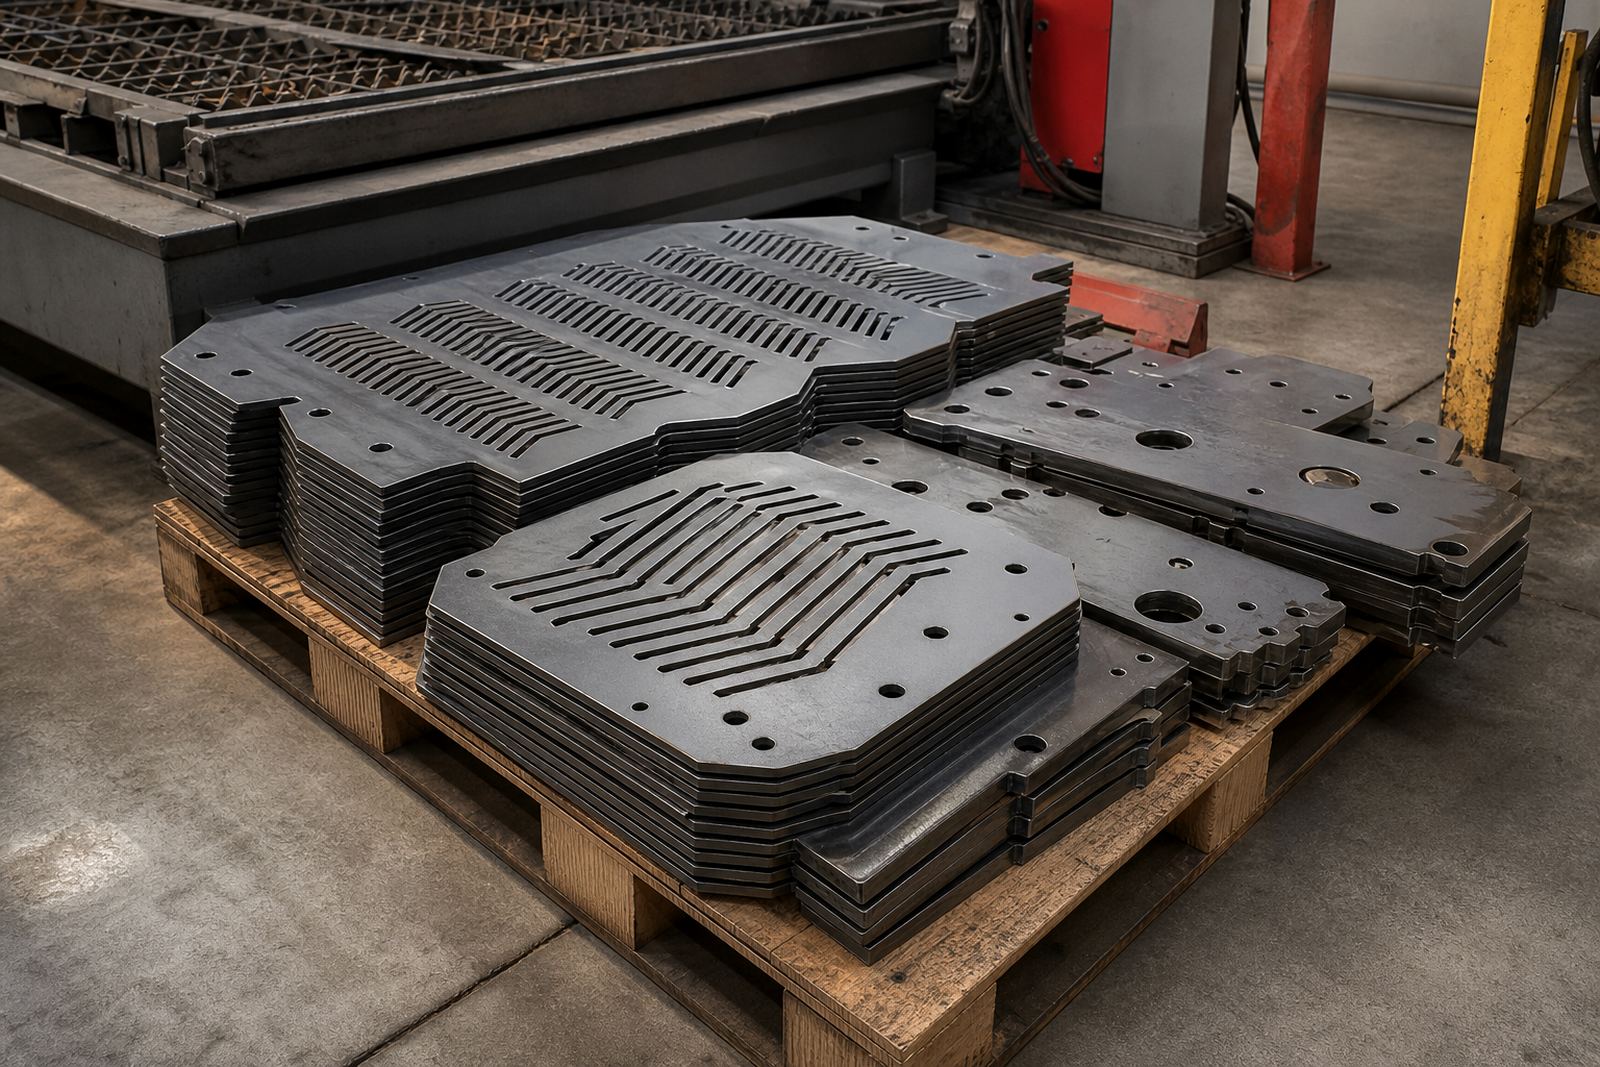
Generator canopy work often starts with laser-cut sheet metal, then moves into bending, welding, grinding and paint prep. The trouble is that cut edges from doors, access panels and vent sections can carry burrs, heat marks and sharp edges that slow assembly and create avoidable touch-up work. When the parts are thin, even a small burr can stop a hinge from sitting flush or make a gasket seal uneven.
In many shops the same team is expected to handle canopy skins, internal brackets, base frames and service panels. That mix of parts means you need a finishing process that is consistent enough for repeat work, but flexible enough for one-off modifications and shorter runs. In coastal areas like Durban and Cape Town, surface condition also matters because any trapped dust, sharp edges or poor prep can show up later in coating performance.
Typical Equipment Set for Canopy Parts
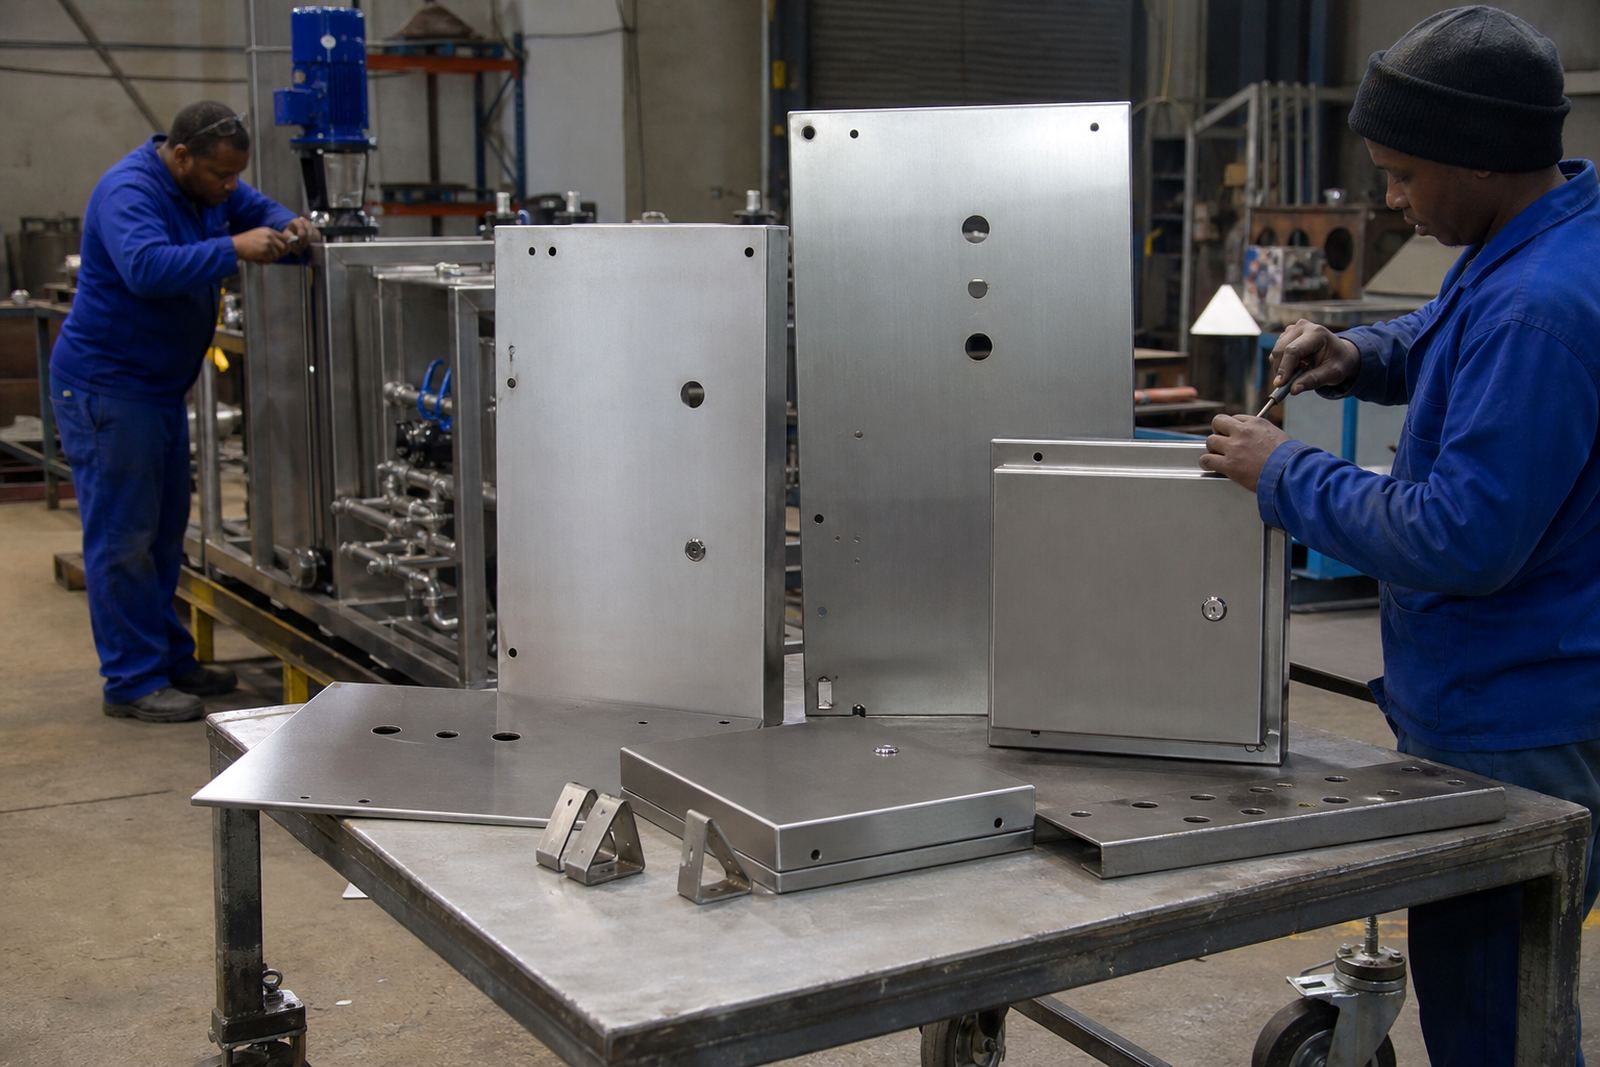
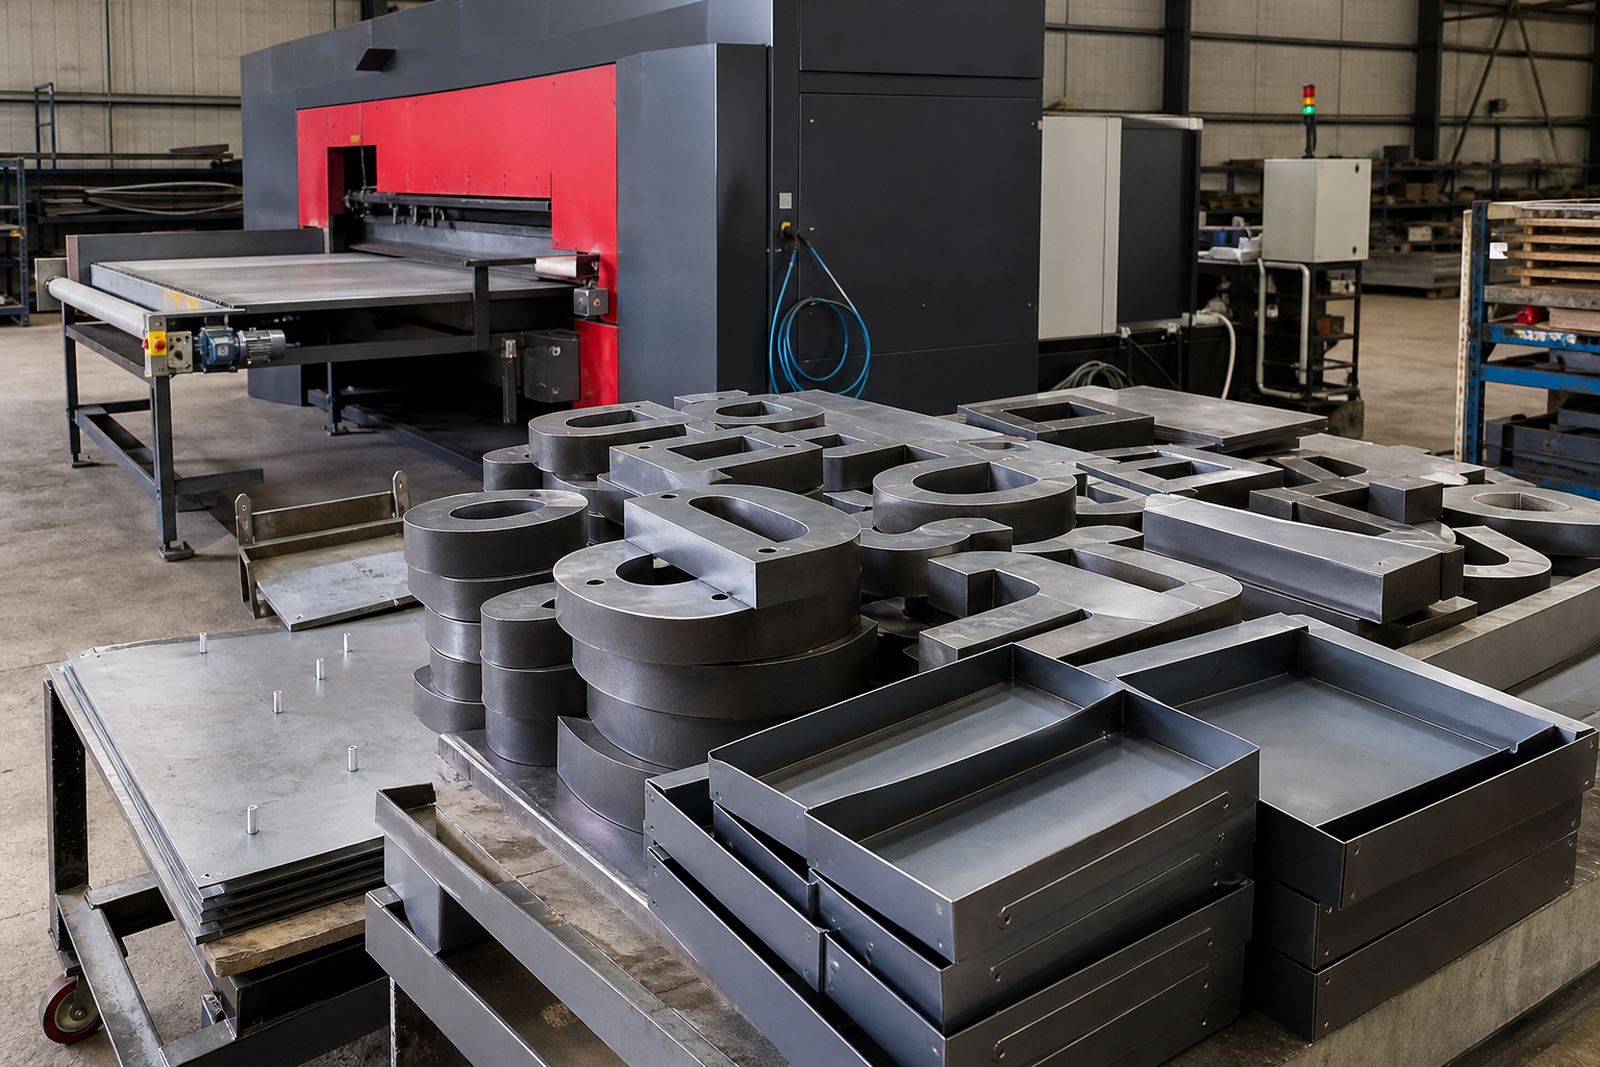
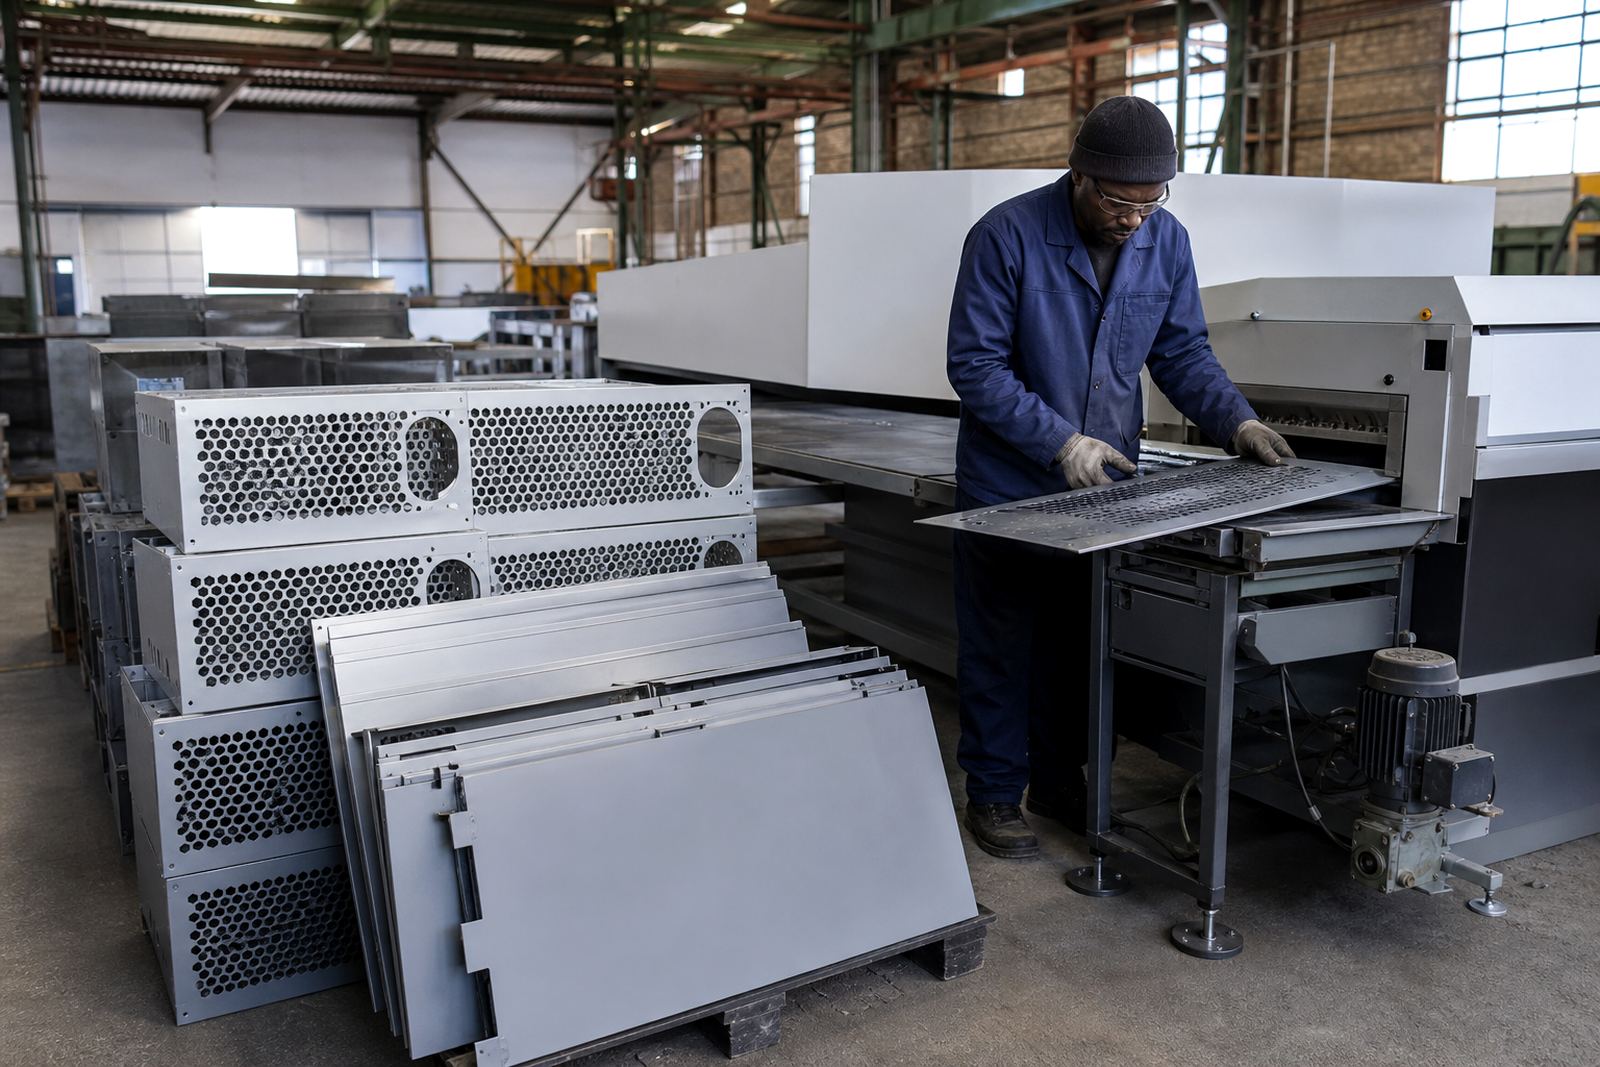
For generator canopies, most fabricators are working with laser-cut mild steel or stainless sheet in the 1 mm to 6 mm range, plus occasional aluminium parts for lighter covers and trims. A good deburring and edge-finishing machine should handle flat parts, cut-outs, small perforations and mixed batch work without constant setup changes. If you do a lot of vented panels, the machine must manage internal edges as well as the outside profile.
- Laser-cut door skins and side panels
- Louvers, vents and grille inserts
- Hinged access doors and service lids
- Mounting plates, brackets and stiffeners
- Base channels, frames and corner pieces
For some workshops, the machine sits after laser cutting and before bending. Others place it after a light knock-down or before powder coating. The right position depends on whether you want to remove burrs before forming, or clean the final assembly edges after fit-up. A practical setup keeps material flow simple so operators do not carry parts across the shop more than necessary.
Layout Advice for Small and Medium Canopy Shops
In Wadeville, Germiston and the East Rand, space is often limited and power supply can be affected by load-shedding. That means planning matters just as much as machine choice. You need enough infeed and outfeed space for sheet parts, enough room to stack finished items safely, and a route that does not cross welding sparks, grinding dust or forklift traffic.
When we look at a canopy line, we usually check the full movement of parts from laser nest to final pack-out. If a shop is sending parts to bending straight after deburring, the machine should be near the laser or near the press brake, depending on the sequence used. If the operation runs on a single shift in Johannesburg or Pretoria, the team may prefer a compact machine with simple controls and quick abrasive changes. For larger volumes in Durban or Cape Town, more automated feed handling can make better sense.
- Allow floor space for loading, unloading and part sorting
- Plan dust extraction and housekeeping from day one
- Keep the machine away from moisture and open spray areas
- Use clear flow paths for work in progress and rejected parts
Common Mistakes We See on Canopy Parts
A common mistake is assuming laser cutting leaves a finished edge that only needs a quick hand rub. That can work on a few sample pieces, but it does not hold up when you are producing repeated canopy doors, side panels and internal covers for diesel sets or larger enclosed units. Hand finishing also gives inconsistent results between shifts, which is a problem when the same enclosure must match across a batch.
Another mistake is choosing a process that only treats the outside edge while ignoring slots, cut-outs and small openings. On generator canopies those details matter because they affect fit, airflow and final appearance. We also see shops placing deburring too late in the route, after bending or assembly, which can make burr removal harder and increase the chance of surface marks. A good layout takes the finishing step seriously at the start of production, not as a last-minute clean-up.
Then there is maintenance. Abrasive replacement, dust removal and belt condition all affect finish quality. If the machine is left to run until the finish changes noticeably, your coating prep becomes less predictable and operators spend more time checking parts by eye. In humid areas near the coast, poor cleaning and storage can make this worse, so the workshop needs a basic routine that everybody follows.
Budget Ranges for Generator Canopy Production
Budgets depend on throughput, part size and how much automation you need. A smaller workshop doing mixed canopy parts for local fabricators may look at a lower-entry machine package, while a busier operation supplying multiple projects across South Africa may need a more advanced setup with better handling and process control. As a practical guide, many businesses plan in the following bands:
- Entry-level finishing setup: R450,000 to R900,000
- Mid-range production machine: R900,000 to R1,800,000
- Higher-output or more automated line: R1,800,000 and up
Those figures usually need to be matched with installation, operator training, consumables, preventative maintenance and any layout changes in the workshop. If the canopy parts are varied, it is worth budgeting for sample part testing and process checks before committing to full production. That helps avoid buying a machine that suits one panel size but struggles with the mix you actually run.
Support, Setup and Ongoing Production Help
For canopy fabricators, the machine itself is only part of the answer. Good results come from correct installation, trained operators and a support plan that keeps the line moving when orders are tight. Our team in Wadeville, Germiston supports customers in Johannesburg, Pretoria, Durban, Cape Town and Rustenburg with machine installation, operator training, breakdown repairs and preventive maintenance. We also assist with sample part testing, process optimisation, production planning help, spares supply and annual service contracts.
Generator canopy work can be unforgiving because customers expect clean fit-up, tidy edges and a professional finish on every panel. With the right deburring and edge-finishing process, your team spends less time grinding by hand and more time assembling parts that are ready for paint, coating or final fitment. That makes the whole shop easier to run, especially when orders are moving and the deadlines are tight.
When a Canopy Shop Should Upgrade
Most fabricators know it is time to upgrade when the same issues keep coming back: sharp edges at assembly, too much hand finishing, inconsistent weld prep and panel damage during rework. If your team is spending hours cleaning up laser-cut parts for every enclosure, the finishing step has become a bottleneck. That is often the point where a dedicated machine starts paying its way through labour savings and better repeatability.
If you are building generator canopies for industrial clients, mining sites or standby power projects, the finishing standard needs to hold across the full batch not just the first few parts. A proper deburring process gives your workshop better control over quality, safety and turnaround times. It also makes quoting easier because you can predict the production route more accurately, which helps when clients ask for fast delivery in Rand terms and expect the same result every time.